background image

The Menu System

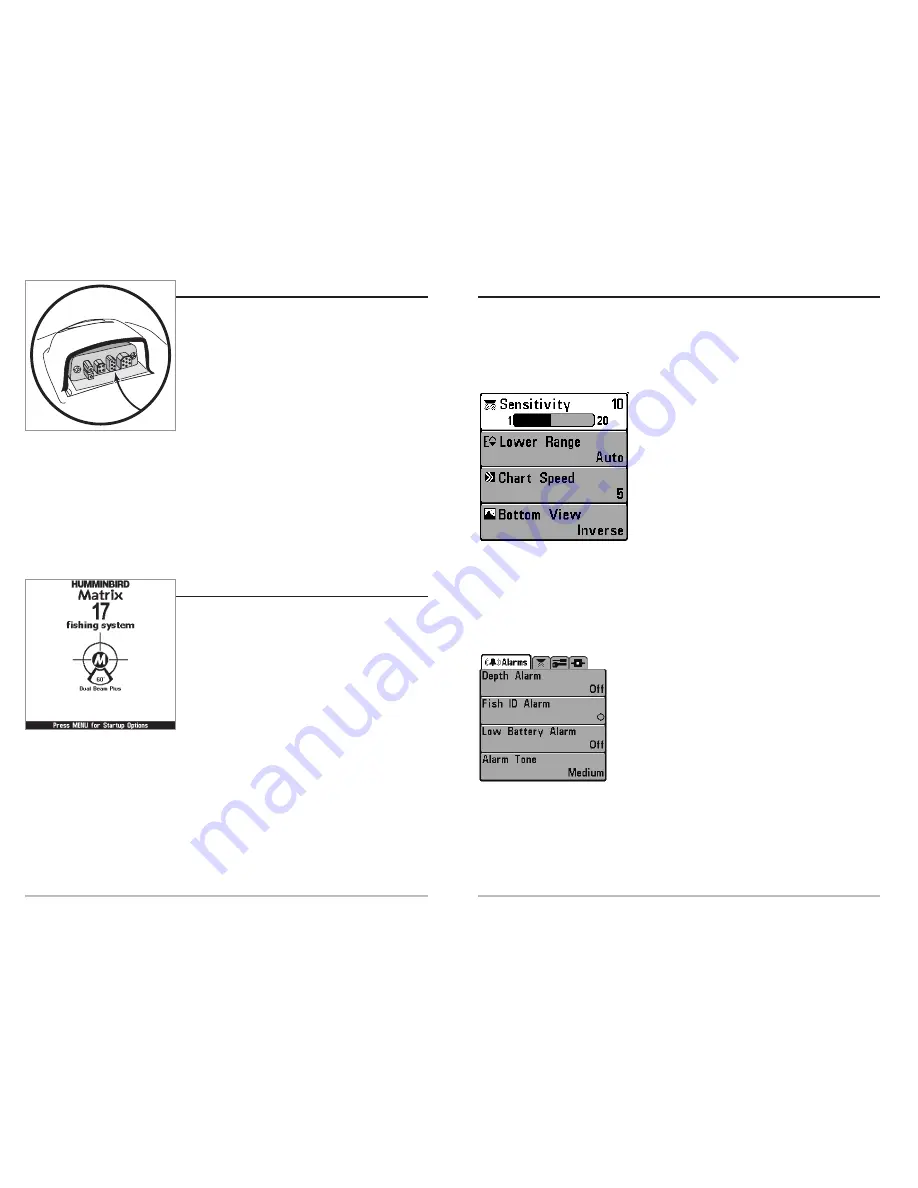
The menu system is divided into easy-to-use menu modules. The main components
of the menu system are:

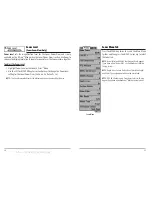
Start-Up Options Menu -

Press the MENU key during the power up sequence to view

the Start-Up Options menu.

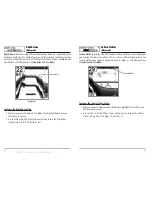
X-Press

TM

Menu

- The X-Press

TM

Menu allows you to

access the settings that are changed frequently
without having to navigate through the whole menu
system. Press the MENU key once to display the 
X-Press

TM

Menu.  When you select a menu item from

the X-Press

TM

Menu, the menu will collapse, leaving

only the menu choice on the screen. Use the UP or
DOWN Cursor keys to reactivate the X-Press

TM

Menu.

NOTE: 

The X-Press

TM

Menu choices will vary depending on

which view is active when you press the MENU key, as well
as whether you are in Normal or Advanced User Mode.

Main Menu Tabs

- Less frequently-adjusted menus are grouped into the Main 

Menu System. The Main Menu system is organized under the following tab headings
to help you find a specific menu item quickly: Alarms, Sonar, Setup, and Accessories.

Press the MENU key twice for the Main Menu, then use the
4-Way Cursor LEFT or RIGHT key to select a tab, and use the
DOWN or UP key to select a specific menu item under that
tab, then use the LEFT or RIGHT keys again to change a
menu setting. Press the EXIT key to move quickly to the top
of the tab. A down arrow at the bottom of a menu means
that you can scroll to additional menu choices using the
DOWN Cursor key. A right or left arrow on a menu choice
means that you can use the RIGHT or LEFT Cursor keys to
make changes or see more information. 

NOTE:

The Main Menu choices will vary depending on whether you are in Normal or

Advanced User Mode.

Main Menu System

Normal User Mode

X-Press

TM

Menu

17

16

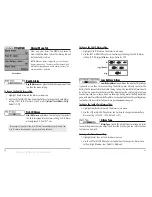
Accessory Bus

Use the Accessory Bus to expand the functionality
of the Matrix Fishing System.  Accessories plug
directly into the Matrix Fishing System, enabling
Advanced features such as WeatherSense

TM

, GPS

Functionality and the SmartCast

TM

Wireless Sonar

Link.  Additional menu tabs and menu choices will
be added to the menu system automatically when
an accessory is plugged into the unit.  In addition,

multiple accessories can be attached simultaneously.  See 

Accessories Menu Tab

and

Matrix Fishing System Accessories

in this manual, as well as your accessory's

Operations Manual for additional details.

NOTE:

Accessories to enable WeatherSense

TM

, GPS Functionality and the SmartCast

TM

Wireless Sonar Link require separate purchases.  You can visit our website at

www.humminbird.com

or contact our Customer Resource Center at 1-334-687-0503 for

additional details.

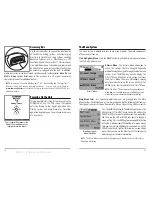
Powering Up the Unit

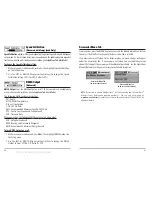
Turn on your Matrix Fishing System by pressing the
POWER/LIGHT key. The Title screen is displayed
until the Fishing System begins operation. Your
Fishing System will begin Normal or Simulator
operation, depending on the presence or absence
of a transducer. 

This is a typical Title screen for the

Matrix 17. Your model may have a

slightly different Title screen.

offered by Busse-Yachtshop.de

Summary of Contents for Humminbird 10

Page 1: ...Operations Manual Operations Manual Matrix 10 Matrix 27 Matrix 17 Matrix 37 531284 2_A offered by Busse Yachtshop de...

Page 2: ...ccessories by unauthorized individuals will void the warranty Handling and or opening this unit may result in exposure to lead in the form of solder WARNING This product contains lead a chemical known...

Page 3: ...Advanced 45 Temp Offset Advanced 45 Speed Calibration Advanced with Temp Speed Only 46 NMEA Output Advanced 46 Accessories Menu Tab 47 Troubleshooting 48 Matrix Doesn t Power Up 48 Matrix Defaults to...

Page 4: ...th a 20 area of coverage Depth capability is affected by such factors as boat speed wave action bottom hardness water conditions and transducer installation Dual Beam PLUS Sonar Your Matrix 17 or 27 u...

Page 5: ...tes cursor depth onthedisplayandthedepthofthebottom directlybelowthecursor Battery Voltage the voltage of the boat s battery can be set to alarm if the voltage falls below a certain point RTS Real Tim...

Page 6: ...u Either five or six additional Digital Readouts depending on your model display information from optional purchase accessories These information boxes can be customized to show only the information d...

Page 7: ...d voltage are unavailable in the Sonar Zoom View Sonar Zoom View Full Range View Upper Depth Range Full Range View Lower Depth Range Zoom View Lower Depth Range Full Range View Zoomed View Zoom Previe...

Page 8: ...s the speed since the Triplog was last reset 8 200 83 kHz Split Sonar View Dual Beam PLUSTM and QuadraBeamTM Only Split Sonar View displays sonar returns from the 83 kHz wide beam on the left side of...

Page 9: ...ormationfromboththeleftandright90 455kHzbeams andthe200kHzdown lookingbeaminoneview Thetopportionofthedisplaypresentsa historicallogofsonarreturnsfromthe200kHzdown lookingsonar Thebottomportionof thed...

Page 10: ...always be turned off using the POWER LIGHT key This will ensure that shutdown occurs properly and any menu settings will be saved VIEW Key The VIEW key is used to cycle through all available views Pre...

Page 11: ...alter a parameter using the RIGHT or LEFT Cursor keys the X PressTM Menu will collapse temporarily and the screen will update if it is affected by your menu setting change allowing you to see the effe...

Page 12: ...key A right or left arrow on a menu choice means that you can use the RIGHT or LEFT Cursor keys to makechangesorseemoreinformation NOTE The Main Menu choices will vary depending on whether you are in...

Page 13: ...Options Menu 19 18 User Mode Normal or Advanced An Advanced Mode is provided for users who desire the highest level of control over the Fishing System and Normal Mode for users who desire greater simp...

Page 14: ...334 687 0503 Exit PC Connect mode by powering the Fishing System off System Status Accessory Test Screen System Status Self Test Screen Simulator Use the Simulator to learn how to use your Matrix Fish...

Page 15: ...terested in the area between 20 and 50 feet deep you should set the Upper Depth Range to 20 and the Lower Depth Range to 50 The Sonar View will then show the 30 foot area between 20 and 50 and will no...

Page 16: ...bottom and other sonar returns on the display Any targets such as fish structure and thermoclines will be shown using the Structure ID method See Bottom Presentation for more information To adjust the...

Page 17: ...a QuadraBeamTM Matrix Fishing System Sonar Menu 26 Zoom Level Sonar Zoom View Only Zoom Level sets the magnification level for the Sonar Zoom View and is only available on the X PressTM Menu when the...

Page 18: ...z Side Beam Hollow Fish Symbols Dual Beam PLUSTM and QuadraBeamTM Only 28 Beam Select Dual Beam PLUSTM and QuadraBeamTM Only Beam Select sets which sonar returns from the transducer will be displayed...

Page 19: ...ance 10 to 10 Default 0 30 Fish Sensitivity Fish Sensitivity adjusts the threshold of the Fish ID TM detection algorithms Selecting a higher setting allows weaker returns to be displayed as fish This...

Page 20: ...Control keys to turn the Depth Lines setting On or Off Off On Default On Depth Lines Depth Lines Surface Clutter Advanced Surface Clutter adjusts the filter that removes surface clutter noise caused b...

Page 21: ...transducer selected QuadraBeam WideSide Default QuadraBeam 34 Noise Filter Advanced NoiseFilteradjuststhesonarNoiseFiltertolimitinterferenceonthedisplayfromsources suchasyourboatengine turbulence orot...

Page 22: ...e Alarm Tone so that you can select the tone that you can hear best To change the Alarm Tone setting 1 Highlight Alarm Tone on the Alarms main menu 2 Use the LEFT or RIGHT 4 Way Cursor Control keys to...

Page 23: ...connected and the paddlewheel has moved at least once or if a GPS Receiver is connected To change the Units Distance setting 1 Highlight Units Distance on the Setup menu 2 Use the LEFT or RIGHT 4 Way...

Page 24: ...Setup menu 2 Use the LEFT or RIGHT 4 Way Cursor Control keys to change the Language setting Default English Triplog Reset with Temp Speed or GPS Receiver Triplog Reset resets the Triplog to zero and w...

Page 25: ...ll only be displayed if a Temp Speed Accessory is attached and the paddlewheel has moved at least once Water Speed is not available with a GPS receiver Select Readouts Select Views Advanced Select Vie...

Page 26: ...pth from the waterline Enter a negative vertical measurement from the transducer to keel to read the depth from the keel This menu choice is available only when in Advanced User Mode see Setup Menu Ta...

Page 27: ...Sentence B BWR Bearing and Distance to Waypoint RMB Recommended Minimum Navigation Info To turn NMEA Output on or off 1 Make sure you are in Advanced User Mode then highlight NMEA Output on the Setup...

Page 28: ...noise from the boat s engine may be interfering with sonar reception See Finding the Cause of Noise for more information 48 Troubleshooting Before contacting the Humminbird Customer Resource Center p...

Page 29: ...gnals from a SmartCastTM Remote Sonar Sensor RSS Radio signals from the RSS are received by the WSL and transmitted over the Accessory Bus to the Matrix Fishing System PC Connect Cable Purchase the PC...

Page 30: ...atts Peak to Peak Matrix 10 300 Watts RMS 2400 Watts Peak to Peak Matrix 17 500 Watts RMS 4000 Watts Peak to Peak Matrix 27 and Matrix 37 Operating Frequency 200 kHz Single Beam Matrix 10 200 kHz and...

Page 31: ...Monday Friday 8 00 a m to 4 30 p m Central Standard Time 334 687 0503 By e mail typically we respond to your e mail within three business days custserv techsonic com For direct shipping our address i...

Reviews: