


Masterclock NTDS-A User Manual – Original – 2013-04-25
15
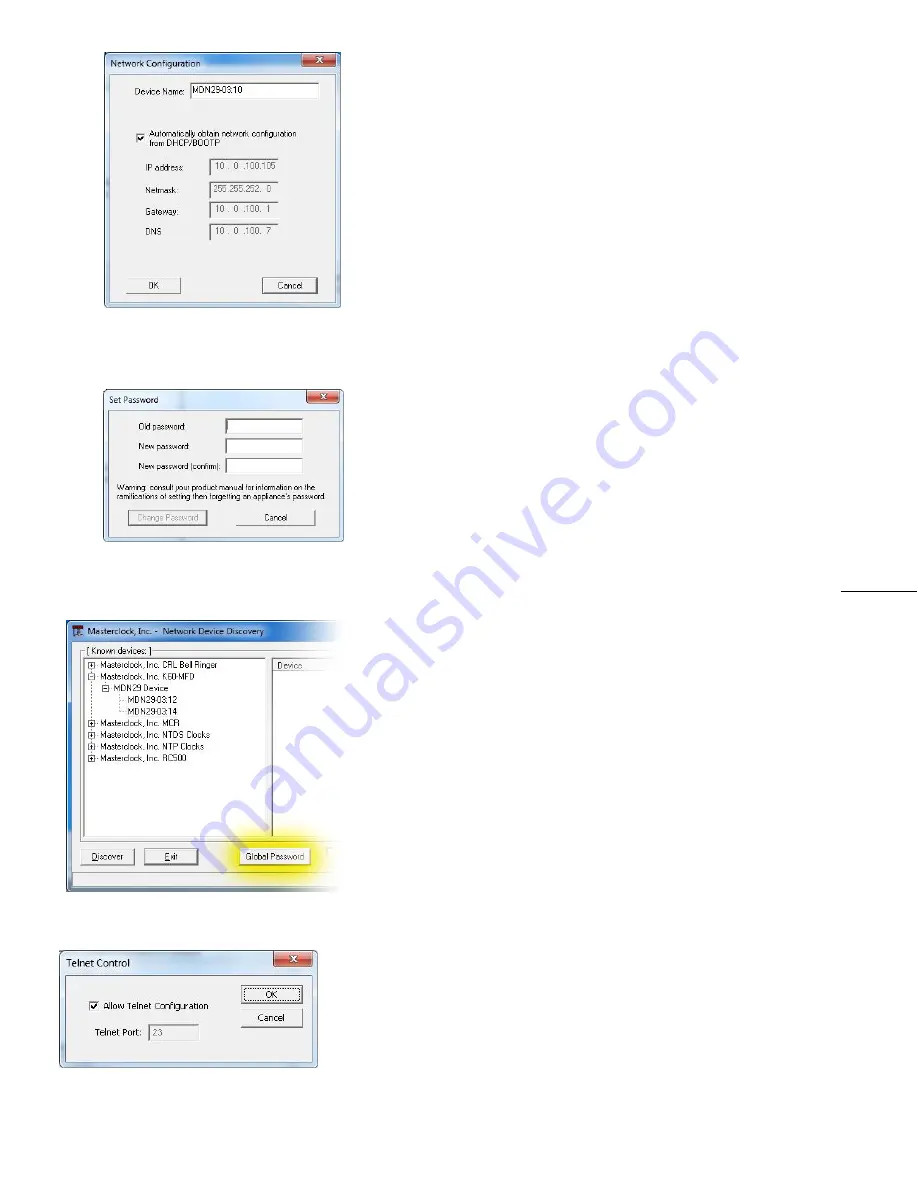
SET PASSWORD
The “Set Password” window enables the entry of a new
password for each individual device.
A password is one to eleven characters and is case-sensitive.
For added password strength, you should use a combination
of alphanumeric and special ASCII characters (i.e. ASCII
character codes 128 – 255).
T
he password must be entered twice to confirm the entry.
Click [
Change Password
] to save or [
Cancel
] to discard the
change.
When a password is set for a device, each time you click
[
Save
] or [
Save and Close
] for that device you will be asked
for the password. You can select the
“Remember this
password for the session”
box and you will not be
prompted for the password, until you restart
WinDiscovery.
Or you can use the
Global Password
feature (page 14).
If you enter the wrong password and selected the
[
Remember this password for the session
] checkbox, you
will receive an error upon clicking [
Save
] or [
Save and Close
]
to any configuration changes. You can close the
WinDiscovery session to forget the wrong password(s);
however, this will require entering the passwords again for
each device.
Alternately, you can remove the incorrect password entry
during a WinDiscovery session by going to the drop-down
menu for the device and selecting [
Forget memorized
password].
SET TIME/DATE
This feature may be most useful for demonstration, in lab
situations, environments where an external reference time
signal is not available, when the built-in NTP OR TIME CODE
client is disabled or when a network connection to an NTP
OR TIME CODE server is not available.
STATUS
This window is detailed on page 15.
DEVICE SETTINGS
Your Masterclock Display device settings window handles
most of the visible aspects of the device. In short order, the
Input control sets the parameters for the time reference
employed. The “Local Time Settings” configured the display
in the format you prefer, using the [
Daylight Savings Time
]
and the [
Time Zone Offsets
] buttons to completely
customize the time output relative to UTC time.


