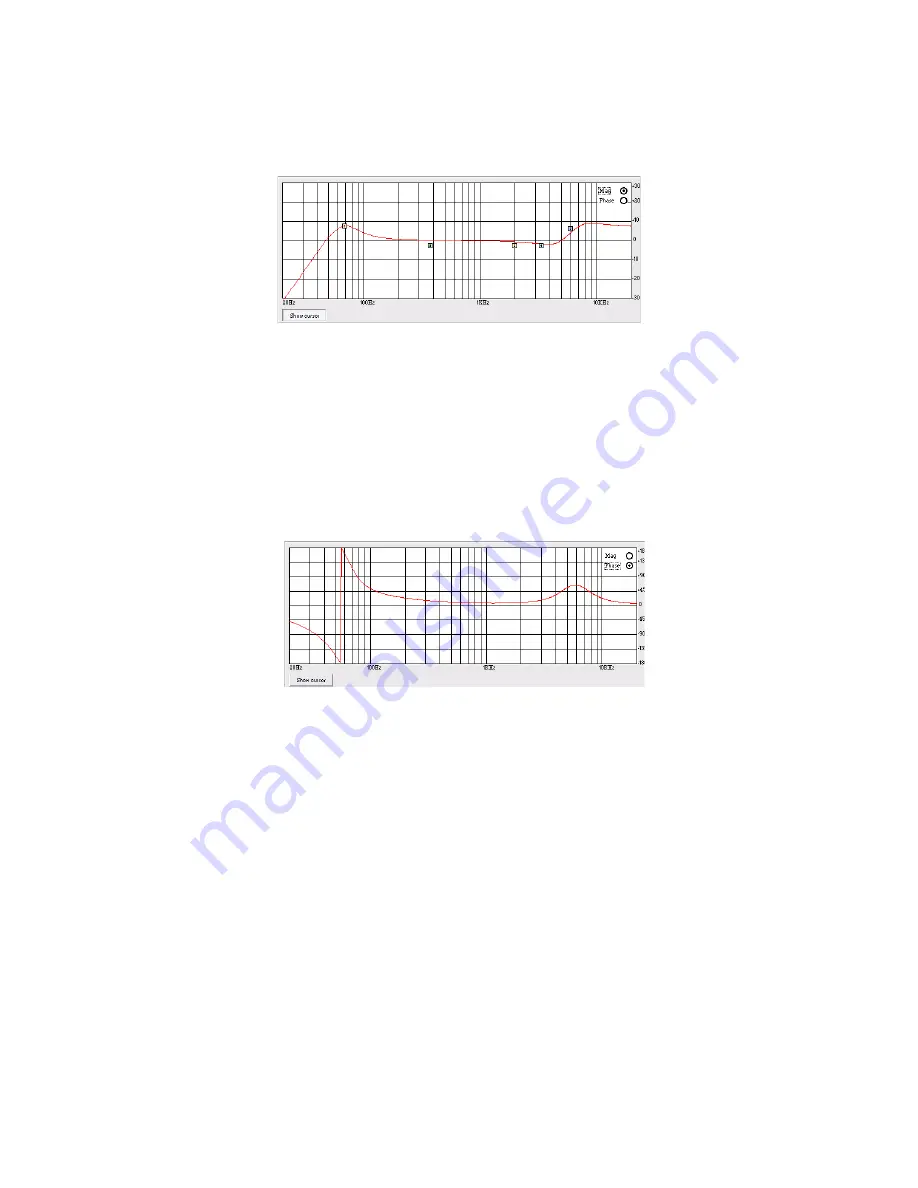
The set up of the filters and specially their frequency placement can also be done with the use of
the mouse, just activating the “Show Cursor” function, pressing the related button on the left
bottom of the frequency response Graphic.
Once the all 5 available cursor are shown on the Frequency Response graphic, just selecting
anyone of them with the mouse's arrow and maintaining the mouse's click pressed, it is possible
to move and place the selected cursor on the desired frequency and with the desired gain.
For setting the filter's Q, still need to enter the desired value directly in the dedicated box in the
filters' editing main sub-frame.
In order to see what's the “Phase” response of the channel once set up the all filters of the EQ, it
is possible, selecting the Phase choice on the top right of the Graphic window, to turn the graphic
in “Phase Response Graphic”:
Delay
– from this sub-frame it is possible to set the Output Channels Delay Time from
000.0000mS (0 meters) up to 380.998mS (129.53932 Meters), by steps of 1mS (Adj arrows) or
20.8uS (Fine arrows).
Level [dB]
– from this sub-frame it is possible to set the Output Channels Level from -127dB up
to +6dB.
Pressing the “Bypass” button at the bottom of the Level slider, the currently set level will be
skipped and the output level will be set to 0dB.
Phase
– when this check box is “unchecked” the processed signal is left with its original phase.
When the check box is “checked”, then the original phase of the signal is inverted of 180Deg.


