USER’S MAnUAL
18
Using the units
Turning on the player and TV
1. Connect the player with your TV/PC Monitor/Projector,
ampliefier (if available) and power source.
2. Turn on the player by pressing the power button on the
front panel.
3. Turn on the TV and switch it to the appropriate video mode
(Video output, SCART output).
4. If you get a black/whtie image on the TV screen, click N/P
button on the remote control to switch the player to the
appropriate TV system (NTSC or PAL).
5. You should now be able to see the welcome screen on
the TV.
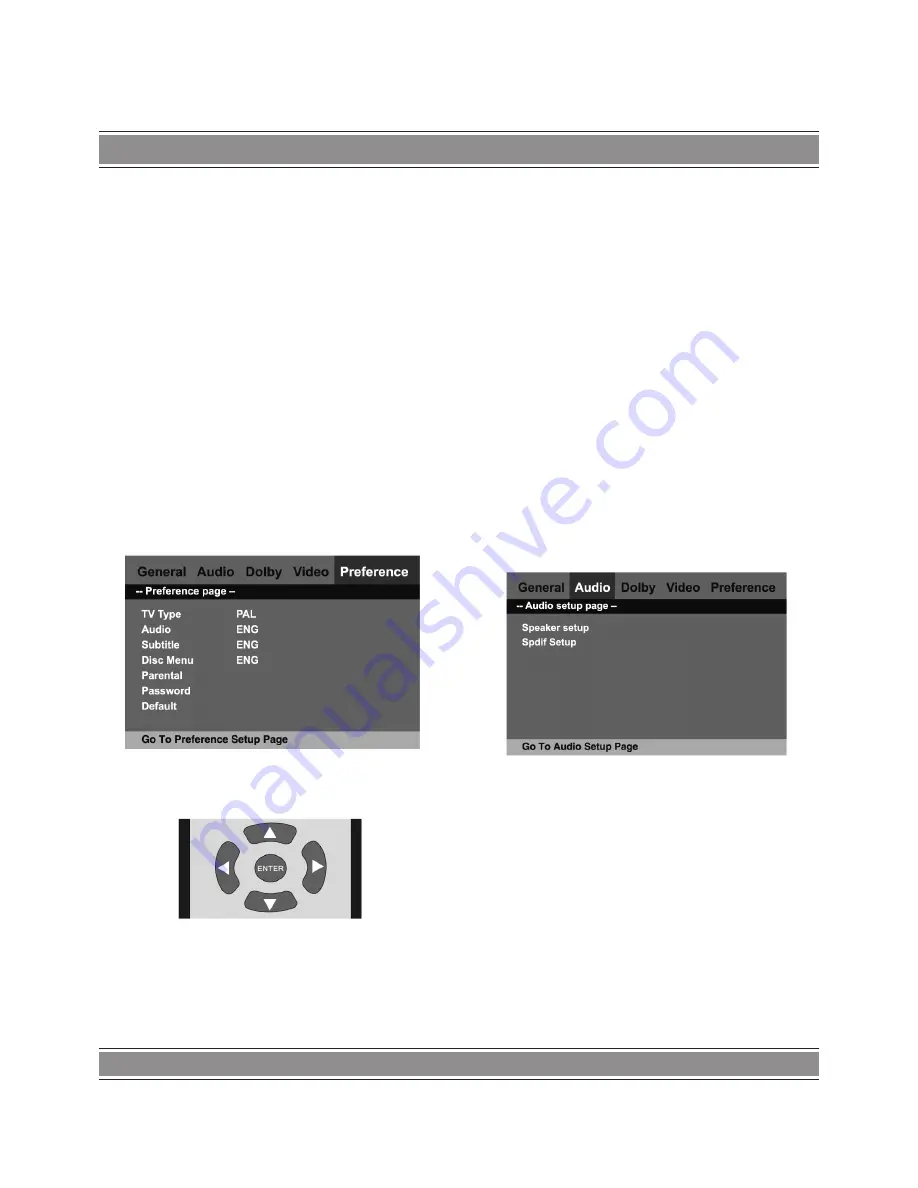
Enter setup menu
1. Click the SETUP button on the remote control
2. You will see the general setup page show up on the
screen.
The navigation system in the setup
1. Use the navigation keys to move the menu cursor left/
right/up/down.
2. Left button - back to the previous menu.
3. Right button - enter sub-menu
4. Enter - make selection.
5. Setup - enter the menu/exit the menu.
General Setup
TV Display
– Sets the aspect ratio of this players output
image.
Optional settings: Normal/PS (Pan—scan), Normal/LB
(Letterbox format), Vlhde (16:9 format).
Angle Mark
– When a DVD title with muIti»angle is played,
the user will be able to view a particular angle.
Optional settings: On/off
OSD Lang
– This menu is used to set the prompts language
on the screen. Optional settings: English
Captions
– Play the enclosed captions on some DVD titles.
Optional settings: On/off
Screen Saver
– Open or close the screen saver function.
Optional settings: On/off
Last memory
– last memory is only avaible or DVD/VCD.
Audio setup
Speaker Setup
– You don’t need to do anything in speaker
setup when you are usingthe digital audio output (coaxial).
This is for users who are using the p|ayer’s built-in 2 channel
output function.
SPDiF setup
SPDIF Setup
Spdif output
– This is for choosing the digital audio format
from coaxial output. If you are using an amplifier with built-in
Dolby/DTS decoder, please choose” SPDIF/RAW? Optional set-
tings: SPDIF OFF, SPDIF/RAW, SPDIF/PCM.


