MAKEID
Two-year warranty
MAKEID product is covered by a 2-year
warranty period from the date of
purchase. During the warranty period,
MAKEID shall repair or replace your
product free of charge due to quality and
functionality problems.
1.
To repair or replace your product within
the warranty period, you must provide
the order number, your contact details
and shipping details, which include your
name, phone number, full address, street
number, zip code, city, country info.
4.
Products returned to MAKEID must be in
full packaging. MAKEID will not hold any
responsibilities for products lost or damaged
by customers during shipping.
2.
The product must be used strictly in
accordance with the operational manual
provided. MAKEID shall not be liable for any
problems caused by accident, misuse,
modification or negligence.
3.
MAKEID shall not be liable for any
consequential loss, damage or expense
arising from the use of its machines or
accessories, nor shall it be liable for death or
serious injury caused by such products.
5.
MAKEID label printers are exclusively
designed for use of MAKEID label paper. This
warranty does not cover any failure or
damage caused by the use of any third party
label papers.
6.
This warranty does not affect your legal
rights as a consumer.
How to use the label?
Common troubleshooting:
3.Abnormal printed text or pattern
4.Blurred printing
2.The printer�s red indicator flashes.
a:
Make sure the printer is powered on and
the Bluetooth has also been turned on.
b:
The APP agreed to all permissions.
c:
Power off the printer, uninstall and
re-install the APP, and agree to all
permissions to connect again.
a:
Restart the printer. Logout the APP and
try again.
b:
Restart the printer. Uninstall and
re-install the APP and try again.
c:
The print head may be dirty, please wipe
the print head gently with alcohol,
and wait for 2 minutes before use
it again.
a:
Using under low temperature situation
may result in blurred printing. Recom-
mended temperature range: 10℃-35℃.
b:
Try to adjust to the highest print density
by clicking "Printer Density" in the Device
Management Setting.
For any further assistance, please contact us via
the email
a:
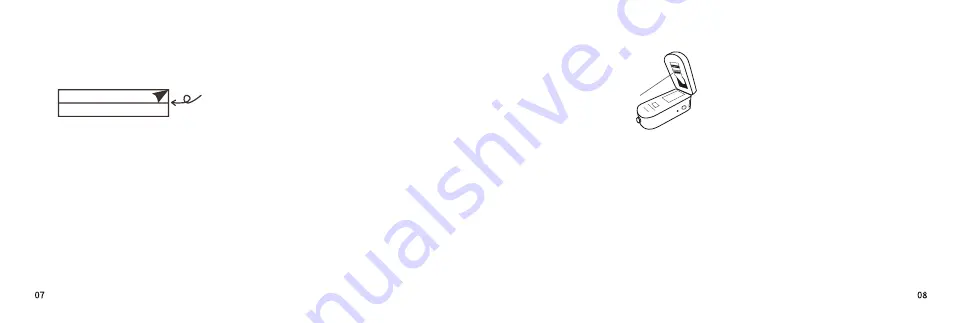
If the label is correctly installed. (For
new labels, the transparent leading tape
needs to be removed before using. Then,
pull the label to the line mark.).
b:
please make sure
the printer�s top
cover is securely locked.
7
Printing Line
Step 1:
Remove the back paper from the
back of the label.
Step 2:
Stick the label onto any dry and
smooth objects.
1.Unable to connect to the printer with
the phone.


