


IMPORTANT
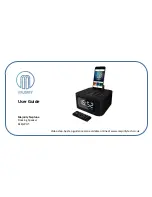
“What’s in the box?”/ Basic Operation
5
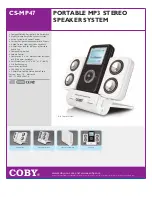
“What’s in the box?”
•
Majority Neptune Radio
•
Remote Control
Please note all (Ref.) refer to Page 2 Controls and Functions mapping guide.
Basic Operation
•
Plug the 5v adapter connector into the back of the system labelled DC 5v (Ref.20) and the power supply into the mains.
•
Press the ‘Power ’ button to turn on the unit (Ref.9), “On” will be displayed on the screen.
•
To select a mode press the ‘Set Mode’ button (Ref.11). Press multiple times until your required option is selected which will
show on the display screen, see page 4. There are five options:
Standby
To place the music system back on standby, press the ‘Power’ button (Ref.9). The front display will show “Off” and then go in
to
standby, showing the time. To turn off fully, switch off at the mains. The cord must be out of reach of children.
•
UK Standard Plug DC 5v Power Supply
•
Aux-In Jack Cable
•
Instructions Guide
iPod/iPhone Connection
USB Playing Mode
Bluetooth
Aux In Playing Mode
FM - FM Radio