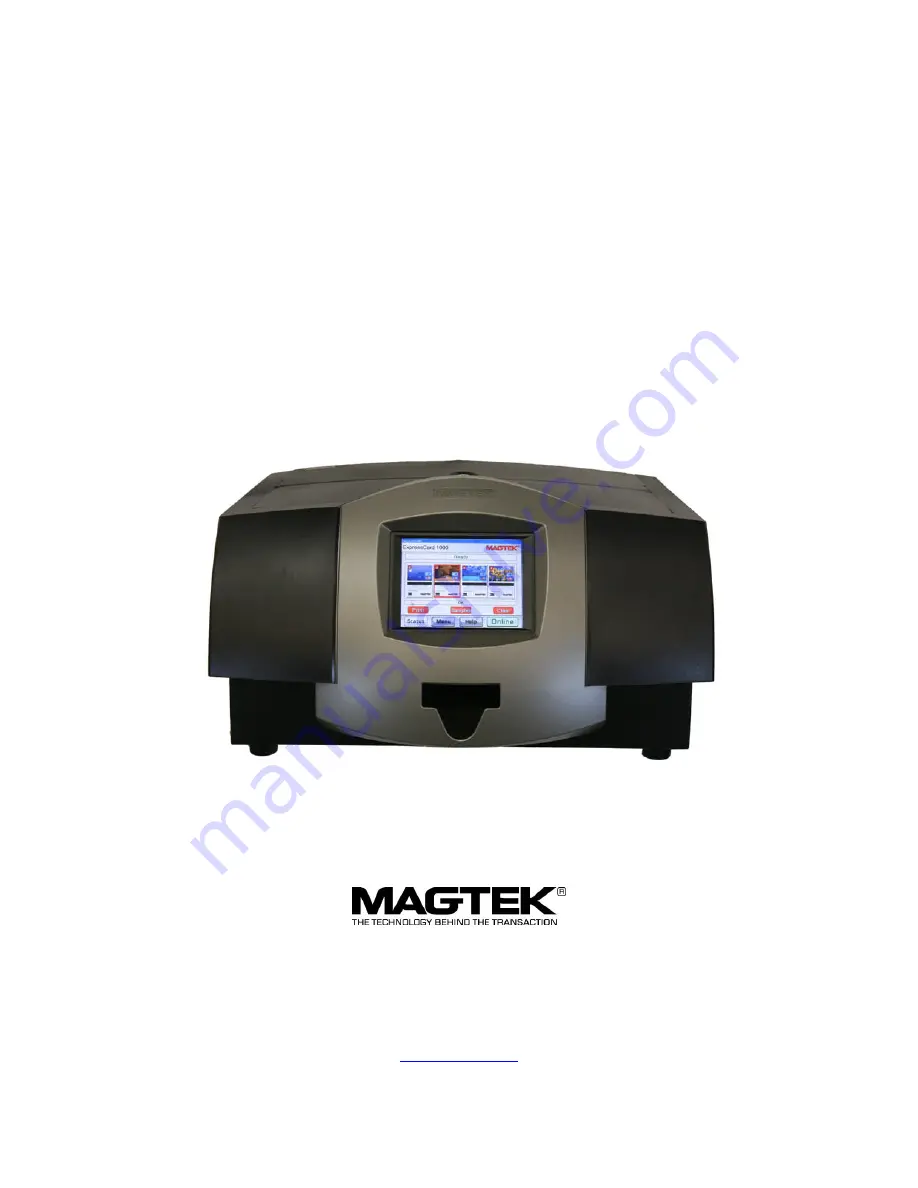
background image


EXPRESSCARD 1000 

INSTANT-ISSUE CARD 

PERSONALIZATION SYSTEM 


USER INSTALLATION AND OPERATION 

MANUAL


FEBRUARY 2008 


Manual Part Number: 99875351-3 


REGISTERED TO ISO 9001:2000 

20725 South Annalee Avenue 

Carson, CA 90746 

Phone: (310) 631-8602 FAX: (310) 631-3956 

Technical Support: (651) 415-6800 

www.magtek.com


Summary of Contents for EXPRESSCARD 1000

Page 1: ...TION SYSTEM USER INSTALLATION AND OPERATION MANUAL FEBRUARY 2008 Manual Part Number 99875351 3 REGISTERED TO ISO 9001 2000 20725 South Annalee Avenue Carson CA 90746 Phone 310 631 8602 FAX 310 631 395...

Page 2: ...chanical for any purpose without the express written permission of MagTek Inc MagTek is a registered trademark of MagTek Inc ExpressCard 1000 is a trademark of MagTek Inc MagnePrint is a trademark of...

Page 3: ...e warranty service location and to use the original shipping container or equivalent MagTek will return the product prepaid via a three 3 day shipping service A Return Material Authorization RMA numbe...

Page 4: ...ing two conditions 1 this device may not cause harmful interference And 2 this device must accept any interference received including interference that may cause undesired operation CANADIAN DOC STATE...

Page 5: ...within these covers Override or cheat electrical or mechanical interlock devices Use supplies or cleaning materials for other than their intended purposes Operate the equipment if unusual noises or o...

Page 6: ...ADING CARDS 11 3 5 STARTUP 14 3 6 NETWORK CONFIGURATION 15 3 7 ACTIVATION 18 4 MACHINE OPERATION 20 4 1 CALIBRATION 20 4 2 PRINTING A TEST CARD 24 4 3 SECURITY 25 4 4 CHANGING DEFAULT PASSWORD 26 5 MA...

Page 7: ...e and security of consumer selected PIN capabilities All of the security privileges transaction logs card inventory and cardholder databases can be monitored and controlled from a central location The...

Page 8: ...1 1 COMPONENT IDENTIFICATION Figure 1 1 Figure 1 2 2...

Page 9: ...Figure 1 3 top Figure 1 4 bottom 3...

Page 10: ...nsport 23 Embosser 1 LCD Touch Screen 2 Card Eject Bin 3 Reset button small pin hole 4 Model and Serial Number 5 Windows Product Key 6 Product Identification Label 7 Secure anchor point 8 Main power s...

Page 11: ...inted sample card Stylus for monitor AC power cord p n 71100001 Crossover network cable p n 22350303 Cleaning card p n 96700020 2 Card weights p n 84400036 If any of the listed items are missing conta...

Page 12: ...ta port shown below Figure 3 2 However if the EC1000 will be connected to the local network plug a standard Ethernet patch cable will need to be used instead of the cross over cable Note Although the...

Page 13: ...rder for the Printer to print properly Figure 3 4 3 Open the Top Cover of the EC1000 by inserting and turning the key Gently grasping the top handles of the Cover and lifting upward The Cover will lif...

Page 14: ...4 Open the Print head assembly by gently pulling up on the assembly s release tab and lifting upward This will allow the assembly to swing completely open Figure 3 6 Figure 3 7 8...

Page 15: ...s you are looking into the EC1000 from the front side Use the end of the ribbon supply core to push in this ribbon drive hub when inserting the ribbon Place the take up end of the ribbon roll in betwe...

Page 16: ...the card cleaning roller and remove the protective tape on the new roller Then reinstall the card cleaning assembly into the printer Figure 3 11 9 Close the EC1000 s top cover When you start to print...

Page 17: ...been dropped or soiled Print heads damaged by contaminated or poor quality cards will automatically void the print head s factory warranty The EC1000 holds a maximum of 100 CR 80 size cards in each Ca...

Page 18: ...minated with oil from the fingertips 5 Before the card door is closed make sure that you place the card weight with the arrow facing up on top of the card stack to insure proper feed by the printer No...

Page 19: ...inward there will be card jams Check for static build up between cards Occasionally a static charge will build up between the surfaces of two or more cards causing them to stick together Reduce or eli...

Page 20: ...position Placing the switch in this position will initialize the hardware and startup the computer the whole process will take about a minute Once the computer has completely booted it will display th...

Page 21: ...automatically however for most networks the IP address must be statically set To configure the network interface on the EC1000 follow the steps below to configure the network card 1 Touch the Menu bu...

Page 22: ...ter the service password on the screen shown below 4 Once the correct password has been entered the screen below will be shown At this point enter the IP address gateway and subnet of the network you...

Page 23: ...ress then the error below will be shown 5 After the network information has been entered shown below press the set new button on the screen the network card configuration in now complete To exit back...

Page 24: ...lect the activation button from the Menu screen shown below After pressing the Activation button the screen below will be shown and a unique challenge code will be displayed in the Challenge window Yo...

Page 25: ...utton to return to the system ready screen If the EC1000 has already been activated the Activation button will not respond to check the activation status select the help button from the Ready screen t...

Page 26: ...cognized calibrate the ribbon If printer still does not recognize the ribbon replace the ribbon Note if the ribbon is missing the green ring RF ID tag the printer will never recognize the ribbon type...

Page 27: ...3 Next select the Properties button 4 Select Printing Preferences 21...

Page 28: ...5 Then select the Calibrate tab 6 Now select Sensors 22...

Page 29: ...alibration cycle During the printer calibration cycle you will hear noise from the printer when the printer is silent select ok twice on the next two screens 8 The screen below should now be shown At...

Page 30: ...est card select the Menu button and then Samples button at the system ready screen and four sample options will be given shown below Select the sample type you wish to create and the machine will prod...

Page 31: ...ss access is controlled remotely through the electronic locks To secure the chassis to a table top surface with the inner anchor point open the cover and locate the anchor hole approximately inch diam...

Page 32: ...button the screen below will be shown At this point select the password that you would like to change Password must be 7 to 16 characters long If one or both passwords has been lost or forgotten the f...

Page 33: ...rty sooner clean the rollers to prevent card jams and maintain the best print quality Caution With the EC1000 turned ON use the following steps to clean the Rollers 1 Open the EC1000 s top cover and p...

Page 34: ...Note The Platen Roller should be cleaned approximately every 250 prints This helps prevent jams and maintain the best print quality Perform this procedure if the roller is visibly dirty 28...

Page 35: ...3 2 on connecting data cable 5 Also make sure that the printer has ribbon for printing If the first five items check out you should next check the EC1000 s current machine status Main screen When the...

Page 36: ...ds when printing on both sides Black ribbon p n 93400020 Color ribbon p n 93400016 Gold ribbon p n 93400023 Silver ribbon p n 93400022 Accessories Cleaning card p n 96700020 Cleaning cartridge supplie...

Page 37: ...nds Black and white printing on both sides 115 seconds Color printing front and black white back 135 seconds Color printing on both sides of card Power Requirements 100 VAC to 240 VAC at 50 Hz 2 amps...

Reviews: