Page 31
3.9.4. Installing the Firebox
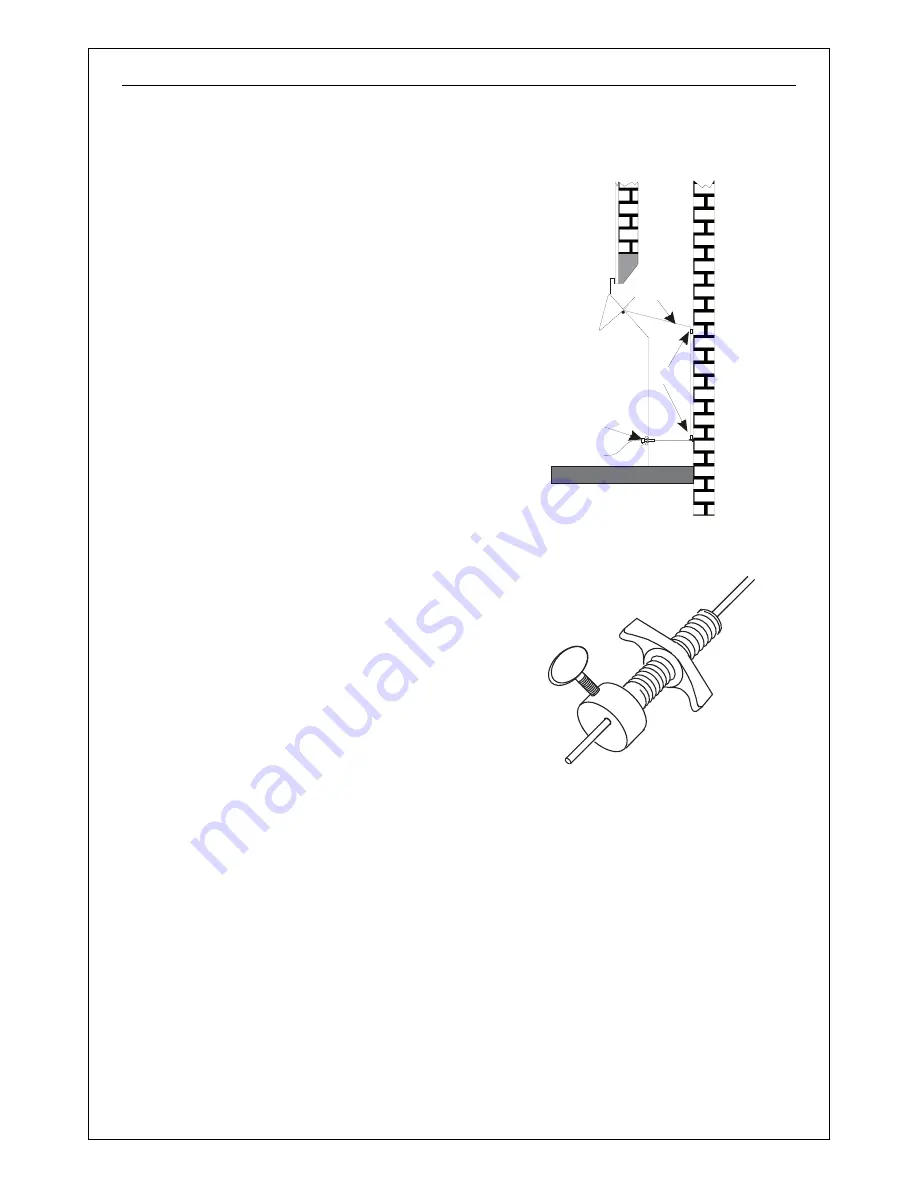
1. With the firebox placed close to the
fireplace opening feed the two cables
through the matching cable brackets
(left cable through left hand set of
brackets and the same for right hand
cable) and then back into the holes at
the bottom rear of the firebox (see
X
Figure 56
X
).
2. Remove the grommet from the gas inlet
slot on the firebox.
3. Whilst pulling the cables, push the
firebox gently into the builders opening
until the flange of the firebox abuts the
fire surround (or the wall).
4. Feed each bare cable end into the hole
at the threaded end of the cable
tensioning screw (see
X
Figure 57
X
).
5. Slide it all the way onto the cable and
through the 8mm diameter hole in the
firebox. (If required, the cable
tensioning screw can be shortened to
suite).
6. Whilst holding the cable tensioning
screw in the box pull the cable taught
and, without releasing the tension,
tighten the thumb screw firmly (see
X
Figure 57
X
). Repeat this procedure with
the other cable.
7. To further tension the cable, turn the
wing nut clockwise while gripping the
tensioning screw.
8. Roll up the excess cable and tuck it
away. Do
NOT CUT
the excess cable.
cable
brackets
cable
Tensioning
Screw
Figure 56
WING
NUT
THUMB
SCREW
CABLE
TENSIONING
SCREW
Figure 57


