DC16 Owner’s Manual
68
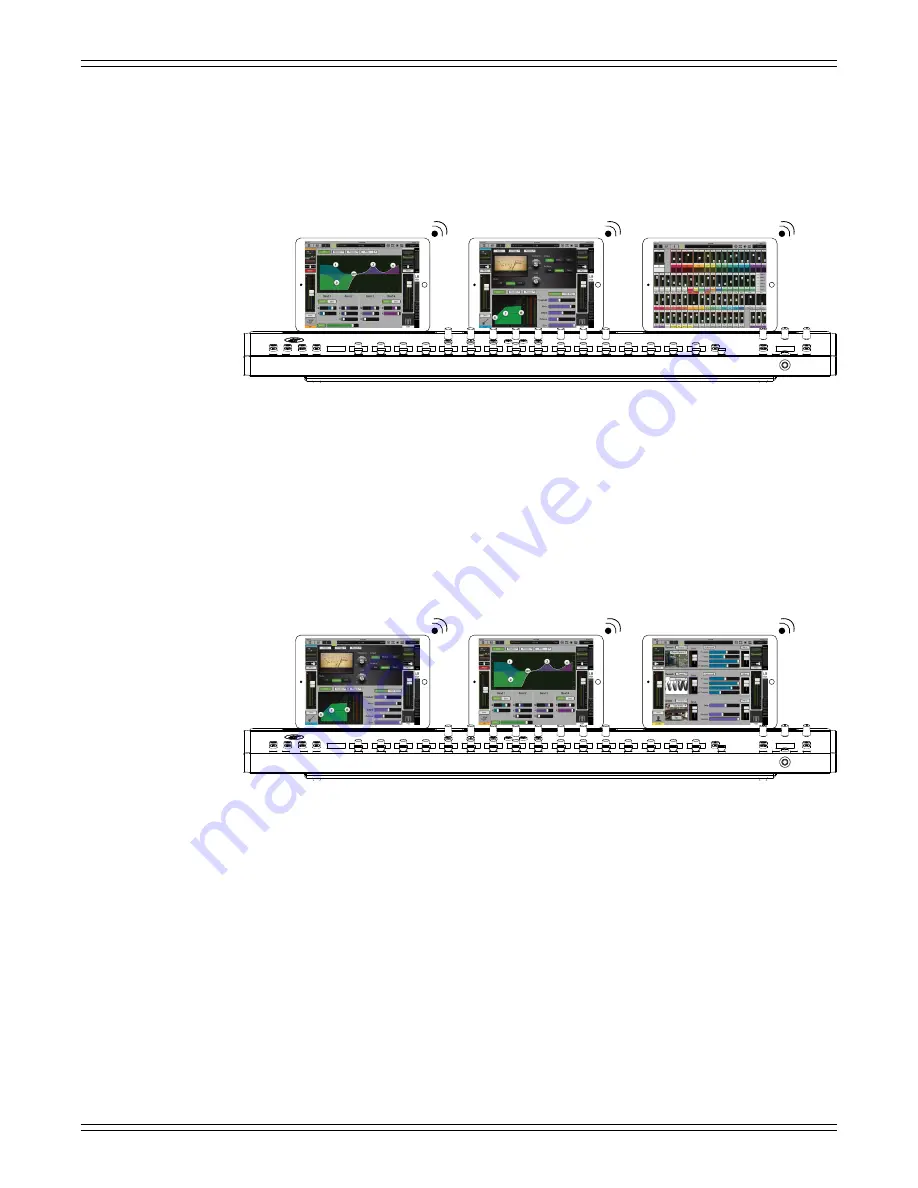
Having said that, the Product Manager and our road warriors prefer a similar setup,
but ever-so-slightly different. See below:
iPad A – 1st History Selected Channel
iPad B – Current Selected Channel
iPad C – Fixed View
Here the Overview is Fixed on the right hand side of the Smart Bridge while iPad B is set
to the Current Selected Channel and iPad A is set to 1st History Selected Channel taking
on the history of whatever was previously viewed on iPad B.
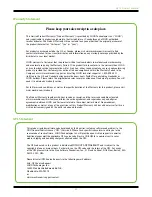
One of our test guys, though, actually prefers to set it up this way:
iPad A – Current Selected Channel
iPad B – 1st History Selected Channel
iPad C – Fixed View
Once again, iPad A is set to the Current Selected Channel. But here, iPad B is set to 1st History
Selected Channel taking on the history of whatever was previously viewed on iPad A. Then
iPad C is set to Fixed View on the previously mentioned “important” channel’s Channel View.
Having said that, this is your mixer and these are your iPads. You can set them up however
YOU like. We can just give you examples of how we set them up...and more importantly,
why we set them up the way we do.
Now that you’re an expert with Current, History and Fixed View Follow Modes, it’s time to put
the big boy pants on and move onto advanced settings. As mentioned a page or two ago,
“The previously listed Follow Modes will probably be all you ever need or use...” and Advanced
Follow Mode is “...not quite as easy to conceive, but we’ll get you dialed in!”
A
B
C
A
B
C


