


USER MANUAL
PrestoAdvancedAD101_AD301_UG_000_UK
Descriptions and non-contractual illustrations in this document are given as an indication only.
M2M Design reserves the right to make any modification
59
Configuration Examples
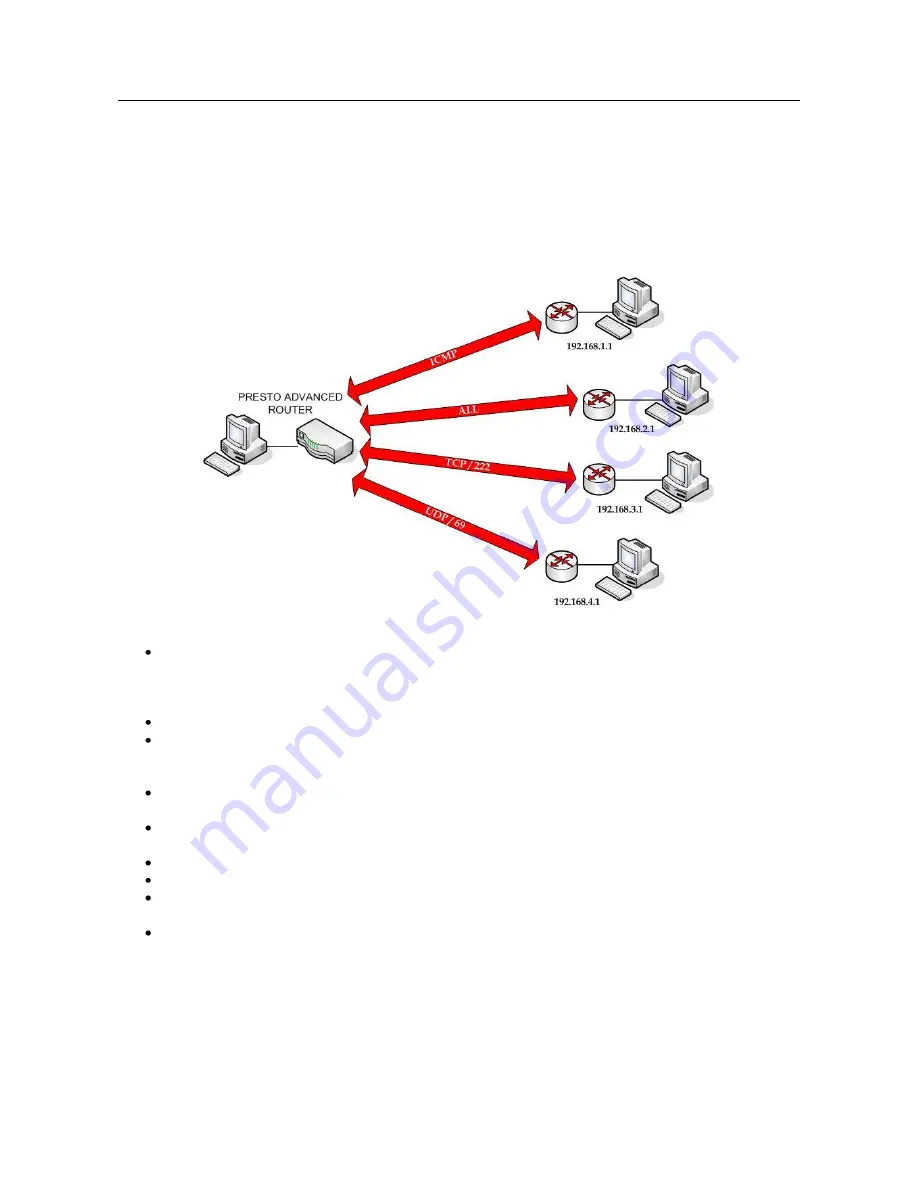
PRESTO Advanced Router as Internet Router
The PRESTO Advanced Routers can be used as
Internet router
for a single user or for a group of
users (entire LAN). NAT function is enabled by default on the PRESTO Advanced Router. The PRESTO
Advanced Router uses Network Address Translation (NAT) where only the mobile IP address is visible to
the outside world. All outgoing traffic uses the PRESTO Advanced Router mobile IP address.
Figure 37 – PRESTO Advanced Router as Internet router
Click
Network
Tab, to open the
LAN NETWORK
screen. Use this screen to configure LAN TCP/IP
settings. Configure IP address and Netmask.
-
IP address: 10.1.1.1
-
Netmask: 255.255.255.0
Press
Save
to accept the changes.
Use SIM card with a dynamic/static IP address, obtained from Mobile Operator. (Note the default
gateway may show, or change to, an address such as 10.0.0.1; this is normal as it is the GSM/UMTS
provider’s network default gateway).
Click
WAN Settings
Tab to configure parameters necessary for GSM/UMTS connection. All
parameters necessary for connection configuration should be provided by your mobile operator.
Check the status of GSM/UMTS connection (
WAN Settings
Tab). If disconnected please click
Connect
button.
Check
Routing
Tab
to see if there is default route (should be there by default).
Router will automatically adds default route via
ppp0
interface.
Optionally configure IP Filtering and TCP service port settings to block any unwanted incoming
traffic.
Configure the PRESTO Advanced Router LAN address (10.1.1.1) as a default gateway address on
your PCs. Configure valid DNS address on your PCs.


