


12
The numbers are as follows:
91 – Reverb Level
92- Reverb Type Select (0,1, 2)
93 – Chorus Level
94 – Chorus Type Select (0, 1)
Digital effects are sent out over MIDI, using controller messages 91 for reverb, and 93 for chorus Because ProKeys always sends
the current effect values, it can be used to control the reverb/chorus amount in any midi device that can receive these controllers.
Programs will maintain their correct effects when responding to incoming MIDI information as the settings are stored with the
programs.
MIDI Control Section
The buttons in this section only have relevance if you are using your
ProKeys 88 as a MIDI controller.
Program Button
When the Program Button is pressed, the LED display will fl ash the
currently assigned program number. The default number is 000, which
will select a Grand Piano sound in GM-compatible MIDI equipment.
After pressing the program button, pressing the (+) or (-) button will send the program change immediately.
For more information on Program Changes, please see page 14.
Bank LSB/MSB Buttons
These buttons have an identical use to the Program Button except that they send Bank LSB or Bank MSB Messages respectively.
These messages are used to select different banks of programs in your MIDI device. As with the Program Button, Bank Messages
are sent immediately.
Channel Button
This alters the transmit channel of the keyboard. The channel is not updated until a valid entry has been made and normal mode
resumes. When the Channel Button is pressed, note- off messages for all notes are sent out to prevent a “stuck-note” situation
where a note off is sent to a new channel for a note on sent on the previous channel (which causes a hanging note that never ends
until you power down).
If the Layer or Split Button is held down when the Channel button is pressed the channel entered will also become the transmit
channel of the Layer or Split Instruments accordingly.
Default channels are: Main on 1, Split on 2 and Layer on 3. The Ride is always transmitted on channel 10.
If you are using the Layer and Split Buttons to control three instruments at the same time in your MIDI device, you must always
ensure the channel assignment for each of the Layer, Split and Main Instruments differ.
Local On/Off Dual Buttons
Pressing the Channel and Program Buttons at the same time toggles the Local Mode on and off. When these buttons are pressed
at the same time, the LED will display ‘on’ or ‘off’ accordingly. The default setting is ‘on.’
If Local is turned off, the keyboard will no longer play the internal audio instrument sounds, but can still be used to play the sounds
of external MIDI synthesizers. However, the internal audio continues to be accessible via external MIDI messages from external
sequencers.
MIDI Out from USB Dual Buttons
Pressing the Program and Bank LSB Buttons at the same time toggles MIDI Out from USB Mode on and off. If this mode is active,
the MIDI Out port transmits MIDI data received at the USB port instead of MIDI data that is generated internally by the device . As
with the local buttons, the LED will display ‘on’ or ‘off’ as these buttons are pressed at the same time.
Store
Pressing the Bank LSB and Bank MSB Buttons at the same time allows you to store the current Program, Bank LSB, and Bank MSB
Messages to an Instrument Button. This means that when that Instrument Button is pressed it will send out these MIDI messages.
When the Store Buttons are pressed, the device enters Edit Mode, and the LED’s above the 14 Instrument Buttons will fl ash to indicate
that you should select one for storage. Once an Instrument Button is pressed, normal mode resumes. If no Instrument Button is
pressed once the edit mode period of three seconds has expired, Normal Mode resumes with no change to any of the Instrument’s
currently assigned Program and Bank values.
Note:
Although the Program, Bank LSB and Bank MSB Messages that are transmitted when these buttons are pressed can be
altered, this does NOT affect the Program Change required to access the 14 internal sounds from an external MIDI device.
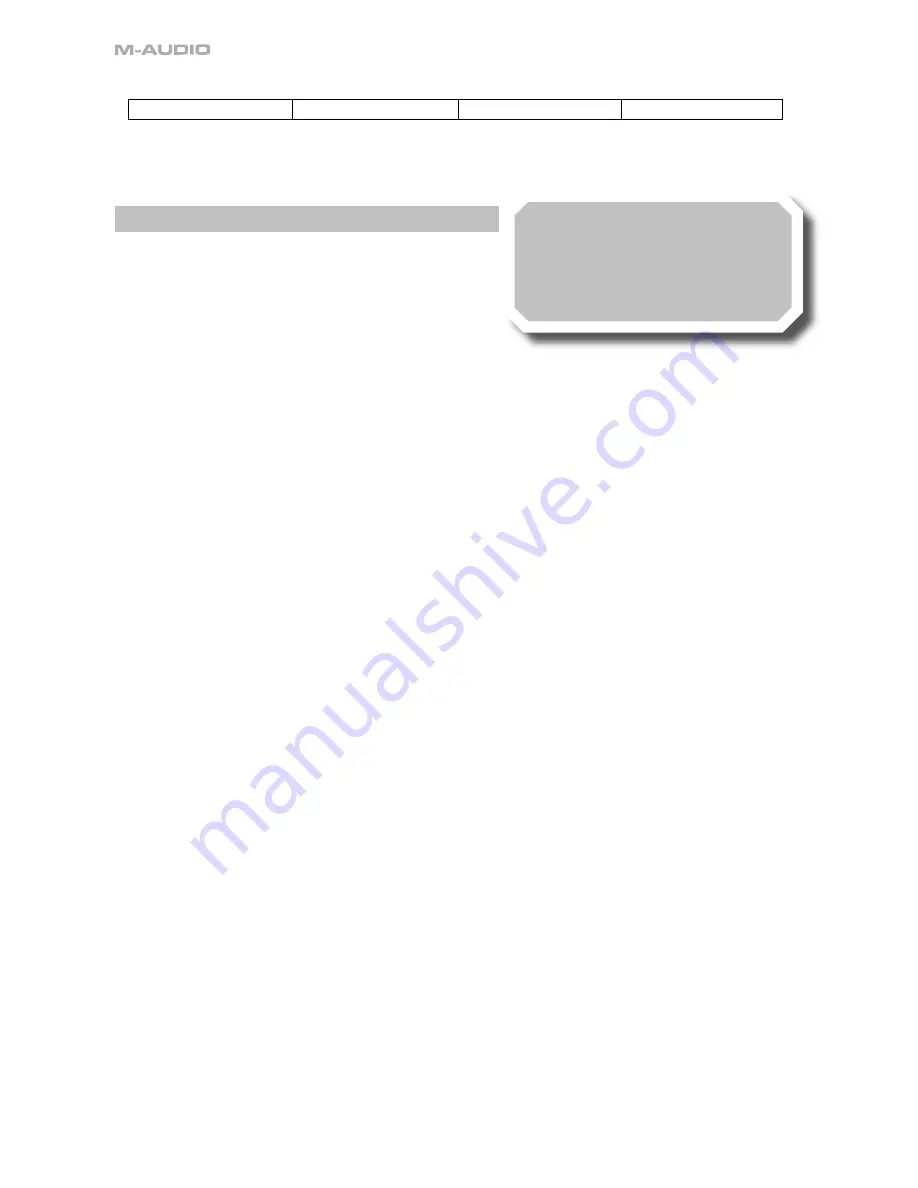
Performance Tip #7
Supreme Pad
– Try layering the Strings and Warm Pad
for a lush, full pad. Try transposing the Strings or Synth
Pad up or down an octave and adjusting the volumes of
each to change the timbre.