5
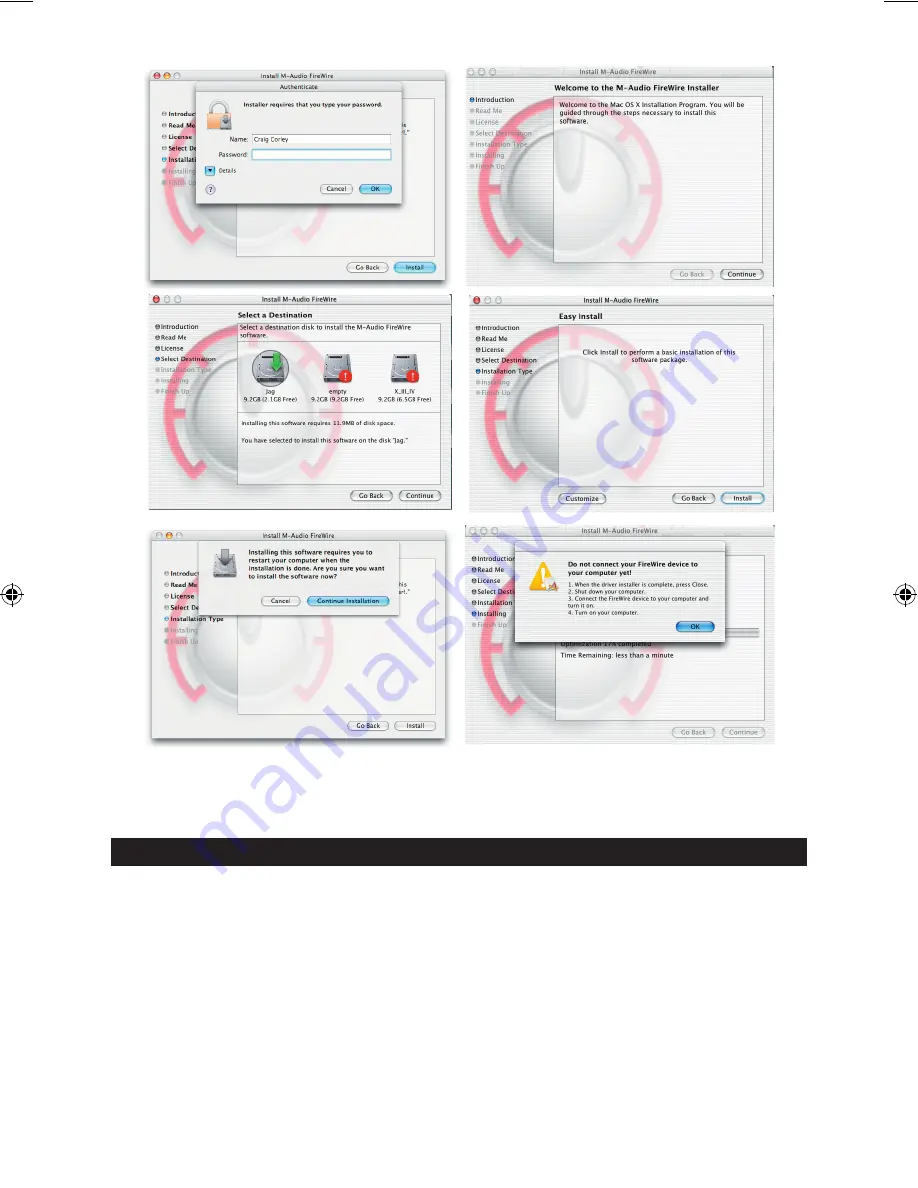
6. When the installer is finished, shut down your computer.
7. When your computer is off, you may connect your FireWire audio interface and power it on.
8. Turn on your computer. When the computer has fully booted, your FireWire interface will be ready
to use.
Connecting Your Equipment to the FireWire Series Interface
<
The Ozonic has multiple outputs that can serve a number of purposes. However, regardless of the
number of available outputs on your particular device, Outs 1 & 2 will always serve as your default
left and right outputs. Please connect Outs 1 & 2 to the left and right channels, respectively, of your
speakers, mixer, or other monitoring system.
<
You may also connect a pair of headphones to the headphone jack on the back of the unit allowing
for monitoring or pre-listening in private.
<
The inputs on the back of the FireWire interface accept line-level signals, such as those from
keyboards, mixers, and CD players, as well as XLR and ¼” jacks which will accept instrument and
mic level signals for recording from sources such as vocal microphones, guitars, and basses. If you
wish to use the rear line inputs, make sure the Mic/Line buttons on the front of the FireWire device
are in the “in” position. Switching to the “out” position will allow the front mic/instrument inputs to
be used instead.
040819_Ozonic_QS_ML01.indd 5
10/19/04 12:15:05 PM


