FinishLynx P
LATINUM
Package Quick Start Guide - For Vision Cameras
6
Remote Focus (adjusts near/far image focus)
1. Click and hold
and
on the keypad on the right of
the FinishLynx screen until the image becomes crisp. Start
by focusing on the far lane and adjust until all lanes are in
focus. Ensure that athletes in all lanes (near and far) are in
focus.
2. Once the camera appears to be aligned, click the green
alignment
icon to close 2-D alignment, then click the
red 1-D alignment icon
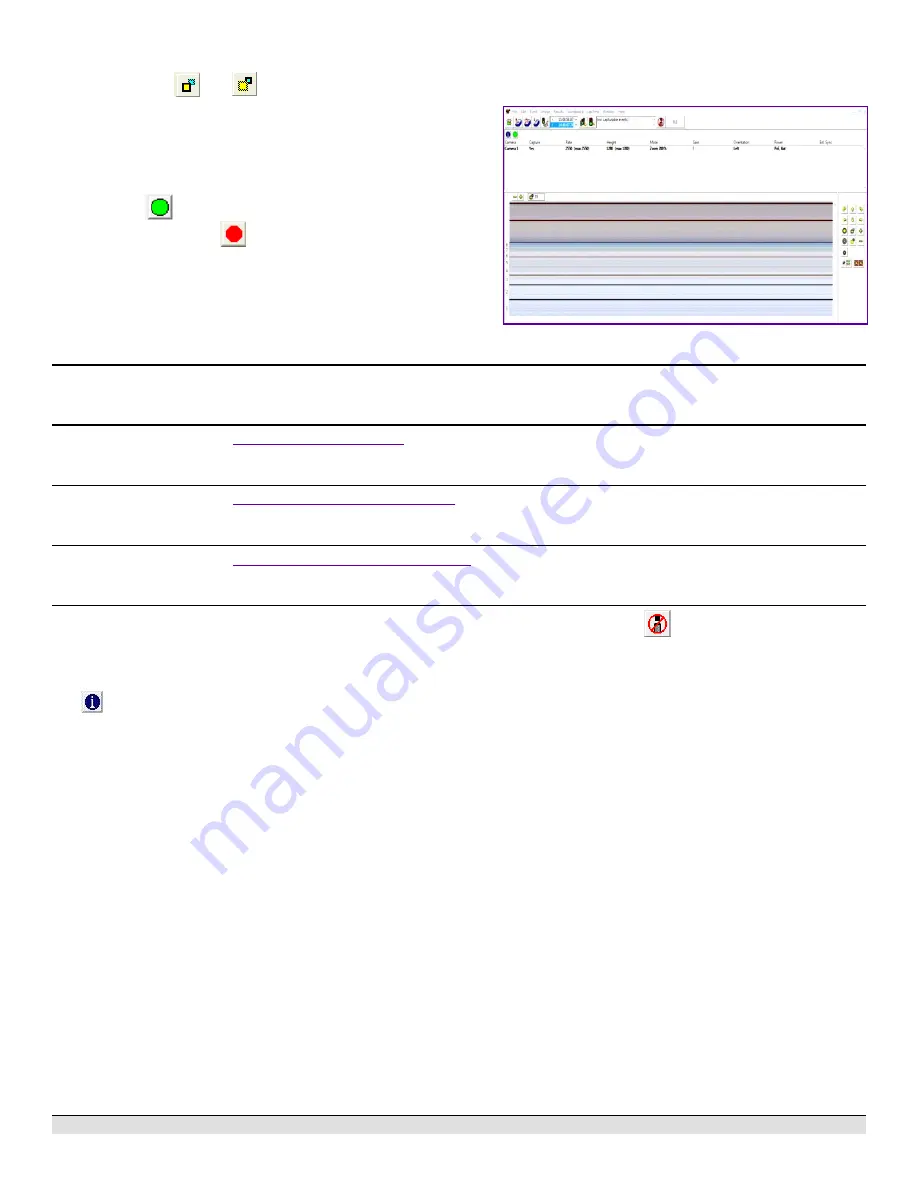
You will know when your camera is aligned on the finish line
because the 1-D image will be primarily white. See image
below for proper 1-D alignment.
If you followed the steps closely in 2-D align, the camera
should already be aligned in 1-D mode as well. The 1-D
image should look similar to the following screen capture:
Step 10:
Align the Reverse Angle Camera
1. Repeat Step 1: above for the non-timing Reverse Angle Camera.
Step 11:
Mount & Install IdentiLynx camera
Follow the instructions on the
Step 12:
Setup RadioLynx wireless start
Follow the instructions on the
Internal RadioLynx Quick Start Guide
Step 13:
Connect Scoreboard
Follow the instructions on the
Portable LED Display Quick Start Guide
Step 14:
Automatic Capture Module (ACM) Setup and Operation
A. Using ACM to Stop Running Time
The following information will help to set up the ACM feature for
automatically capturing the athletes as they cross the finish line.
1. In the Hardware Control window, click
Camera Settings
.
2.
Navigate to the
Capture
tab, set
Capture Method
to
Automatic
, and uncheck
Manual
.
B. Using ACM to Stop Running Time
The following information will help to set up the ACM feature for
stopping or pausing the running time with each race.
1. In
Camera Settings
, navigate to the
Inputs
tab and set
Photo Eye
to
Internal
.
2. Click
OK
to close the Camera Settings.
3. Go to
Scoreboard
|
Options
and set the
Offset
to
0.03
.
C. Manually Control ACM
1. Click
File
|
New
to create a new blank event, or click the
Create New Blank Event
button in the upper left.
2. In the Event Window, make sure there is an
A
for Armed
and
S
for Scoreboard, and it says
Armed
to the right of the
race clock. (When using ACM, the C for capture will not
show until capture is enabled).
3. Create a start for the event and confirm that the running time
is showing on the Portable LED display.
4. Click the Capture icon
to enable capture, then hit the
Alt
+
F
keys and it will say
Finishing
to the right of the race
clock (click
Scoreboard
for shortcut keys).
5. Have someone run through the finish line. The camera
should capture image, and the running time should stop and
display the time to the hundredths.
6. As you evaluate the image, the results should populate and
page on the Portable LED Display.
NOTE:
In multi-lap races, you can use
Alt
+
P
to pause the
running time as competitors pass in front of the camera.
D. Automatic ACM Setting
NOTE
: Autobreak settings will occur automatically for every race,
so play with your settings to make sure it fits the way you want to
handle each race, even multi-lap races.
1. Go to
Scoreboard
|
Options
.
2. Under Running Time: on the third line is
Autobreak
. These
settings allow it to occur automatically.
3. Checking
Finish
will cause the running time to stop when
capture is enabled and the competitors cross the finish line.
4. Checking
Pause
will cause the running time to pause each
time competitors cross the finish line in multi-lap races when
capture is enabled.


