Rev #2
Version 3.00
August 2020
Page 10 of 80
3
Quick Start Guide
3.1
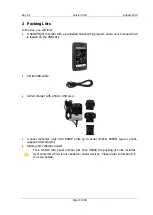
Charging the Device
Fully charge the NANO
4
before using it.
1.
Open the NANO
4
box and locate the charging cable (MicroUSB) and wall charger.
2.
Connect the MicroUSB to the wall charger and the other end to the NANO
4
.
3.
Insert the wall charger into the electricity socket.
4.
You can also charge your NANO
4
via USB from a PC.
3.2
Turn ON
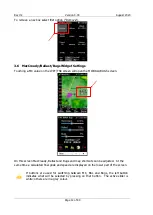
To turn on the NANO
4
press and hold the Power button which is located on the top.
3.3
Setting up Your NANO
4
After powering on the NANO
4
, confirm the first menu (elevation) and go to SETUP menu
where it is highly recommended to set following settings:
1.
Flight recorder (set p
ilot, registration, recording interval …)
2.
Files -> Waypoints and Airspaces. Load .CUP file for the WPT and .CUB file for the
Airspace.
3.
Units
4.
Polar and Glider settings
5.
Click ABOUT and check whether you have the latest official firmware version on your
NANO
4
. To check which is the latest official version, follow
the firmware section).
3.4
Graphic Customization
In the SETUP menu, under GRAPHICS, it is possible to customize the graphics for the
NANO
4
.
3.5
Setup NAVBOXES
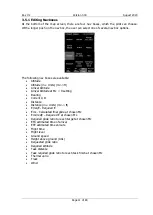
It is possible to set 12 navboxes for every navigation page by swiping the bottom row. To
change / set up a navbox, touch the navbox and select one from the opened navbox menu.


