Touchscreen Display
25
E-EQ-MX3RFIDOGWW-A MX3-RFID
User’s
Guide
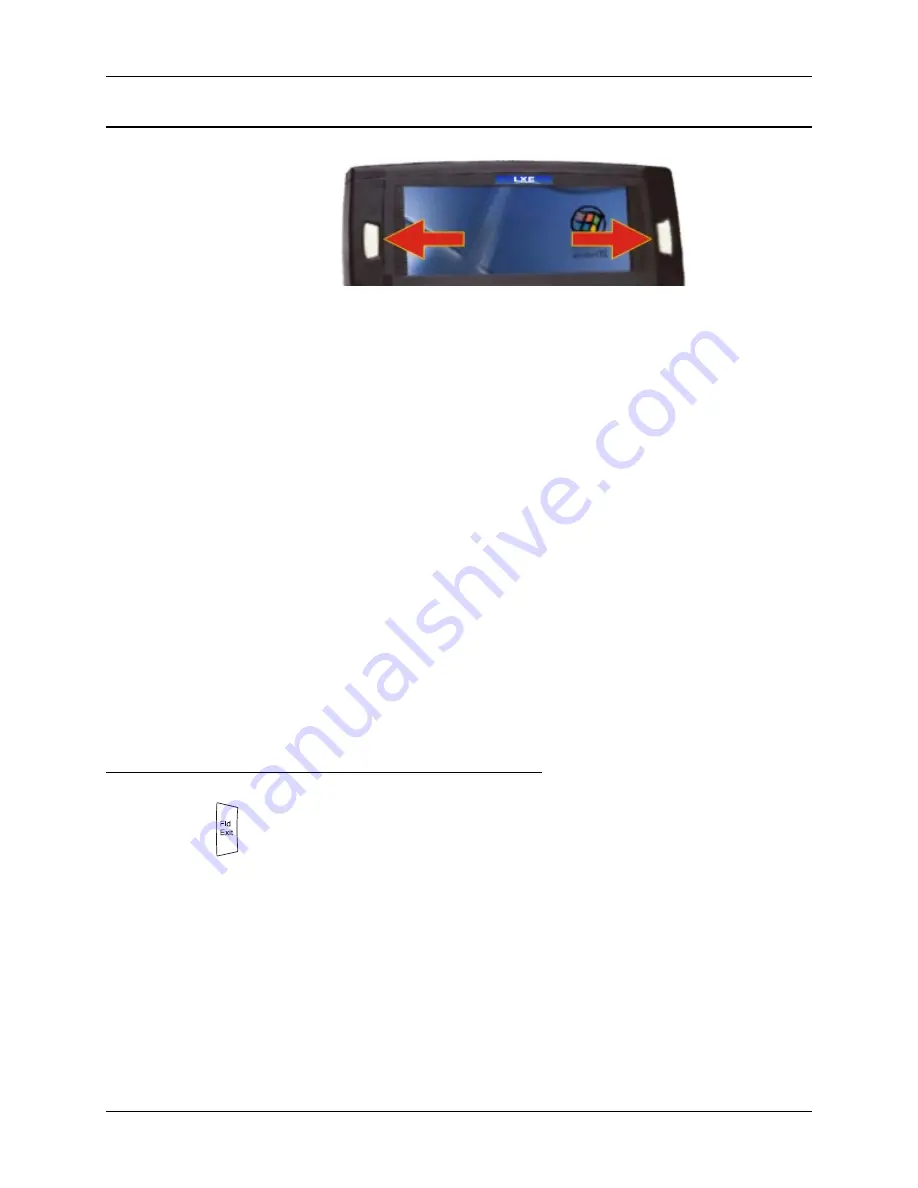
Scan Buttons
Figure 21 Programmable Buttons
There are two buttons, one on each side of the display. The buttons can be programmed to perform
specific functions. When there is no integrated scanner installed, both buttons default to Enter
buttons (with the exception of IBM 5250 terminal emulation devices – in this case, the left button
is labeled and functions as “Field Exit”).
Note:
The programmable Scan key is the Field Exit key when the device is an IBM 5250 /
TN5250 compatible device. It can also be programmed as the RFID Read key for an
MX3-RFID device.
To edit the button parameters, select
Start | Settings | Control Panel | Scanner
. Change the
parameter values and tap OK to save the changes.
The default setting for the right button is RFID Read. The default setting for the left button is
Scan. When the device does
not
have an integrated scanner, both buttons default to Enter keys and
the Scan selection is greyed out.
Each button can be setup as:
•
Disabled – no response when pressed
•
Scan – initiate a barcode scan sequence (integrated scanner only)
•
Enter Key
•
Tab Key
•
Field Exit (IBM 5250 / TN5250 devices only)
•
Virtual Key (default values F20 and F21)
•
RFID Read
Field Exit Key Function (IBM 5250/TN5250 Only)
The Field Exit key is used to exit an input field. If the field is an Auto Enter field, the
auto transmit function is activated. This key function is present on the IBM
5250/TN5250 specific keypad only.
Summary of Contents for MX3
Page 6: ...iv Table of Contents MX3 RFID User s Guide E EQ MX3RFIDOGWW A ...
Page 28: ...22 Getting Help MX3 RFID User s Guide E EQ MX3RFIDOGWW A ...
Page 44: ...38 The Passive Vehicle Cradle MX3 RFID User s Guide E EQ MX3RFIDOGWW A ...
Page 50: ...44 Key Maps MX3 RFID User s Guide E EQ MX3RFIDOGWW A ...
Page 64: ...58 Index MX3 RFID User s Guide E EQ MX3RFIDOGWW A ...


