


80
79
Fault
Probable cause
Remedy
Wrong tooth pitch.
Vibrations.
Disk incorrectly sharpened.
Low quality disk.
Inncorrect emulsion of the lubricating
refrigerant.
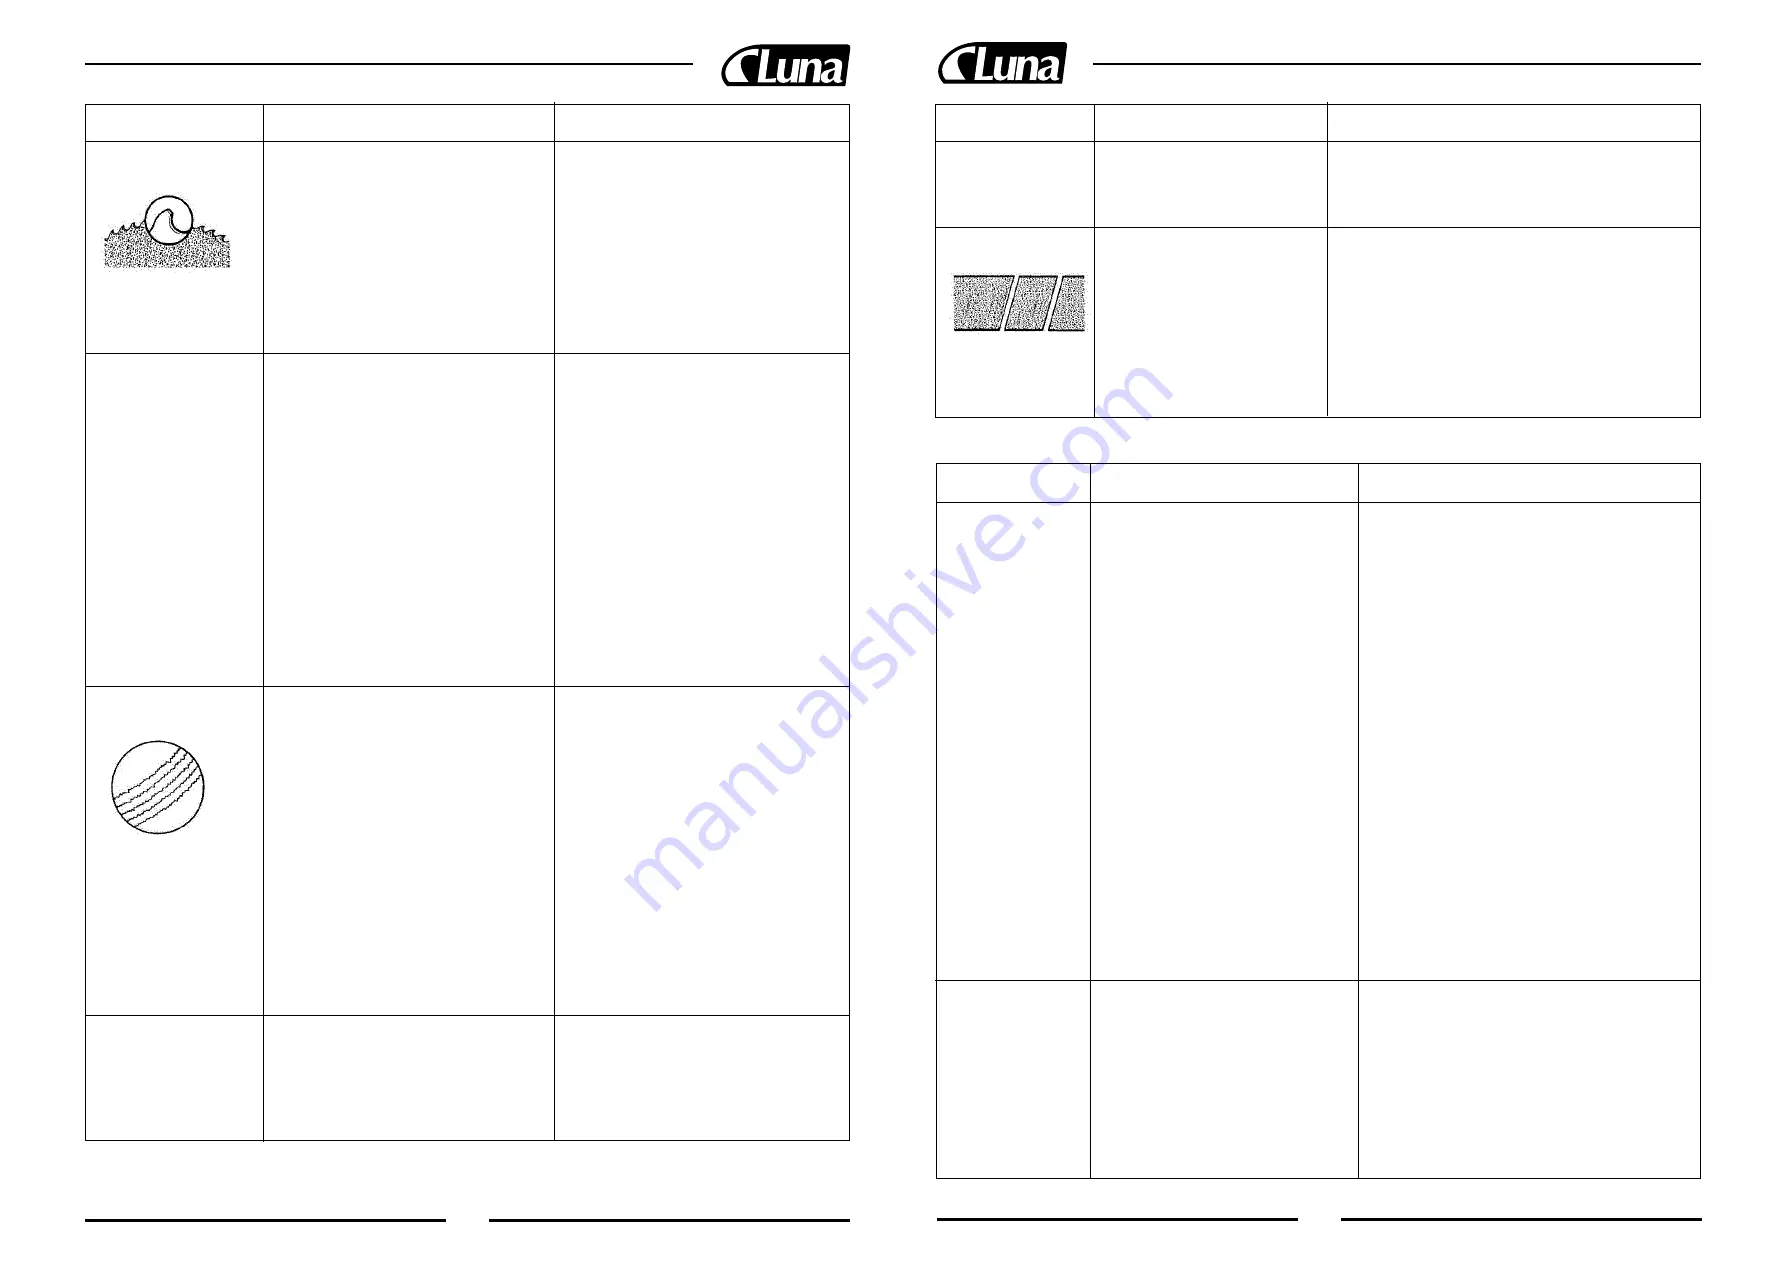
Wrong tooth pitch
Unsuitable tooth profile
Ineffective gripping of the part in the
vice.
Dimensions of the solid section too large
with respect to the maximum admissible
cutting dimensions.
Disk diameter incorrect and/or too large.
Disk diameter incorrect and/or too large.
Ineffective gripping of the part in the
vice.
Too fast advance.
Disk teeth are worn.
Insufficient lubricating refrigerant.
Toothing does not unload shavings well.
To fast advance.
Ineffective gripping of the part in the
vice.
Disk head off the straight.
Choose a suitable disk.
See Chapter “Material classification and
choice of disks”.
Check gripping of the part.
Replace the disk with one that is more
suitable and correctly sharpened.
Use a better quality disk.
Check the percentage of water and oil in
the emulsion.
Choose a suitable disk.
See Chapter “Material classification and
choice of disks”.
Choose a suitable disk.
See Chapter “Material classification and
choice of disks” in the paragraph on Type
of disks.
Check the gripping of the part.
Abide be the instructions.
Decrease the disk diameter, adpating it to
the dimensions of the part to be cut; the
cutting part of the disk must not be too
large for the shape of the part to be cut.
Decrease the disk diameter, adpating it to
the dimensions of the part to be cut; the
cutting part of the disk must not be too
large for the shape of the part to be cut.
Checking the gripping of the part.
Decrease advance, exerting less cutting
pressure.
Sharpen the tool.
Check the level of the liquid in the tank.
Increase the flow of lubricating refrige-
rant, checking that the hole and the liquid
outlet pipe are not blocked.
Choose a blade with a larger tooth pitch
that allows better unloading of shavings
and that holds more lubricating refrige-
rant.
Decrease advance, exerting less cutting
pressure.
Check the gripping of the part which may
be moving sideways.
Adjust the head.
Chipped disk
Disk vibration
Ridges on the cutting
surface
Cuts off the straight
Fault Probable cause Remedy
Disk sides differently sharpened.
Disk thinner than the commercial
standard.
Dirt on the gripping device.
Too fast advance.
Low cutting speed.
Wrong tooth pitch.
Sticky accumulation of material on
the disk.
Insufficient lubricating refrigerant.
Choose tool quality carefully in every detail as regards type
and construction characteristics.
Carefully clean the laying and contact surfaces.
Decrease advance, exerting less cutting pressure.
Increase speed.
Choose a suitable disk.
See Chapter “Material classification and choice of disks”.
Check the blend of lubricating coolant and choose a better
quality disk.
Check the level of the liquid in the tank.
Increase the flow of lubricating refrigerant, checking that the
hole and the liquid outlet pipe are not blocked.
Cuts off the straight
Blade sticks in the cut
Fault Probable cause Remedy
Fused lamp.
Power supply.
Fuses “FU 1”.
Short circuits.
Emergency button “SB 1” on
Cycle reset or line button “SB 2”.
Thermal probe built into the stator winding
has tripped due to motor overheating.
Transformer “TC 1”.
Fuse “FU 2”.
Auxiliary relay “KA”.
Socket and plug connecting the electric
box/microswitch in the handle.
Microswitch “SQ 1” in the handle.
Remote-control switch “KM”
Motor “M 1”.
Change it.
Check: - phases
- cables
- socket
- plug
Voltage must arrive upstream from the fuses.
Check for efficiency.
Identify and eliminate.
Ensure that it is off and that its contacts are unbroken.
Check mechanical efficiency.
Check current continuity on the two wires in the prone
after letting the motor cool for about 10-15 minutes. If
afte this time there is no current continuity in the two
wires, the motor must be changed or rewound.
Check that the supply voltage is the same as the line vol-
tage and that it gives a value of 24 V at output.
Check fuse efficiency and ensure there are no short
circuits causing the protection to trip.
Check that 24 V reach the coil terminals when the but-
ton “SB 2” is pressed; if this happens and the relay is
not self.fed, it must be changed.
Check that the plug is correctly inserted and look for
any bad connections inside the box.
Check operation and/or efficiency; replace if broken.
Check that phases are present at both input and output;
ensure that it is not blocked, that it closes when fed, that
it does not cause short circuits; otherwise change it.
Check that it is not burnt and that it turns freely.
It may be rewound or changed.
The green pilot light
“HL” does not light up
Motor stopped with
pilot light “HL” lit
11.2 Electrical components diagnosis