


67
Lorex Client 11: Client Software for PC
Lorex Client 11: Client Software for PC
Lorex Client 11 is a client software for PC that allows you to connect to your DVR on a PC
and view your cameras from anywhere in the world.
NOTE:
Before you can connect to your DVR over the Internet, you must complete port forwarding
and DDNS setup. For details, see steps 1, 2, and 3 under “Accessing your DVR Remotely
over the Internet” on page 60.
Connecting to your DVR using Lorex Client 11
1
Insert the software CD that comes included with the system. Open the CD and click
DVR
Software>Lorex Client Software - PC
. Follow the on-screen instructions to install Lorex
Client 11.
•
OR
, download the
Client Software for PC
from
www.lorextechnology.com
.
2
Once installation is finished, double-click the
Lorex Client 11 icon (
)
from the desktop.
The DVR login screen appears.
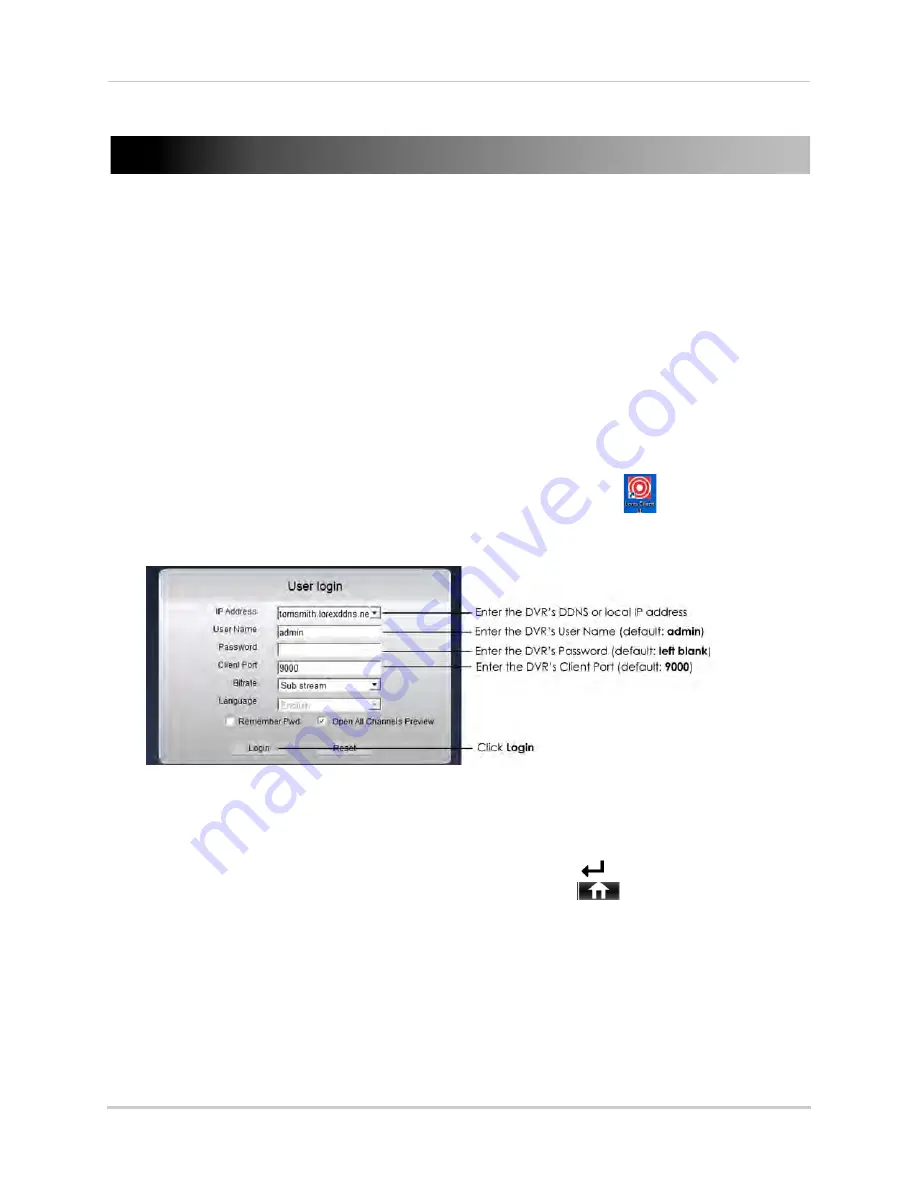
3
Configure the following:
•
IP Address:
Enter the
DDNS address or local IP address of your DVR
.
• The DDNS address must include the
URL Request
you created when you registered for
DDNS, followed by
.lorexddns.net
. For example, if your URL request is
tomsmith
, enter
tomsmith.lorexddns.net
.
• The DVR's local IP address can be obtained by pressing
on the front panel or
right-clicking and then clicking the
Main Menu button (
) >System>Info
(an
example of a local IP address is
192.168.5.11
).
•
User Name:
Enter the DVR's username. The default user name is
admin
.
•
Password:
Enter the DVR's password. By default, the password is
left blank
.
•
Client:
Enter the Client Port number of your DVR. By default, this is
9000
.
4
Click
Login
to access your DVR. Lorex Client 11 connects to your DVR and streams live video
from your cameras. The interface for Lorex Client 11 is identical to the web client interface
used when you connect to your DVR using Internet Explorer. For details, see “Remote Viewing
Interface” on page 68.
Summary of Contents for LH140
Page 16: ...xiv...


