


60
Setting up your DVR for Remote Connectivity
4
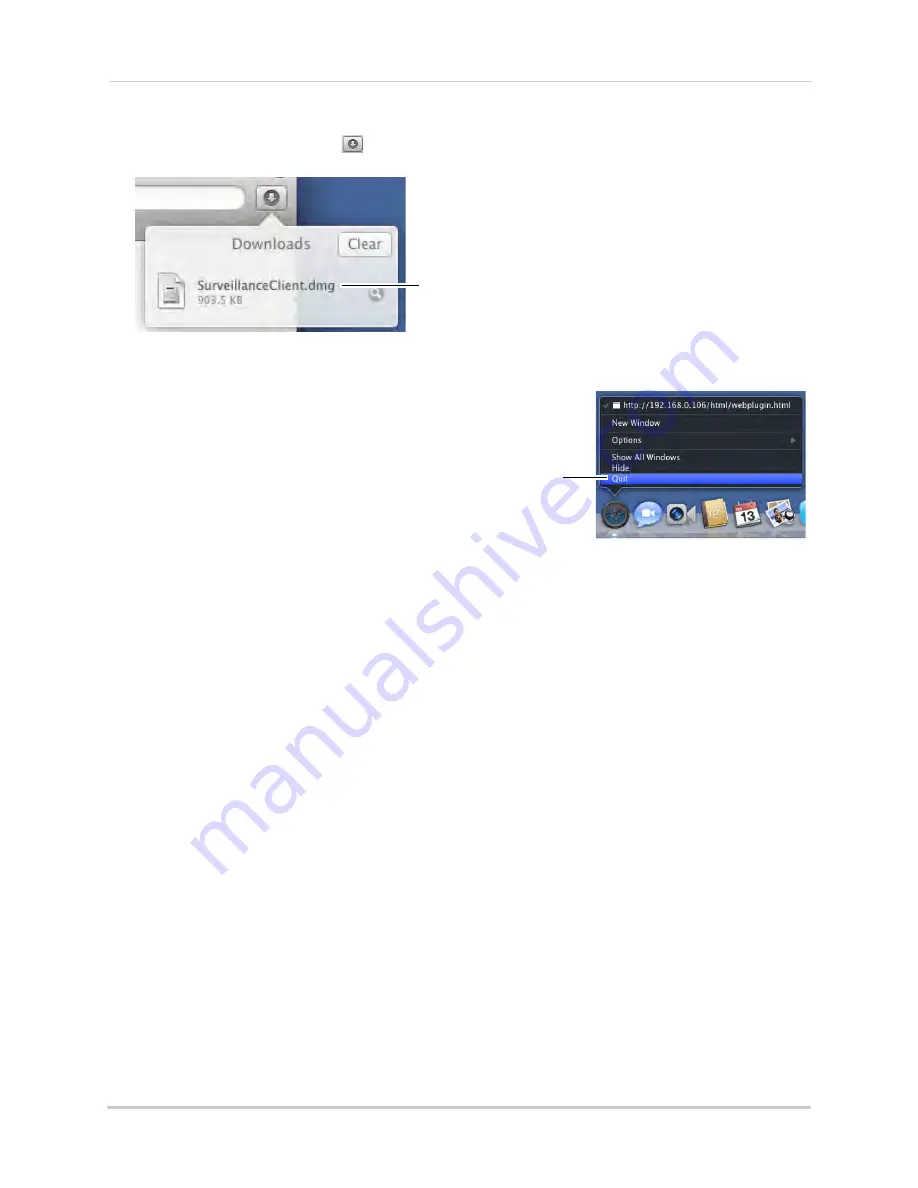
Click the downloads button (
) on the top-right corner of Safari. Right-click
SurveillanceClient.dmg
in the downloads list and select
Open
. A web plugin folder appears.
Right-click
SurveillanceClient.dmg
and click Open
5
Double-click
SurveillanceClient
and follow the on-screen instructions to install.
6
Quit Safari (right-click the Safari icon in the
dock and select
Quit
) and then restart
Safari.
Right-click Safari
and click Quit
7
Enter
http://
, the
IP address of the DVR
,
colon
,
and the
HTTP port number of the
DVR
(e.g. http://192.168.5.118
:
80) into the
address bar, as shown above.
8
Enter the DVR username and password to log in to the system. By default, the username is
admin
, and the password is left blank.
Accessing your DVR Remotely over the Internet
Setting up remote connectivity allows you to view your DVR from any computer or
compatible mobile device with Internet access.
NOTE:
Except where noted, the instructions below are the same for PC and Mac.
To set up remote connectivity with your DVR, you must:
1
Port forward the HTTP, Client, and Mobile ports
(default:
80, 9000, and 1025
) on your router
to your DVR’s IP address.
2
Create a DDNS account.
3
Enable DDNS on the DVR.
4
Test the remote connection by entering your DDNS address in a web browser.
Step 1 of 4: Port Forwarding
You
must
port forward the HTTP, Client, and Mobile ports
(default:
80, 9000, and 1025
) on
your router to your DVR’s IP address before you can remotely connect to your system.
There are several methods to port forward your router:
• Use the
Lorex Easy Connect Auto Port Forwarding Wizard
(PC only) to port forward the
required ports (see CD for details). For instructions on how to use the Easy Connect Wizard,
see the Easy Connect manual on the CD.
Summary of Contents for LH140
Page 16: ...xiv...


