System Setup Controls
27
ENG
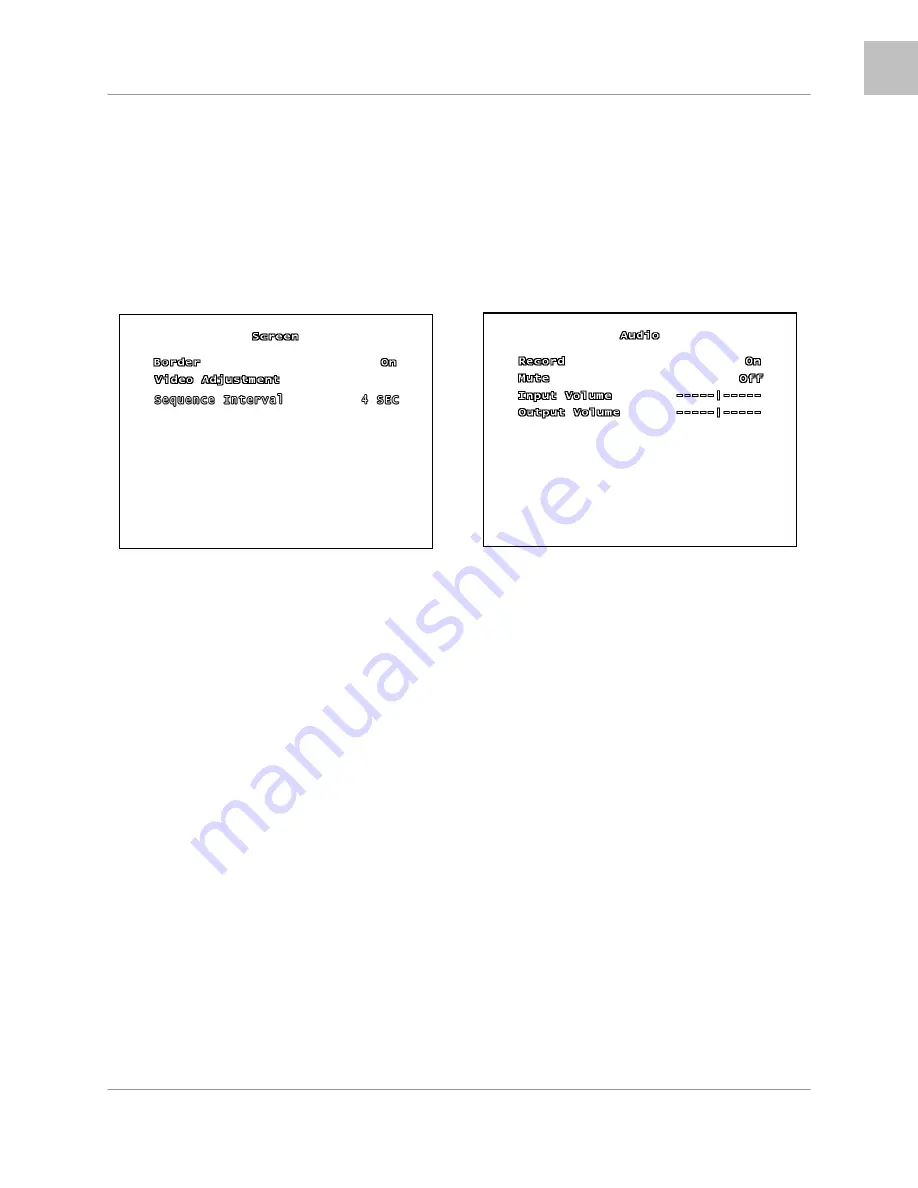
SCREEN SETUP
The Screen Setup controls the onscreen
display of the DVR.
Use the
▲▼
arrows to navigate through the
settings, and the
◄►
arrows to change the
values. Press the MENU/EXIT button to return
to the previous menu.
BORDER
The border is the white line that appears
around each channel. Set the option to ON
(displays the boarder) or OFF (no boarder).
VIDEO ADJUSTMENT SUBMENU
Use the Video Adjustment to change the
position of the entire screen, using the
▲▼◄►
arrow keys.
SEQUENCE INTERVAL
Set the length of time that each channel will
be displayed in full screen during Sequence
Mode. The sequence interval can be set
between 0 seconds to 7 seconds.
NOTE:
Press the FF Button on the front panel
to enter Sequence Mode when viewing live
video.
AUDIO SETUP
The Audio Setup adjusts the Audio
input/output of the DVR system.
Use the
▲▼
arrows to navigate through the
settings, and the
◄►
arrows to change the
values. Press the MENU/EXIT button to return
to the previous menu.
RECORD
Set Record to ON to enable sound recording
(when a microphone is attached into the
AUDIO INPUT port on the system.
NOTE
: The audio is shared across the entire
system, and cannot be set for a specific
channel (i.e. if an audio device is connected
near Channel 4, the same audio will be
recorded on all channels).
MUTE
Set the system mute ON or OFF.
INPUT/OUTPUT VOLUME
Adjust input and output volume levels. Move
the slider bar left (low volume) or right (high
volume) to change the volume setting.


