-34-
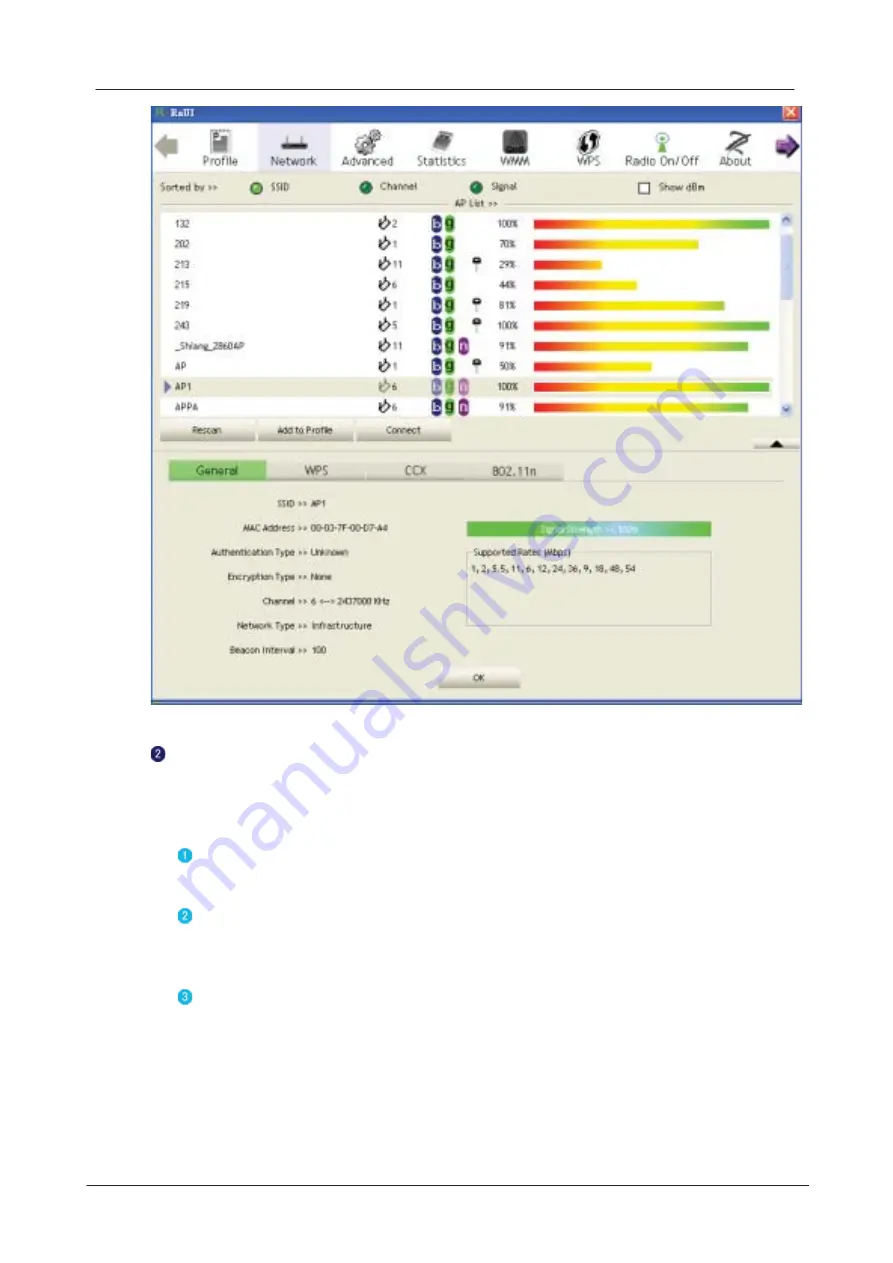
Figure 2-3-1-2 General information about the Access Point
WPS information contains the authentication type, encryption type, config.
methods, device password ID, selected registrar, state, version, AP setup lock
status, UUID-E and RF bands, as shown in Figure 2-3-1-3. The information is further
explained as follows :
Authentication Type: There are three types of authentication modes supported
by RaConfig. They are open, Shared, WPA-PSK and WPA system.
Encryption Type: For open and shared authentication mode, the choices of the
encryption type are None and WEP. For WPA, WPA2, WPA-PSK and WPA2-
PSK authentication mode, the encryption type supports both TKIP and AES.
Config Methods: Correspond to the methods the AP supports as an Enrollee
for adding external Registrars, (a bitwise OR of values.)
Value
Hardware Interface
0x0001
USBA (Flash Drive)
0x0002
Ethernet
0x0004
Label
0x0008
Display
Summary of Contents for LP-7615
Page 1: ... 2010 802 11n Wireless PCI Adapter USER MANUAL 1 0 0 ...
Page 7: ...Installation 7 3 Click Next ...
Page 9: ...Installation 9 ...
Page 10: ... 10 5 Click Finish to complete the software installation ...
Page 14: ... 14 Figure 1 7 Select intended AP AP1 then click Connect ...
Page 21: ...Utility Config 21 Figure 2 1 8 Statistics page Figure 2 1 9 WMM page Figure 2 1 10 WPS page ...
Page 28: ... 28 The Add Profile will appear ...
Page 30: ... 30 Nowthe profile whichthe user set appears in the profile list Click Activate ...
Page 39: ...Utility Config 39 Click Add to Profile ...
Page 41: ...Utility Config 41 Next you will see the new profile in the profile list Click Activate ...
Page 53: ...Utility Config 53 4 2 7 WPS 4 2 7 1 WPS Figure2 7 1illustratestheRaUIWPSfunctions ...
Page 61: ...Utility Config 61 Thenconnectsuccessfully Theresultappearasthefollowingimage Click Detail ...
Page 65: ...Utility Config 65 When one AP is found join it Check WPS Information on the available WPS APs ...
Page 82: ... 82 Click OK The dialog box will appear as below ...
Page 84: ... 84 Auth Encry functionappears ...
Page 89: ...Utility Config 89 Click 8021X and the setting page will appear ...
Page 91: ...Utility Config 91 2 Click OK The dialog box should appear as below ...
Page 95: ...Utility Config 95 3 Click OK The dialog box should appear as the image below ...
Page 100: ... 100 2 Click OK The dialog box should appear as the image below ...


