10
SETTING UP THE DISPLAY CONSOLE
Installing the Batteries
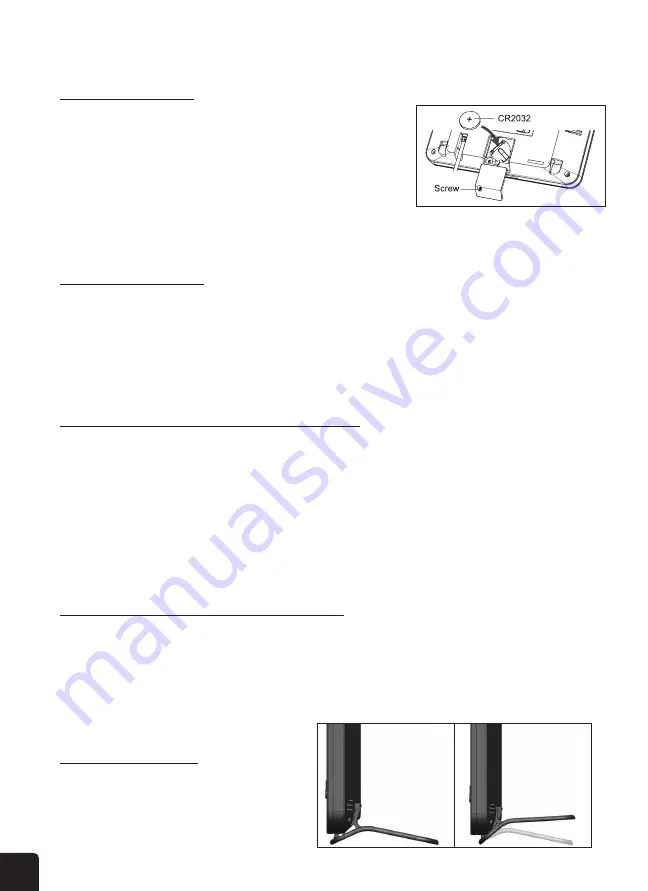
1. Unscrew and remove the battery door on back of the console.
2. Insert a CR2032 battery (included) into the compartment.
3. Place the battery door back onto the compartment and screw
it in place.
NOTE: If nothing appears on the display after inserting the
battery, then press the RESET button using a pin.
Powering Up the Console
1. Connect the power adapter to the integrated power cord of the console.
2.
Once the console is turned on, the segments on the LCD display will light up.
NOTE: The radio-controlled clock will automatically start scanning for the radio-controlled
time signal in eight (8) seconds.
Pairing the Console with the Wireless 7-in-1 Sensor
1.
Once your display console powers on, it should automatically search for and connect to the
wireless weather sensor. If the console does not connect within the first 15 minutes, refer to the
following section, Changing Batteries and Manual Pairing of Sensor, for instructions on manual
pairing.
2.
Once the pairing process is complete, the antenna icon will appear solid (not blinking), and the
readings for outdoor temperature, humidity, wind speed, wind direction, UV, light intensity, and
rainfall will appear in their designated sections of the LCD display.
Changing Batteries and Manual Pairing of Sensor
Whenever you change the batteries of the wireless 7-in-1 sensor, pairing must be done manually.
1. Change all the batteries to new ones.
2. Press SENSOR button on the console to enter pairing mode.
3. Press RESET button on the sensor to acquire a new code for pairing.
Installing the Kickstand
• Connect the kickstand to the display
console before placing the console on a flat
surface.


