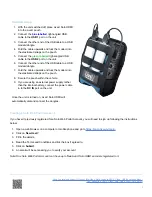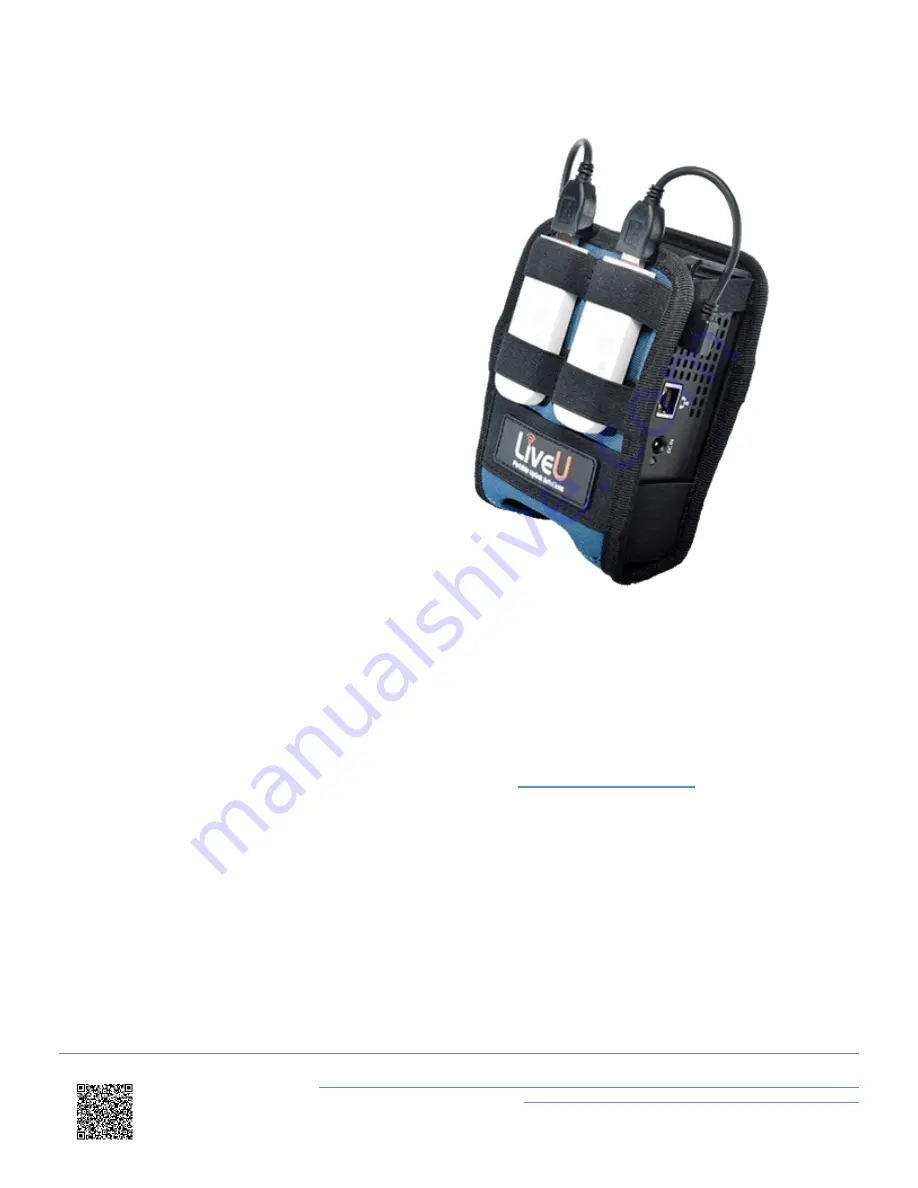
Hardware Setup
1. With the unit switched off, place LiveU Solo HDMI
into the LiveU pouch.
2. Connect the
blue labelled
right-angled USB
cable to the
USB 1
port on the unit.
3. Connect the other end of the USB cable to a USB
modem/dongle.
4. Fold the cable upwards and tuck the modem into
the elasticated straps on the pouch.
5. Connect the
green labelled
right-angled USB
cable to the
USB 2
port on the unit.
6. Connect the other end of the USB cable to a USB
modem/dongle.
7. Fold the cable upwards and tuck the modem into
the elasticated straps on the pouch.
8. Secure the pouch within the vehicle.
9. If you are using an external power supply rather
than the internal battery, connect the power cable
in to the
DC IN
port on the unit.
Once the unit is turned on, LiveU Solo HDMI will
automatically dial and connect the dongles.
Creating a Solo Web Portal Account
If you haven't previously registered for a Solo Web Portal Account, you will need to sign up following the instructions
below:
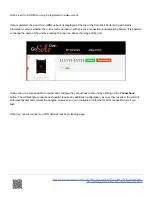
1. Open a web browser on a computer or mobile phone and go to
2. Click on
New User?
.
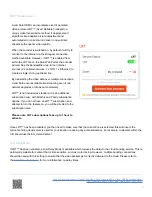
3. Fill in the details.
4. Read the Terms and Conditions and tick the box if agreed to.
5. Click on
Submit
.
6. An email will be sent asking you to verify your account.
Note: One Solo Web Portal Account can have up to
five
LiveU Solo HDMI encoders registered to it.
https://en.racelogic.support//Product_Info/Video_Data_Loggers/VBOX_Video_HD2/Knowledge_Base/
Live_Streaming_VBOX_Video_HD2_Using_LiveU_Solo_HDMI
9


