background image

Rev: 05.10.2021

Page 3

CCD-0004280

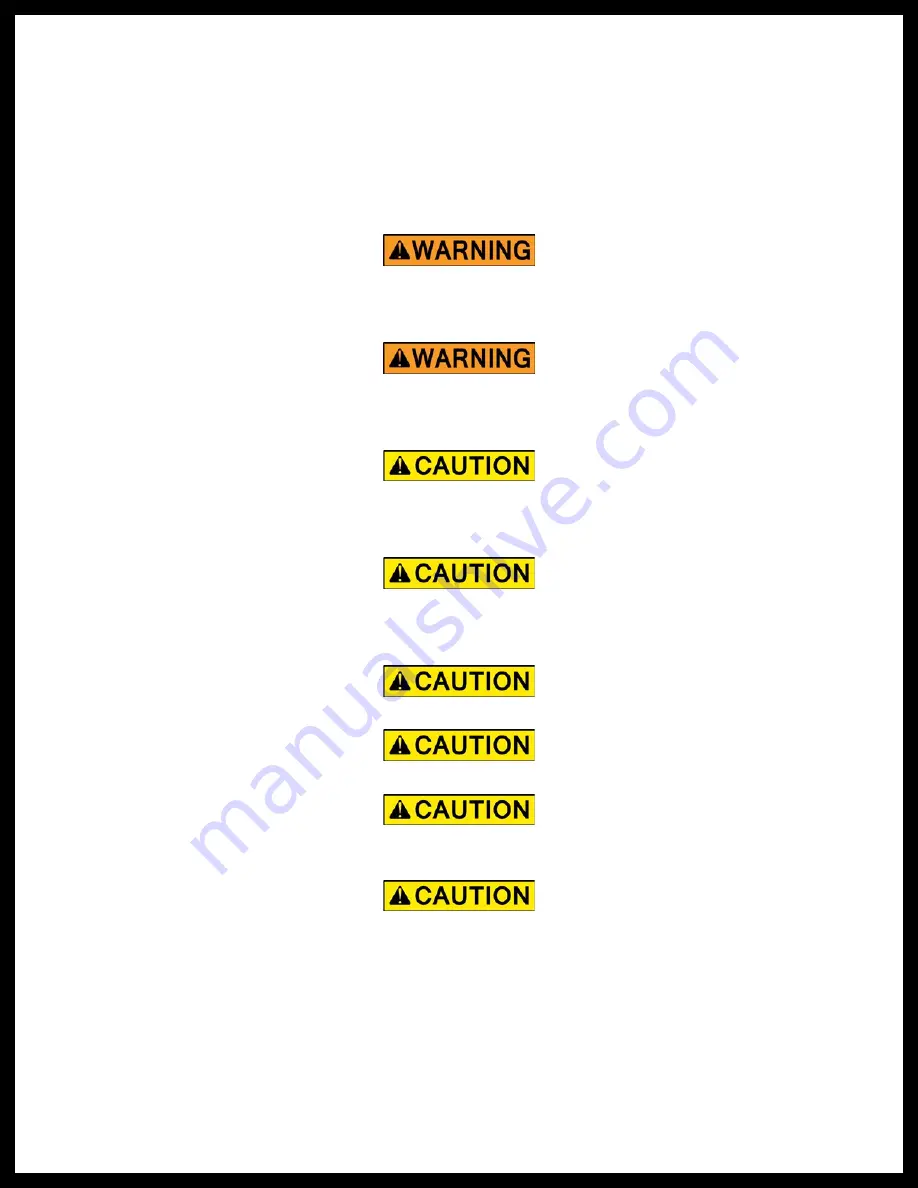
The “WARNING” symbol above is a sign that a procedure has a safety risk involved and may cause 

death or serious personal injury and/or severe product or property damage if not performed safely 

and within the parameters set forth in this manual. 

Always wear eye protection when performing service, maintenance or installation procedures. 

Other safety equipment to consider would be hearing protection, gloves and possibly a full face 

shield, depending on the nature of the task.

The “CAUTION” symbol above is a sign that a safety risk is involved and may cause personal injury 

and/or product or property damage if not safely adhered to and within the parameters set forth 

in this manual.

Make sure camper van is fully supported and secured per manufacturer's recommendations before 

working on or underneath the camper van or death, serious personal injury and/or severe product 

and property damage, including voiding of the component warranty, may occur.

Moving parts can pinch, crush or cut. Keep clear and use caution.

Safety

Read and understand all instructions before installing or operating this product. Adhere to all safety labels.
This manual provides general instructions. Many variables can change the circumstances of the instructions, 

i.e., the degree of difficulty, operation and ability of the individual performing the instructions. This 

manual cannot begin to plot out instructions for every possibility, but provides the general instructions, 

as necessary, for effectively interfacing with the device, product or system. Failure to correctly follow the 

provided instructions may result in death, serious personal injury, severe product and/or property damage, 

including voiding of the LCI limited warranty.

Preparation

1. 

Make sure camper van is level.

2. 

Make sure camper van is properly supported and secured.

A.  Engage brakes.

B.  Chock all tires.

Do NOT exceed the product's maximum speed limit.

Do NOT drive with the pop up roof system opened or product damage may occur.

Do NOT drive with people or pets inside the pop up roof system's sleeping area or personal injury 

may occur.

Summary of Contents for Vela

Page 1: ...Vela Pop Up Roof System Class B EU OWNER S MANUAL ...

Page 2: ...ed sleeper The Pop Up Roof has a solid roof with a canvas body that includes A double bed Screened windows Hot or cold air circulation Special storage shelving molded into the thermoformed lower section Two flexible lamps with USB ports optional Ceiling courtesy lights optional Power socket and or USB module optional The capability to top mount a porthole or solar panel optional For information on...

Page 3: ... component warranty may occur Moving parts can pinch crush or cut Keep clear and use caution Safety Read and understand all instructions before installing or operating this product Adhere to all safety labels This manual provides general instructions Many variables can change the circumstances of the instructions i e the degree of difficulty operation and ability of the individual performing the i...

Page 4: ...pressing on both sides of the clip Fig 1B The upper portion of the pop up will move freely Fig 1C 2 Attach the ladder supplied to the specific hooks Fig 2 3 Climb the ladder to reach the release button Fig 3A 4 Grab the handle with one hand Fig 4A then at the same time press the release button Fig 4B and push the handle upwards 5 After unlocking the roof grab both handles Fig 4A and push the roof ...

Page 5: ...tilation against heat build up and helps to refresh the sleeping area A B 1 Open the zipper Fig 7 2 Roll down the window covering towards the base of the window Fig 8A 3 Fasten the window covering in place with the straps located at the base Fig 8B Closing the Windows The windows can be closed Fig 9A to protect against cold and rain 1 Unfasten the straps holding the window covering in place at the...

Page 6: ...n as evenly as possible Do NOT completely close the pop up roof at this point 4 Make sure that the canvas is folded correctly inside to prevent jamming of the built in mechanism or the locking latch 5 Walk around the vehicle and visually inspect the pop up roof for any canvas material sticking out of the frame If necessary carefully tuck in any protruding material 6 From inside the vehicle continu...

Page 7: ...ide of the Pop Up Roof System to make sure it has completely closed Fig 14 10 After the Pop Up Roof System has been fully closed the camper van may be driven A If wheel chocks have been used make sure they have been removed before driving B If brakes are engaged release brakes before driving Do NOT exceed the product s maximum speed limit Do NOT drive with the pop up roof system opened or product ...

Page 8: ...p contains a 5V DC 2A USB port Fig 17A Fig 15 Fig 16 Fig 19 A Fig 17 Fig 18 A A B LED Lamps There are two LED lamps on the inside of the upper shell Fig 18A The entire sleeping area will be fully illuminated when these lights are fitted A The lights are switched on off by pressing a switch inside the opening of the sleeping area Fig 19A Electrical Ports 220V Socket Module There is one 220V socket ...

Page 9: ...ort arm track for dirt debris and obstructions Clean track of any dirt and debris Clear any obstructions Support arm track damaged Do not attempt to repair damaged components at the risk of voiding the LCI limited warranty Contact the Lippert Care Center EU Pop Up doesn t fully retract Support arm track blocked Check support arm track for dirt debris and obstructions Clean track of any dirt and de...

Page 10: ...mild soap or detergent to prevent damaging the water repellent treatment of the canvas Note Use care when cleaning the Pop Up Roof System Using harsh detergents and hard bristled brushes can damage the roof s canvas material Only use clean water Gently clean the canvas by hand Test all cleaning products prior to use Apply a small amount of the cleaning product to an inconspicuous area Note Canvas ...

Page 11: ...Rev 05 10 2021 Page 11 CCD 0004280 Notes ...

Page 12: ...een provided Any unauthorized use shall void any applicable warranty The information contained in this manual is subject to change without notice and at the sole discretion of LCI Revised editions are available for free download from lippertcomponents eu Please recycle all obsolete materials For all concerns or questions please contact Lippert Components Inc Ph 39 055 8293411 Web lippertcomponents...

Reviews: