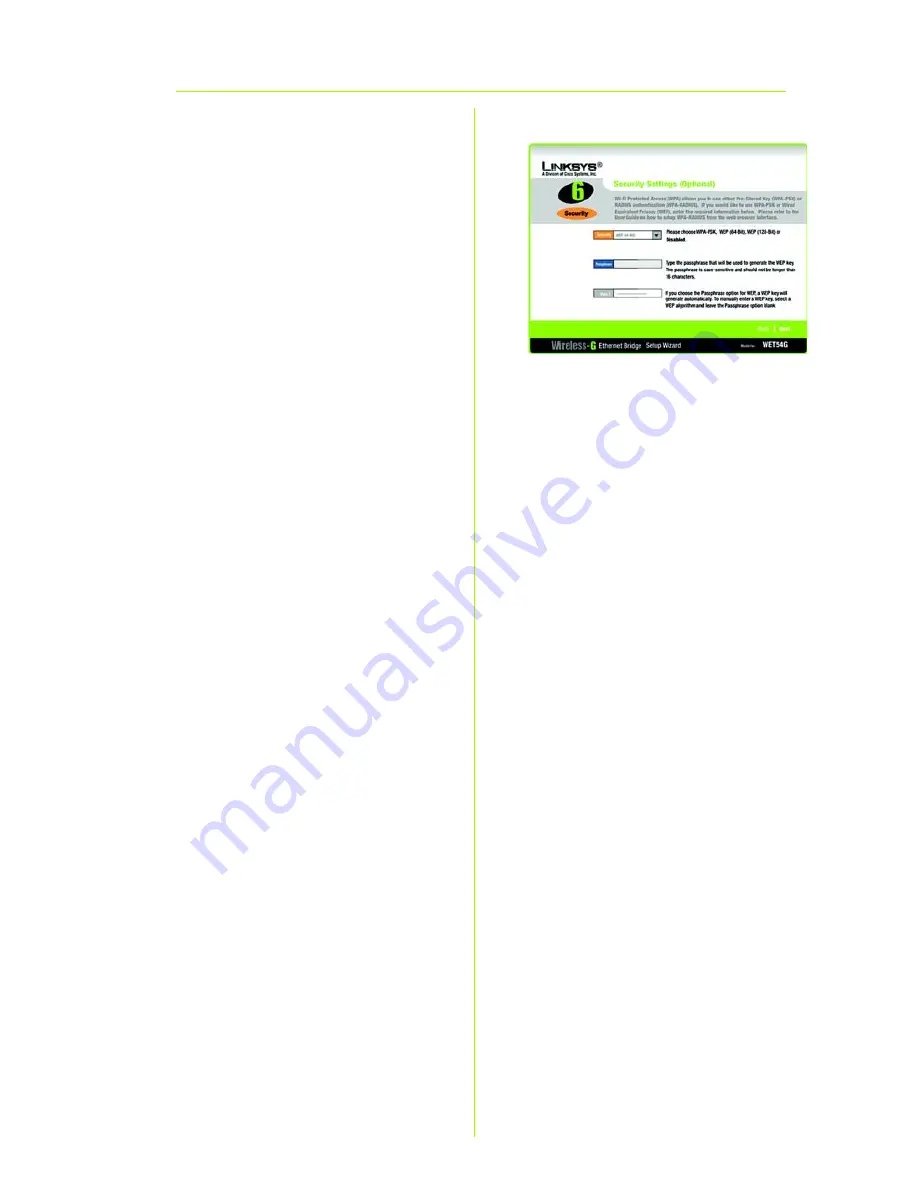
background image

6

I

On the 

Security Settings


screen, set the level of 

encryption you want for your 

network, and select the 

Passphrase(s) and/or 

encryption keys.

With WPA PSK, or Pre-Shared 

Keys, you have two encryption 

options, TKIP and AES, with 

dynamic encryption keys. 

Select the type of algorithm, 

TKIP

 or 

AES

. Enter a WPA Shared 

Key of 8-32 characters.

The WEP key can consist of the 

letters “A” through “F” and the 

numbers “0” through “9” and 

should be 10 characters in 

length for 64-bit encryption or 

26 characters in length for 128-

bit encryption.

If you entered a Passphrase, 

the WEP key will be generated 

automatically.

Click the 

Next

 button to 

continue.

I

Summary of Contents for WET54G - Wireless-G EN Bridge

Page 1: ...ireless 1 Quick Installation Guide Model No WET54G UK EU LA v2 Ethernet Bridge Wireless G Package Contents Wireless G Ethernet Bridge Setup CD ROM User s Guide on CD Quick Installation Guide Detachabl...

Page 2: ...ge C Plug the other end of the Ethernet network cable into the RJ 45 port of the hub switch or PC you wish to use to configure the Bridge D Plug the supplied power adapter into the Power port on the b...

Page 3: ...ter D setup exe if D is the letter of your CD ROM drive B Click Setup to begin the setup process C Make sure the Bridge is correctly connected to your wired network Click Next D The screen displays a...

Page 4: ...Select Ad Hoc if you want wireless computers to communicate directly with each other In the WB Name field enter a unique name for the Bridge Click Next G On the Wireless Settings screen enter your wi...

Page 5: ...ed to step I If your network does not have a DHCP server select Set IP configuration manually Enter an IP Address IP Mask also known as Subnet Mask and Gateway You must specify an IP address If you ar...

Page 6: ...AES with dynamic encryption keys Select the type of algorithm TKIP or AES Enter a WPA Shared Key of 8 32 characters The WEP key can consist of the letters A through F and the numbers 0 through 9 and...

Page 7: ...your settings on the Confirmation screen Write down the Bridge s IP Address if you want to access the Bridge s Web based Utility Click Yes to save these settings K On the Congratulations screen click...

Page 8: ...from the PC B Plug the Ethernet network cable into the RJ 45 port on the Ethernet ready network device you wish to add to the wireless network C Plug the power adapter into a local electrical outlet C...

Reviews: