


5
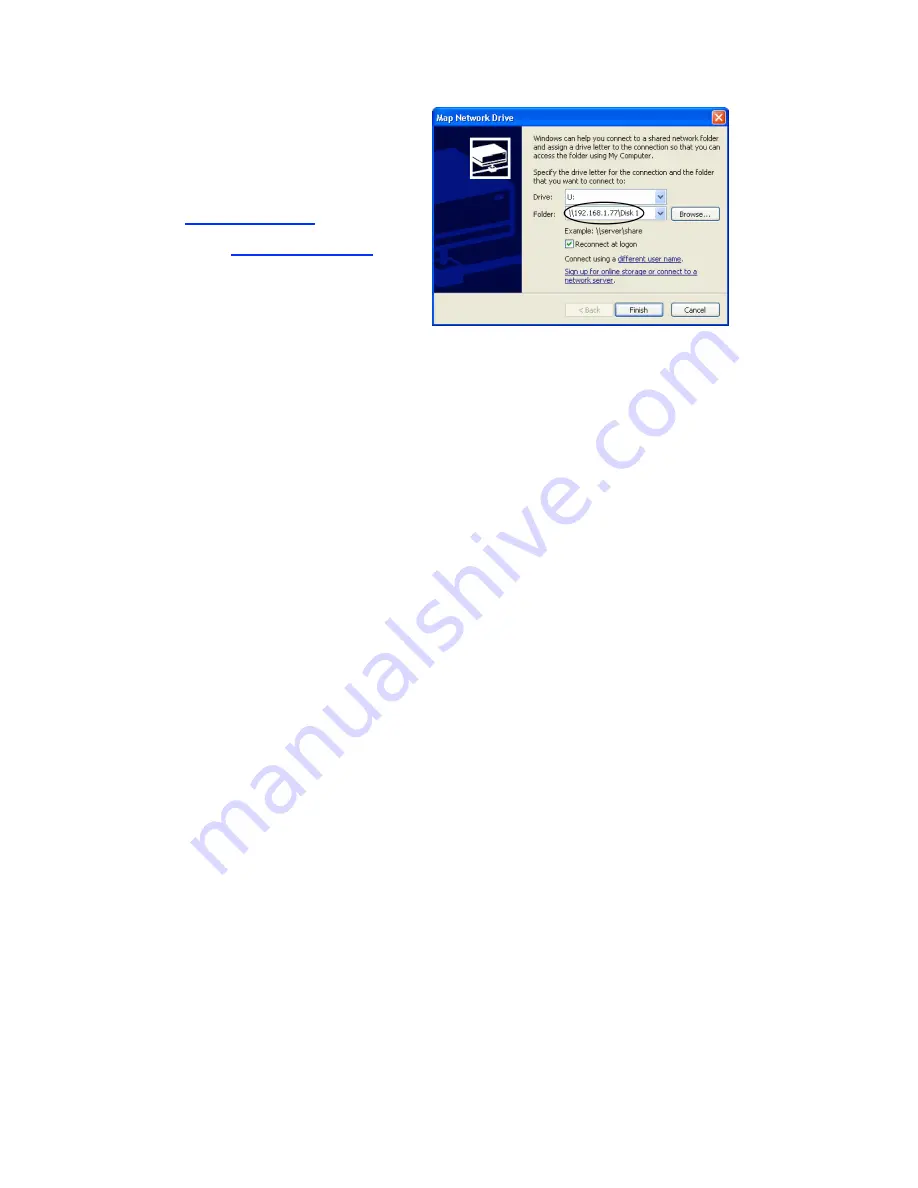
The Map Network Drive window
will appear.
2.
In the Folder (or Path) box enter the
IP address
of your Network Storage
Link,
followed by
Disk 1
using this
format:
\\IP address\Disk 1
.
For example:
\\192.168.1.77\Disk 1
Note:
Make sure there is a space
between “Disk” and “1” in the IP address.
Note:
If you changed the IP address in
the “Formatting the OneTouch Drive”
section on page 3, be sure to enter that
address here.
Figure 6.
Entering IP Address of Network Storage Link
Note: Reconnect at logon
is automatically selected. This means that every time you logon in the
future, you will automatically be connected to your OneTouch drive. You will find it alongside your
computer’s main disks (C and D, for example) in the My Computer window.
3.
Click
Finish
.
Windows will search the available networks for your Network Storage Link and a window will
open displaying the contents of the
Disk 1
directory on your OneTouch drive.
Note:
Two directories are automatically created for you on your OneTouch Drive. The
Admin 1
directory is set up for only the administrator to use and will require a User ID and Password to be
entered by any user accessing it from a computer other than the administrator’s. The
Disk 1
directory, however, does not require a User ID or Password. You may create password-protected
directories for additional users. See Chapter 6: “Configuring the Storage Link” in the Linksys
User Guide for more information.
Your OneTouch drive is now ready for use as a networked drive. You may drag and drop files to
it, just like a normal hard drive.
Network Backup Software
Your OneTouch drive includes Retrospect Express backup software, for easy, automated backup
of your important files. If you would like to backup files from a computer on your network, follow
the steps outlined in the next section.
Note:
You may only install the Retrospect Express software on one computer. However, you
may purchase additional copies of Retrospect by going to: http://www.dantz.com.
Retrospect Software Installation:
1.
Go to Chapter 2: ‘Installing Your Drive’ in the Maxtor OneTouch User’s Guide.
2.
Find the
Installing the Software
section for your operating system.
Your options are: Windows 2000 and XP or Windows 98SE and ME
3.
Follow the installation steps, choosing the
Full Installation
option.


