10
LINCE ITALIA S.p.A.
8.1 COMMUTAZIONE DA TASTIERA
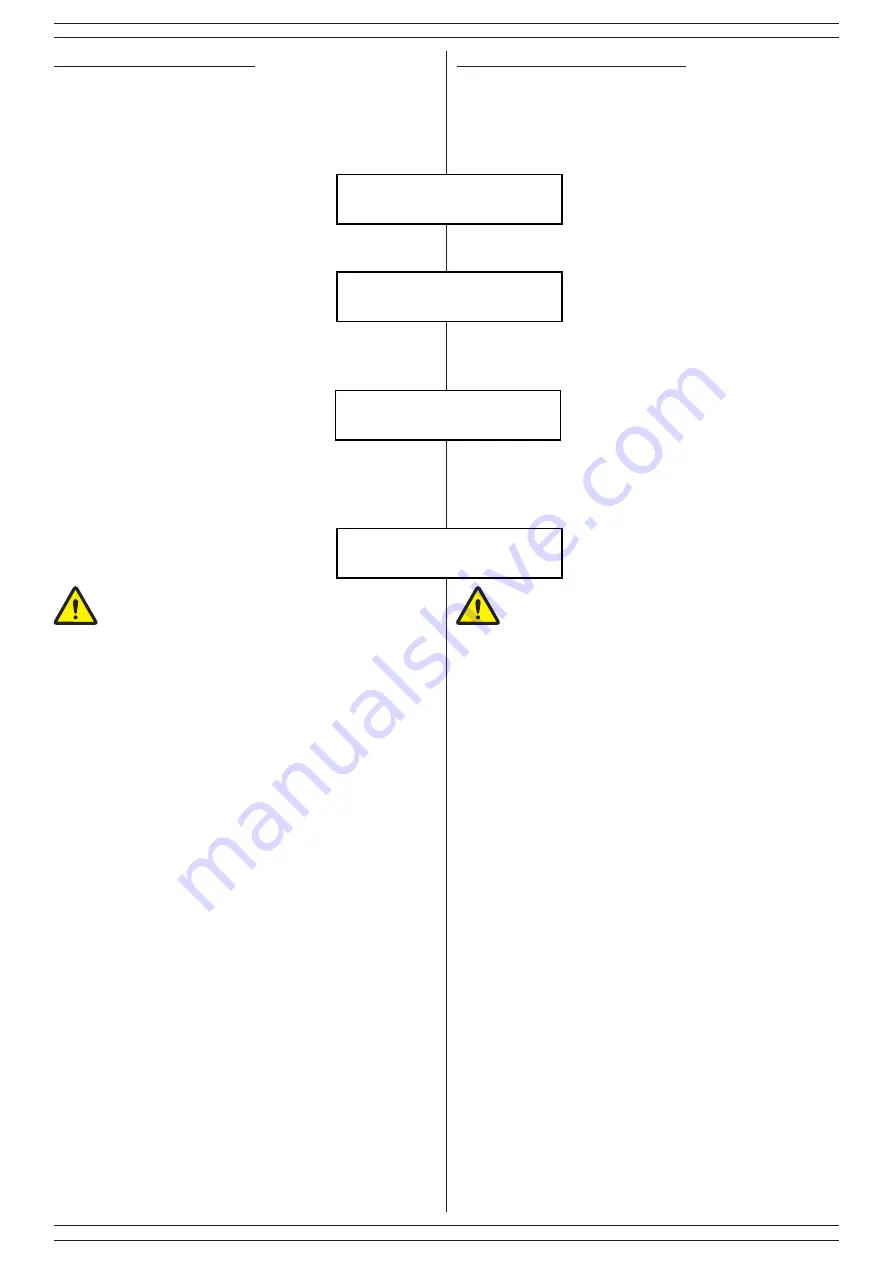
Dopo aver digitato il codice ( attivo sui tutti i relè desiderati ), seguito dal
tasto ”ENTER” si avrà la seguente schermata di inserimento:
Commutazione
impianto
Digitare il tasto ”ENTER” si avrà la seguente schermata di conferma:
Commut. impianto
Attiv. / disatt.
Con un ulteriore digitazione del tasto ”ENTER” è possibile attivate o
disattivare il relè desiderato. La schermata presenterà la situazione attiva
in quel momento:
Commut. impianto
1 dis 2 dis 3 dis
tramite i tasti 1 2 3 sarà possibile cambiare lo stato del singolo relè,
senza cambiare gli altri. Un inserimento/disinserimento di tutti i relè
contemporaneamente sarà possibile tramite il tasto 0 che permette di
commutarne in contemporanea lo stato. In caso di pressione di questo
tasto, il display presenta la seguente scritta:
Commut. impianto
1 att 2 att 3 att
NOTE:
Codici attivi solo su specifici relè non accedono
all’inserimento totale, ma solo al/Ai relè ad esso associati,
per cui cercando di attivare un relè non autorizzato si evidenzierà
la scritta “ PROGRAMMA NON ABILITATO”
8.3.2 Con inseritori serie CONTACTLESS
Per inserire/disinserire i relè, avvicinare il tag RF-ID all’inseritore ed
allontanarlo dopo circa 2 secondi. L’inseritore inizierà a visualizzare in
sequenza tutte le possibili combinazioni per circa 3 secondi ognuna. Non
appena viene visualizzato il programma (o la combinazione di programmi)
desiderato, avvicinare nuovamente il tag; l’inseritore visualizzerà per un
istante lo stato precedente dell’impianto e poi accenderà i LED relativi al
nuovo stato prescelto.
Avvicinando e allontandando velocemente il
tag (meno di 2 secondi) si avrà l’inserimento totale dei programmi
associati al tag
.
8.2 COMMUTAZIONE IN CHIAVE BASE
In modalità chiave base, non è possibile selezionare i programmi da
commutare , infatti viene commutato sempre e soltanto il relè 1; Nel caso
in cui il relè 1 sia di tipo impulsivo (dip 8 in ON) lo stato dei LED verrà
indicato solo se sul morsetto OFF è presente un negativo a impianto
inserito. Nel caso degli inseritori contactless avvicinare la chiave al
lettore, nel caso degli inseritori con chiave inserire ed estrarre la chiave
dal relativo lettore.
8.3 COMMUTAZIONE CON CHIAVE COMPLETA
8.3.1 Con inseritori classici
Questa procedura si applica solo agli inseritori 4157EUROPLUS-INS
e 4158EUROPLUS-INS-M. Per ottenere la commutazione si deve
necessariamente inserirla fino in fondo al fine di azionare il tastino
all’interno dell’inseritore, tenendo presente che ad ogni azionamento
del tastino corrisponde la commutazione di uno specifico relè la cui
commutazione viene indicata dall’accensione del relativo LED (1=verde,
2=rosso, 3=giallo) a bordo dell’inseritore.
8. COMMUTAZIONE
8. STATUS CHANGING
8.1 SWITCHING FROM KEYBOARD
After entering the code (active on all the desired relays), followed by the
"ENTER" key, you will have the following entry screen:
Enter the "ENTER" key and you will have the following confirmation
By pressing the "ENTER" button again, the desired relay can be activated
or deactivated. The screen will present the situation currently active:
using the 1 2 3 keys it will be possible to change the status of the single
relay, without changing the others. An activation / deactivation of all the
relays at the same time will be possible through the 0 key which allows
to simultaneously switch the status. If this button is pressed, the display
shows the following:
NOTES:
• Active codes only on specific relays do not access the
total arming, but only to the relay (s) associated with it,
so trying to activate an unauthorized relay will highlight the
message "PROGRAM NOT ENABLED";
•
The keyboard is available only in the italian market.
8.2 SWITCHING WITH BASIC KEY
In basic key mode, it is not possible to select the programs to be switched,
in fact only relay 1 is switched; If the relay 1 is of the impulsive type (dip
8 in ON) the status of the LEDs will be indicated only if a negative is
present on the OFF terminal with the system switched on. In the case of
CONTACTLESS readers, hold the key close to the reader; in the case of
key readers, insert and remove the key from the key reader.
8.3 SWITCHING WITH COMPLETE KEY
8.3.1 Use with classic key readers
This procedure is valid only for 4157EUROPLUS-INS and
4158EUROPLUS-INS-M key readers. To get the switch it is necessary
to insert it all the way down in order to activate the button inside the key
reader, bearing in mind that each time the key is pressed, a specific relay
switches, whose switching is indicated by the lighting of the relative LED
(1 = green, 2 = red, 3 = yellow) on the key reader.
8.3.2 Use with CONTACT-LESS key readers
To arm/disarm the relays, bring the RF-ID tag close to the key reader and
move it away after about 2 seconds. The key reader will start to display
all the possible combinations in sequence for about 3 seconds each. As
soon as the desired program (or combination of programs) is displayed,
approach the tag again; the key reader will display the previous status
of the system for an instant and then turn on the LEDs relating to the
new status selected. Approaching and leaving the tag quickly (less than
2 seconds) you will have the total insertion of the programs associated
with the tag.


