9
Installation and
Operation
A.
Press ENTER.
B.
Press the RIGHT or LEFT button to review the programmed
holidays. When you’ve finished reviewing, press ENTER.
5.3
R
EVIEWING HOLIDAYS
To review dates that have been programmed as holidays, follow the steps below:
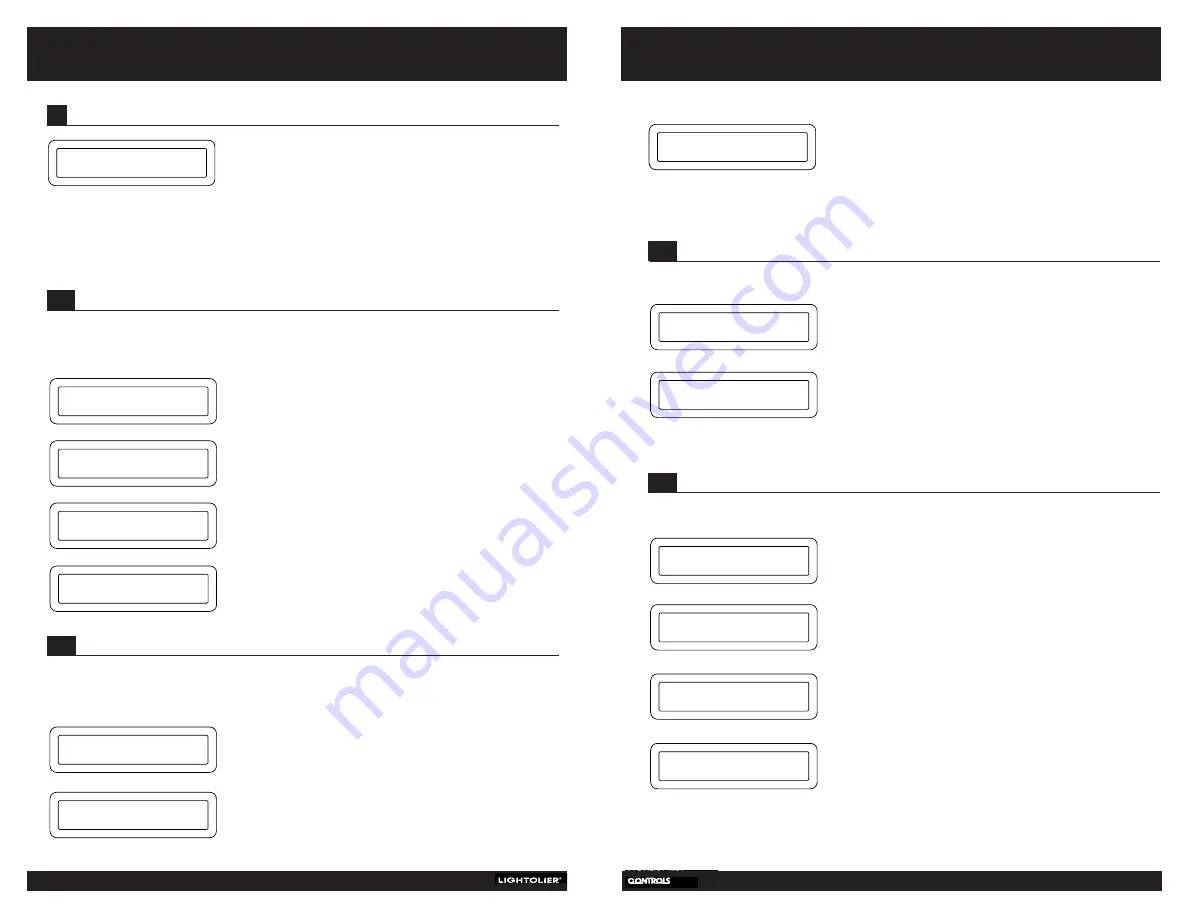
REVIEW
HOLIDAYS
HOLIDAY
7/4
A.
Press ENTER.
B.
Use the RIGHT and LEFT buttons to select the holiday you
want to delete. Press ENTER.
C.
If this is the correct holiday you wish to delete, press
ENTER. If not, use the UP and DOWN buttons to select “NO,”
then press ENTER.
D.
Select “YES” to go back to the main menu. Or, select “NO”
to delete more holidays.
E.
Press ENTER.
5.4
D
ELETING HOLIDAYS
To delete dates that have been programmed as holidays, follow the steps below:
DELETE
HOLIDAYS
HOLIDAY
7/4
DELETE?
YES
DONE?
YES
8
C
OMPLI
/B
RILLIANCE
II T
IME
C
LOCK
5
C
ONFIGURING THE CLOCK
A.
Press ENTER.
B.
Press the UP and DOWN buttons until the correct month is
listed. Then, move the cursor using the RIGHT button, and
select the date, year and the day in the same way you
selected the month. When correct date is listed, press
ENTER.
C.
Use the UP and DOWN buttons to select the hour. Then, move
cursor using the RIGHT button and select the correct
minutes. Finally, select AM or PM using the UP and DOWN
buttons. When correct time is listed, press ENTER.
D.
Select either DAYLIGHT TIME or STANDARD TIME by
pressing UP or DOWN. Press ENTER.
5.1
S
ETTING THE TIME AND DATE
To set the time or date, press ENTER after “SET TIME/DATE” becomes listed in the display. While in this mode,
you’ll set the day, date and time. IMPORTANT NOTE: Make sure the keypad button for Daylight Savings is set
correctly before configuring the clock. When the button is illuminated it is in Daylight Savings mode.
Move the Time Clock into the configure clock menu by pressing the
LEFT or RIGHT button until “CONFIGURE CLOCK” is listed on the display.
Then, press ENTER. Again, to move anywhere within the Configure Clock
menu, use the LEFT or RIGHT button.
CONFIGURE
CLOCK
SET
TIME/DATE
7:45 PM
7/7/99 WED
7:45 PM
7/7/99 SUN
A.
Press ENTER.
B.
Use the UP and DOWN buttons to select the month and day of
a specific holiday, using the LEFT and RIGHT buttons to move
the cursor to the next digit. Once the month and day have
been selected, press ENTER.
5.2
S
ETTING HOLIDAYS
The Time Clock allows a holiday schedule to be programmed. When a programmed holiday is reached the Time
Clock will automatically switch over to the holiday schedule. Once a holiday has been set, it will remain indefinitely
unless it is deleted. Floating holidays that change dates each year must be deleted and set as needed.
SET
HOLIDAYS
HOLIDAY
0/00 m/d
There are 9 functions in the Configure Clock menu:
1. Set time/date
4. Delete holidays
7. Set date type
10. Main menu
2. Set holidays
5. Variation with sun
8. Clear all events
3. Review holidays
6. Set password
9. Test outputs
DAYLIGHT
TIME
C.
Use the UP and DOWN buttons to select “YES” or “NO.”
“NO” allows you to enter additional holiday dates. “YES”
transfers you back to the configure clock menu.
D.
Press ENTER.
DONE?
YES


