Netlink Installation and Operation Manual
12
13
Installation and Operation
2.2.5 Configuring the SNMP Settings
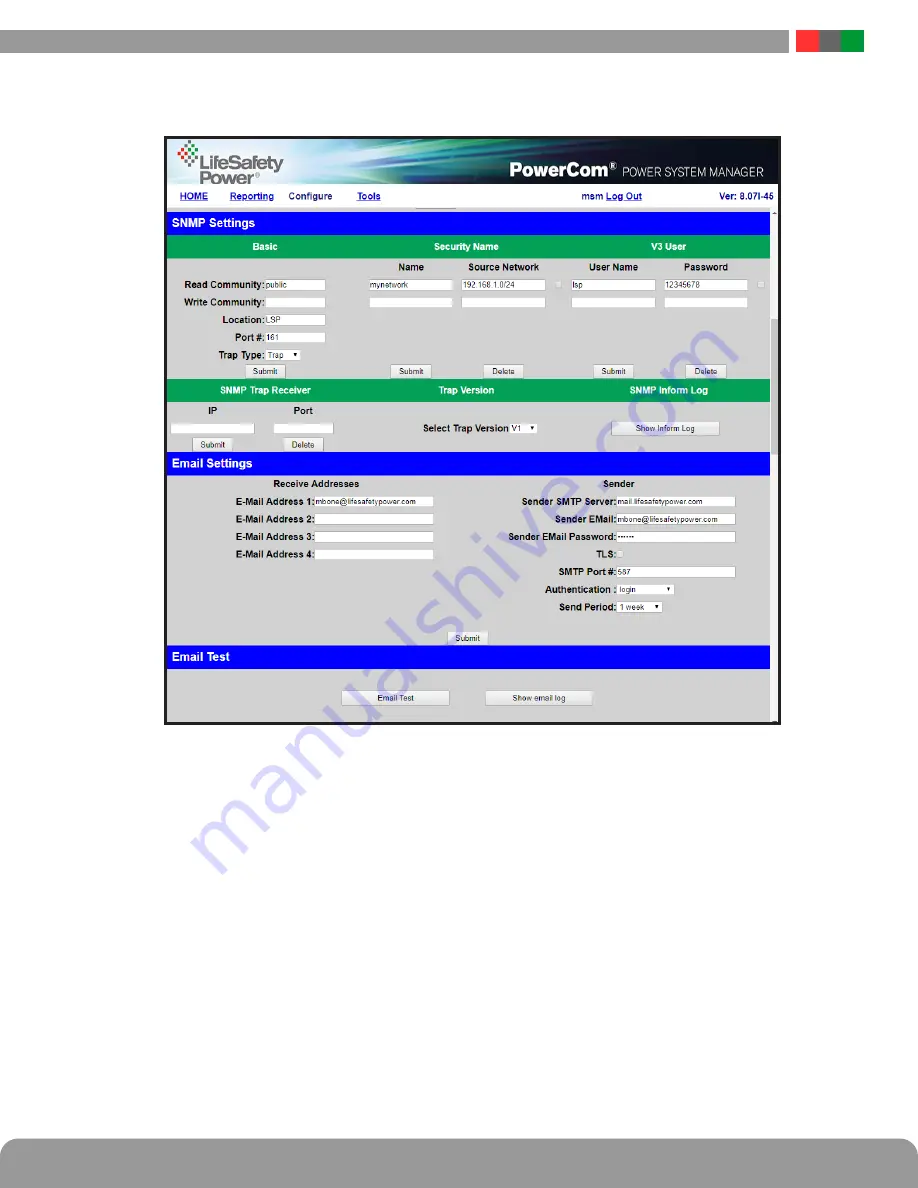
Scrolling down in the Configure page reveals the "SNMP Settings" section (Figure 2 .6) .
Figure 2.6 - Typical Configure Page (upper-middle portion)
In the SNMP Setting block, under the "Basic" heading, set Read and Write Community to "public" and set Location to a meaningful name of your
choice . This entry will help you identify the specific Netlink board when multiple Netlink boards are installed on the same subnet . This entry will
be read by an SNMP system as "syslocation", OID .1 .3 .6 .1 .2 .1 .1 .6 . The port used for SNMP may also be changed in this section (161 Default) .
Be sure to open the SNMP port if accessing SNMP outside your firewall . Below the port number setting, select the trap type (Trap or Inform) .
Click the "Submit" button at the bottom of the "Basic" section to save the settings, otherwise you will lose the settings . These settings will take
effect after a reboot of the Netlink .
The "Security Name" section of the SNMP Setting block allows you to grant only specified computers (by IP address) SNMP v1 and v2
access . Since v1 and v2 do not have password protection, the Security Name settings add security to v1 and v2 access . The web server
is password protected and a user must have the web server password in order to setup a computer in the Security Name settings and
gain v1 and v2 access . Multiple source networks can be added to the Security Name Setting block . Be sure to click the "Submit" button
to save the settings . The settings will take effect after a reboot of the Netlink .
The "V3 User" section of the SNMP Setting block allows for a user to set up an SNMP v3 user name and password . With a user name
and password, the Netlink board may be accessed from anywhere via the internet by using the SNMP v3 protocol . No security name
setup is required for v3 users and multiple v3 users may be set up in the same table . Click the "Submit" button to save the settings,
which will take effect after rebooting the Netlink .
The SNMP Trap Receiver IP and Port settings should be set to the proper address for the SNMP Trap receiver . Click the "Submit" button
and reboot the Netlink for the settings to take effect . The SNMP Trap Version may be selected using "Select Trap Version" . The SNMP
Inform Log may be seen by clicking the "Show Inform Log" button . If the trap type is set to "Trap", no data will be displayed in this
section . Click "Hide Inform Log" to hide the log window .


