7
QUICK GUIDE / DL-USB-PTZ20-W
Power-on
Connect the external power supply to the camera.
USB 3.0 cable
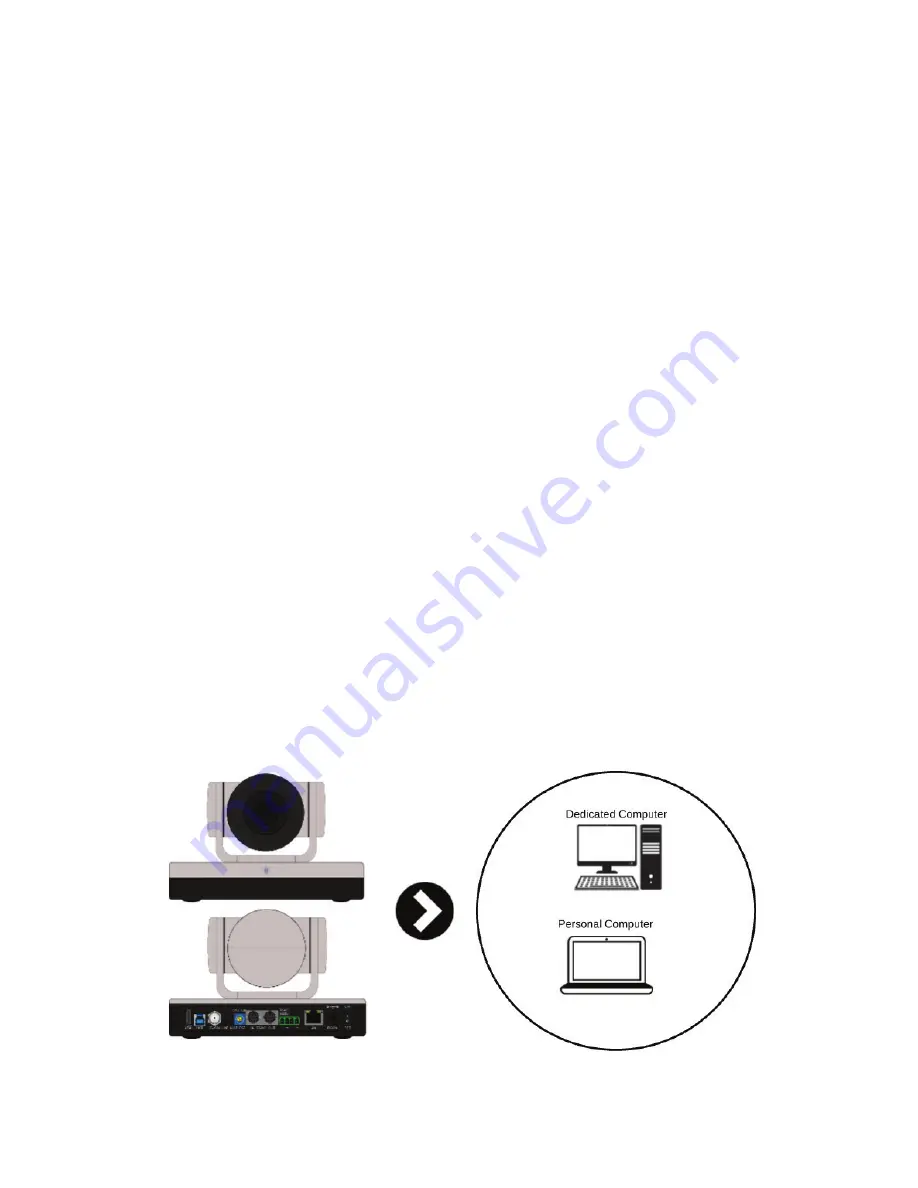
The provided USB 3.0 cable can provides USB video to your computer. If the signal needs to be
extended, it is recommended to use a 3.0 extender. Using 2.0 will downgrade the camera to USB 2.0
specifications.
Initial Configuration
• The remote control receiving indicator will start to flash after the camera has been powered on.
• It will pan-tilt and then move to the HOME position (both the horizontal and vertical positions are in the
middle). When the remote control's receiving indicator stops flashing, the self-checking is completed.
• After powering on and self-checking, the camera will automatically return to the defined preset 0.
• The default address for the IR remote control is 1#. If the menu has been restored to factory de-
faults, the remote control default address will restore to 1#.
Requirements - A computer with a USB connections.
Install the video conferencing desktop client (such as Zoom, Teams, Google Meet) onto the computer.
Note: Verify your preferred video calling application requirements.
Placement - Reference the mounting options and choose what best fits your needs.
Connectivity - Locate the Digitalinx PTZ Camera and provided USB cable. Plug the cable into the USB
port of the computer and camera. If the length of the USB cable is not long enough, use a TYPE A USB
3.0 extension cable, 3.0 signal extender, or USB hub.
Navigation - Go to settings>privacy>camera (or similar) on your PC and turn on "let apps use my camera."
Close all other applications that may use the PTZ Camera.
SETTING UP YOUR PTZ CAMERA


