Operation
43
4
Oper
ation
Auto Pan setting
By selecting the Auto Pan number, the camera pans
automatically.
v
To set the Auto Pan position
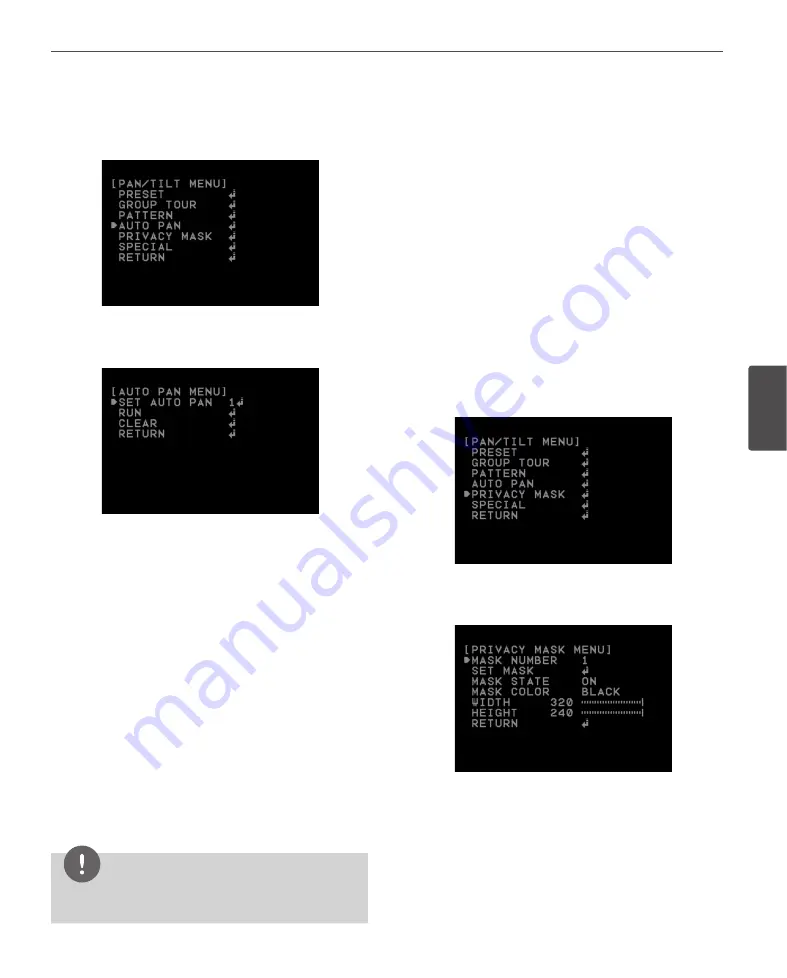
1. Select [SET AUTO PAN] option on the [AUTO PAN]
menu.
2. Select the number you wish to register and press
[Open] or [Close] button.
3. Select the moving speed.
4. Select the Auto pan dwell time.
5. Move the camera to the desired start point by using
the joystick.
6. Select the [SET POSITION] option and press [Open] or
[Close] button.
7. Move the camera to the desired end point by using the
joystick and then press [Open] or [Close] button.
8. Repeat steps 1 to 7 to add additional positions.
9. Select [RETURN] option and press [Open] or [Close]
button to exit the setting menu.
NOTE
If you press the [CLEAR] Option during the Auto paning,
All of AUTO PAN position will be deleted.
To play the auto pan
You can play the camera with auto pan function.
1. Select [RUN] option on the [AUTO PAN] menu.
2. You can stop the Auto pan function by moving the
joystick or pressing any button.
To delete the auto pan position
You can delete the memorized auto pan position.
1. Select [AUTO PAN] option on the [PAN/TILT] menu.
2. Select [CLEAR] option then press [Open] or [Close]
button to delete the Auto pan position.
Privacy Mask setting
This function is aiming at the protection of personal
privacy, the mask zone is not displayed on the screen. Up
to 8 zones can be registered.
v
1. Select [PRIVACY MASK] option on the [PAN/TILT MENU].
2. Press [Open] or [Close] button to display the PRIVACY
MASK MENU.
3. Use [Near] or [Far] button to select a zone number on
the [MASK NUMBER] option.
4. Select the [SET MASK] option and press [Open] or
[Close] button.


