53 DLP Projection TV
Owner’s Manual 53
Operation
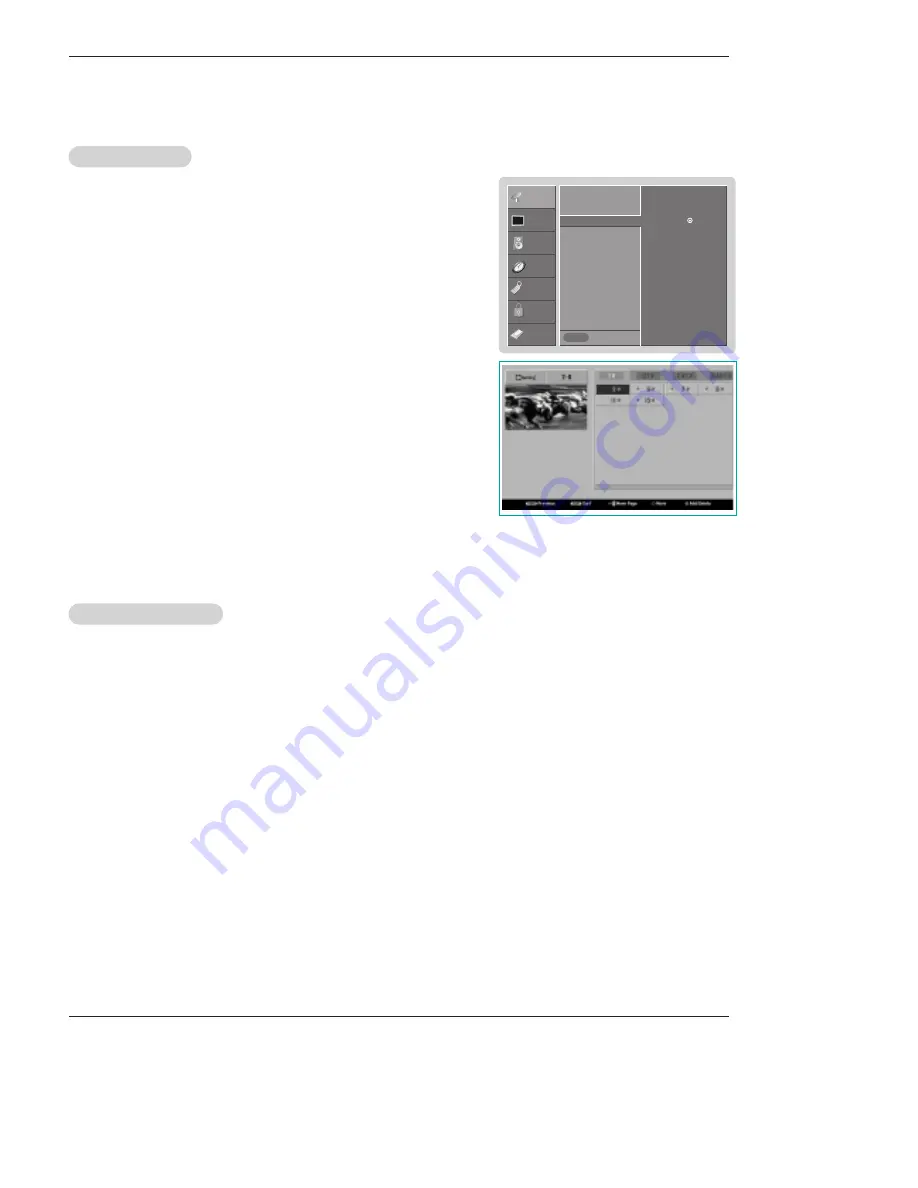
- Create two different types of channel lists in memory: “Custom list” and “Surf"
(Favorite) channel list” from the default channel list created from the EZ Scan
channel search.
- A custom list can be created by toggling each channel on or off with OK button.
Once a channel is highlighted, you will be able to see whether the channel is
currently added or deleted by referring to the small window at the top-left corner
of the screen. You can create your own Surf channel list, unrestrictedly. It
appears at the bottom-left corner of the screen. Use the
SURF
button on the
remote control when a channel is highlighted, to add or delete the channel from
the Surf channel list.
- You can create your SURF channel list from the channel list memorized from
EZ Scan.
1. Press the
MENU
button and then use
D
/
E
button to select the
SETUP
menu.
2. Press the
G
button and then use
D
/
E
button to select
Channel Edit
.
3. Press the
G
button. You will now see a screen filled with channel numbers and
a preview picture.
4. Use
D
/
E
/
F
/
G
button to select a channel and then use the
ENTER
button to
add or delete it. Press
SURF
to add the channel to the Surf List.
5. Press
EXIT
button to return to TV viewing or press
MENU
button to return to the
previous menu.
Channel Edit
Channel Edit
- Reveals how strong your DTV signal is and whether you need to adjust your antenna or digital cable input.
The higher the signal strength, the less likely you are to experience picture degradation.
- Digital DTV Signals: May not be available in all areas, nor are broadcast on all programs.
1. Press the
SIGNAL
button.
2. View the on-screen signal strength monitor to see the quality of the signal being received.
• You can also check the
DTV Signal
strength with the
SETUP
menu.
DTV Signal Strength
DTV Signal Strength
SETUP
VIDEO
AUDIO
TIME
OPTION
LOCK
CABLE
Previous
EZ Scan
Manual Scan
Channel Edit
G
DTV Signal
Channel Label
Main Input
Sub Input
Aux. Label
Selection (
G
or ) leads you
to the channel edit screen.
MENU
Setup Menu Options continued
Setup Menu Options continued


