SOUND
&
LANGU
A
GE
CONTR
OL
51
PRESET SOUND SETTINGS-SOUND MODE
You can select your preferred sound setting; Flat, Music, Movie or
Sports and you can also adjust the sound frequency of the equal-
izer.
FF ll a
a tt ,, M
M u
u ss ii cc, M
M o
o vv ii e
e, and S
Sp
po
orrttss are preset for good sound
quality at the factory and are not adjustable.
FF ll a
a tt
The most commanding and natural audio.
M
M u
u ss ii cc
Select this option to enjoy the original sound when lis
tening to the music.
M
M o
o vv ii e
e
Select this option to enjoy sublime sound.
S
Sp
po
orrttss
Select this option to watch sports broadcasting.
U
U ss e
e rr
Select this option to use the user-defined audio set-
tings.
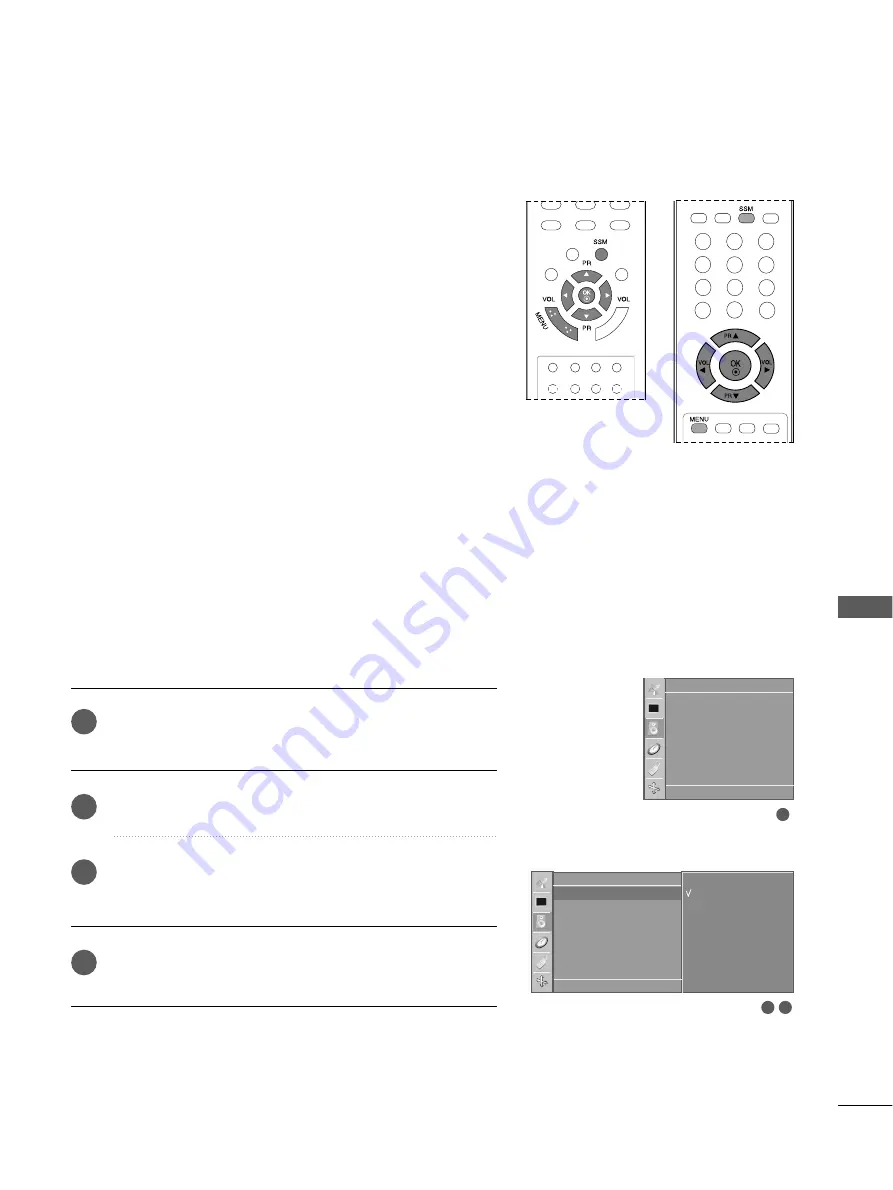
Press the M
M E
E N
N U
U button and then
D
D
//
E
E
button to select-
the
Sound
menu.
Press the
G
G
button and then
D
D
//
E
E
button to select
SSM
.
Press the
G
G
button and then
D
D
//
E
E
button to select
Flat,
Music, Movie, Sports
or
User
.
Repeatedly press the M
M E
E N
N U
U button to return to normal TV
viewing.
1
2
3
4
1
3
2
Sound
DE F G
OK MENU
SSM
AVL
Balance
0
Sound
DE F G
OK MENU
SSM
G
AVL
Balance
0
Flat
Music
Movie
Sports
User