


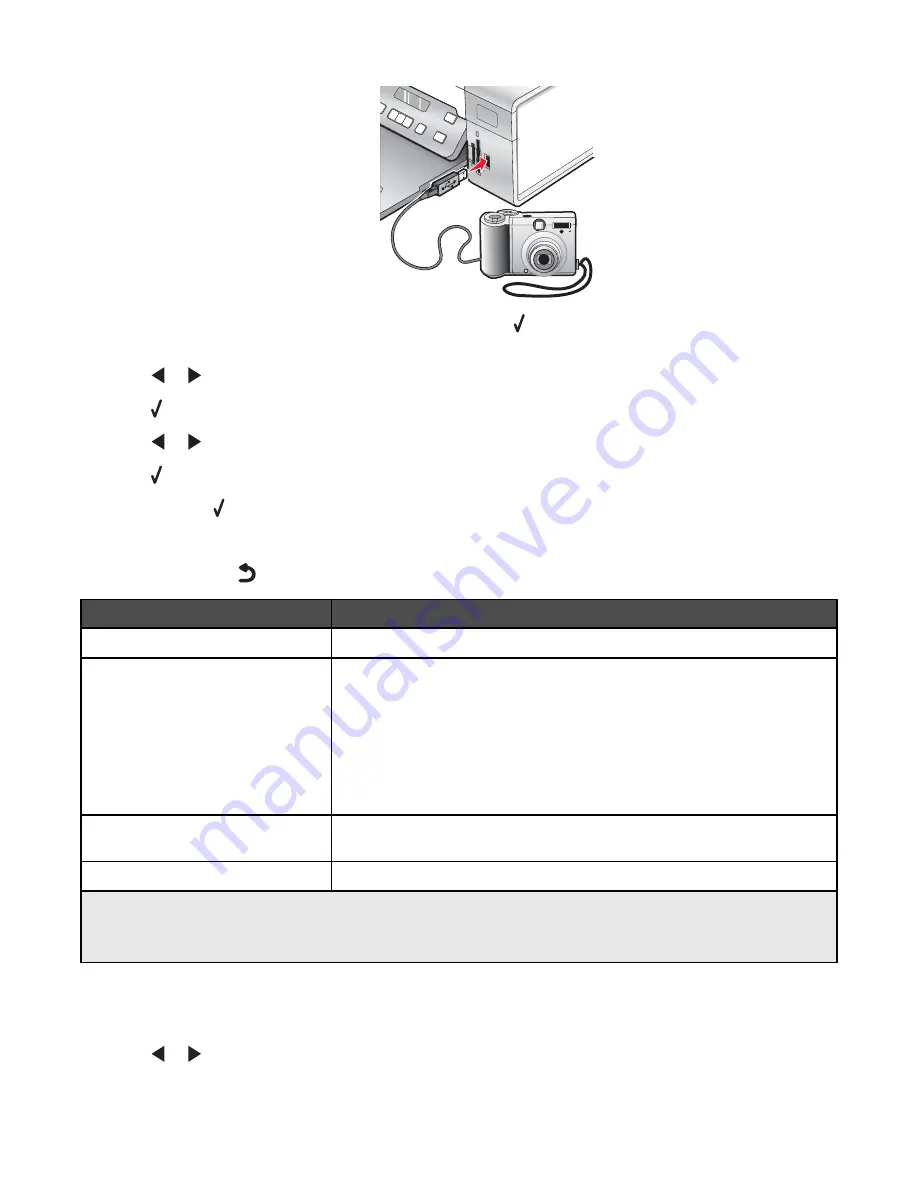
The message,
PictBridge camera detected. Press
to change settings.
appears on the
display.
2
Press
or
repeatedly until the menu item you want appears.
3
Press .
4
Press
or
repeatedly until the submenu item you want or the setting you want appears.
5
Press .
Note:
Pressing selects a setting. An * appears next to the selected setting.
6
To go into additional submenus and settings, repeat step 4 and step 5 as needed.
7
If necessary, press
repeatedly to return to the previous menus and make other setting selections.
Menu Item
Action
Paper Setup
1, 2
Specify the size and type of paper loaded.
Photo Size
1, 2
Specify the size of printed photos.
Note:
If you did not specify the photo size beforehand in your digital camera,
the default photo sizes are:
•
4 x 6 (if Letter is your default Paper Size)
•
10 x 15 cm (if A4 is your default Paper Size, and your country is
not
Japan)
•
L (if A4 is your default Paper Size, and your country is Japan)
Layout
1
Center one photo on a page, or specify the number of photos to print on a
page.
Quality
1
Adjust the quality of printed photos.
1
Setting will return to factory default setting when the PictBridge-enabled digital camera is removed.
2
Setting must be saved individually. For more information, see “Saving Paper Size, Paper Type, and Photo Size
settings” on page 22.
Using the Settings menu
1
From the control panel, press
Settings
.
2
Press
or
repeatedly until the menu item you want appears.
23
Summary of Contents for 1410007 - X 3550 Color Inkjet
Page 8: ...8...


