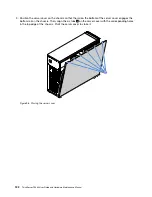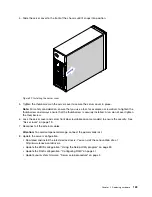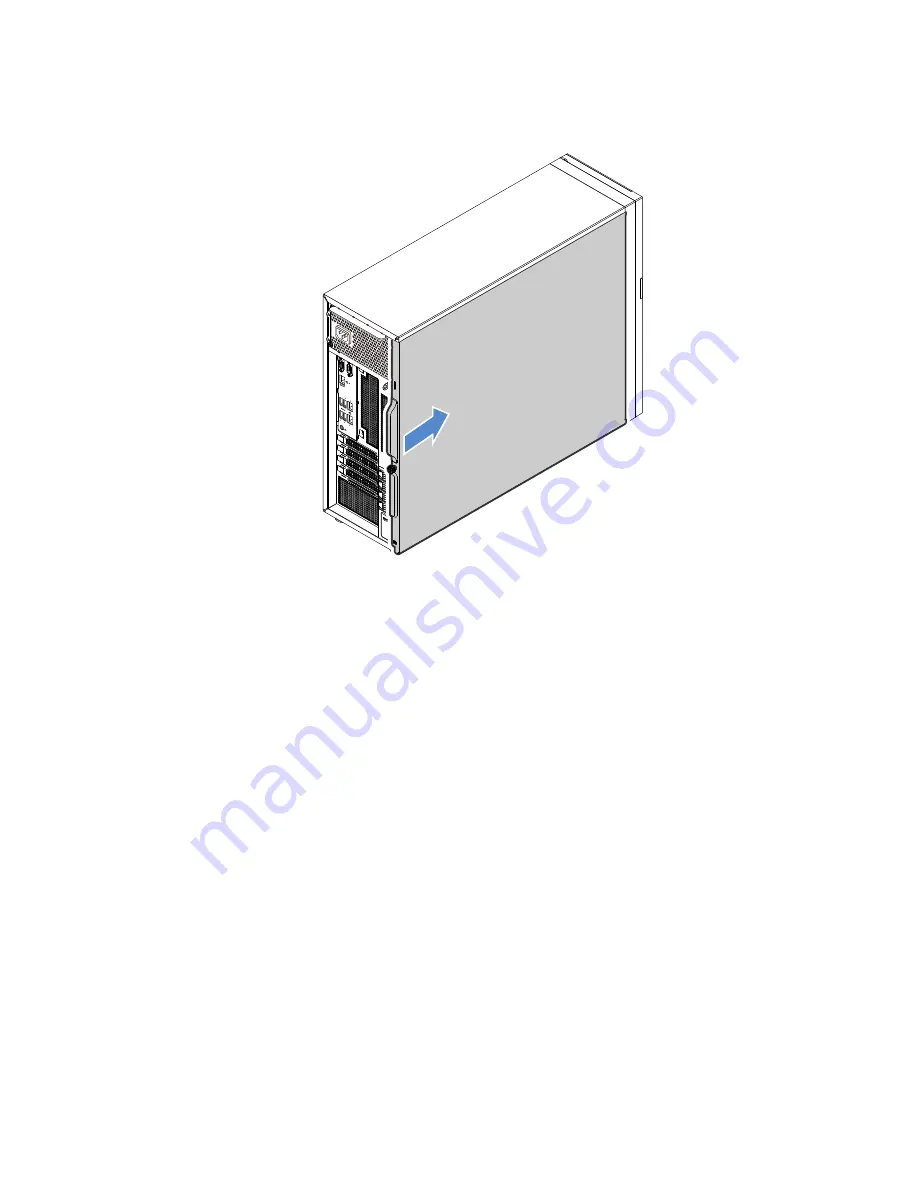
4. Slide the server cover to the front of the chassis until it snaps into position.
1
1
2
2
0
M
GM
T
3
4
ID
Figure 99. Installing the server cover
5. Tighten the thumbscrew on the server cover to secure the server cover in place.
Note:
For safety consideration, ensure that you use a tool, for example a screwdriver, to tighten the
thumbscrew and always ensure that the thumbscrew is securely installed. Also, do not over-tighten
the thumbscrew.
6. Lock the server cover and server front door (available on some models) to ensure the security. See
7. Reconnect all the external cables.
Attention:
To avoid component damage, connect the power cords last.
8. Update the server configuration.
• Download and install the latest device drivers. You can visit the Lenovo Web site at
http://www.lenovo.com/drivers.
• Update the BIOS configuration: “Using the Setup Utility program” on page 39
• Update the RAID configuration: “Configuring RAID” on page 47
• Update your system firmware: “Server setup procedure” on page 5
123
Summary of Contents for ThinkServer TS460
Page 14: ...xii ThinkServer TS460 User Guide and Hardware Maintenance Manual ...
Page 18: ...4 ThinkServer TS460 User Guide and Hardware Maintenance Manual ...
Page 52: ...38 ThinkServer TS460 User Guide and Hardware Maintenance Manual ...
Page 68: ...54 ThinkServer TS460 User Guide and Hardware Maintenance Manual ...
Page 138: ...124 ThinkServer TS460 User Guide and Hardware Maintenance Manual ...
Page 144: ...130 ThinkServer TS460 User Guide and Hardware Maintenance Manual ...
Page 148: ...134 ThinkServer TS460 User Guide and Hardware Maintenance Manual ...
Page 160: ...146 ThinkServer TS460 User Guide and Hardware Maintenance Manual ...
Page 171: ......
Page 172: ......

