17. Reinstall the internal speaker. See “Replacing the internal speaker” on page 131.
18. If the rear Wi-Fi antenna is available, install it. See “Installing and removing the rear Wi-Fi antenna” on
page 141.
19. If the front Wi-Fi antenna is available, install it. See “Installing and removing the front Wi-Fi antenna” on
page 139.
20. If the Wi-Fi card module is available, install it. See “Installing or replacing the Wi-Fi card module” on
page 137.
21. Reinstall the hard disk drive assembly. See “Replacing the hard disk drive assembly” on page 134.
22. Reinstall the power button board. See “Replacing the power button board” on page 133.
23. If the cover presence switch is available, install it. See “Installing or replacing the cover presence
switch” on page 130.
24. Reinstall the memory module. See “Replacing the memory module” on page 129.
25. Reinstall the microprocessor fan. See “Replacing the microprocessor fan” on page 125.
26. Refer to your record to connect cables to the new system board. You also can refer to “Locating
parts on the system board” on page 34 to help you locate the connectors on the system board and
connect cables.
What to do next:
• To work with another piece of hardware, go to the appropriate section.
• To complete the installation or replacement, go to “Completing the parts replacement” on page 147.
Installing or replacing the keyboard or mouse
Attention:
Do not open your computer or attempt any repair before reading and understanding the Chapter
1 “Read this first: Important safety information” on page 1.
To install or replace the keyboard or mouse, do the following:
1. If you are replacing the keyboard or mouse, disconnect the old keyboard cable or mouse cable from the
computer.
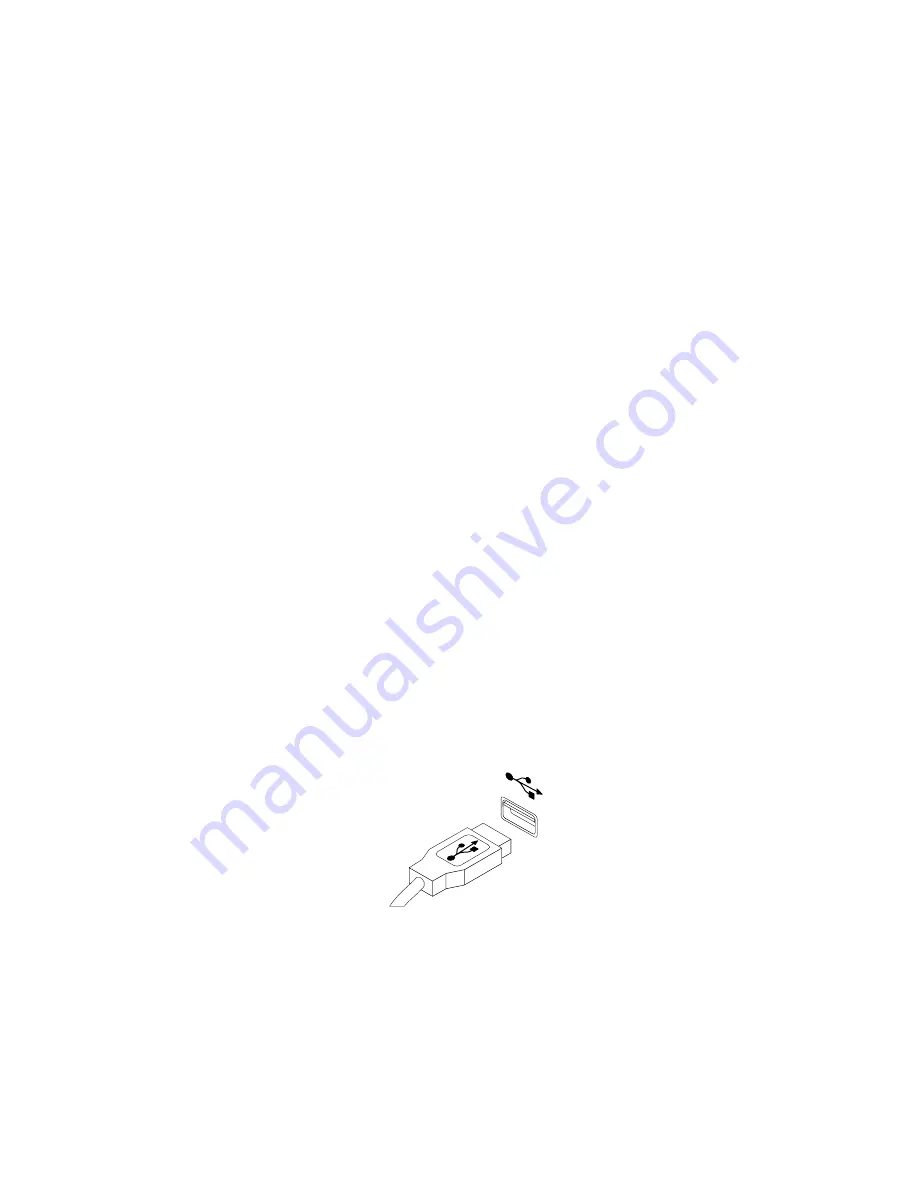
2. Connect a new keyboard or mouse to one of the USB connectors on the computer. Depending on
where you want to connect the new keyboard or mouse, see “Locating connectors, controls, and
indicators on the front of your computer” on page 28 or “Locating connectors on the rear of your
computer” on page 29.
Figure 71. Connecting the USB keyboard or mouse
What to do next:
• To work with another piece of hardware, go to the appropriate section.
• To complete the installation or replacement, go to “Completing the parts replacement” on page 147.
146
ThinkCentre M53 Hardware Maintenance Manual
Summary of Contents for ThinkCentre M53
Page 6: ...iv ThinkCentre M53 Hardware Maintenance Manual ...
Page 8: ...vi ThinkCentre M53 Hardware Maintenance Manual ...
Page 16: ...8 ThinkCentre M53 Hardware Maintenance Manual ...
Page 20: ...12 ThinkCentre M53 Hardware Maintenance Manual ...
Page 21: ...1 2 Chapter 1 Read this first Important safety information 13 ...
Page 22: ...1 2 14 ThinkCentre M53 Hardware Maintenance Manual ...
Page 27: ...1 2 Chapter 1 Read this first Important safety information 19 ...
Page 28: ...1 2 20 ThinkCentre M53 Hardware Maintenance Manual ...
Page 31: ...Chapter 1 Read this first Important safety information 23 ...
Page 68: ...60 ThinkCentre M53 Hardware Maintenance Manual ...
Page 78: ...70 ThinkCentre M53 Hardware Maintenance Manual ...
Page 96: ...88 ThinkCentre M53 Hardware Maintenance Manual ...
Page 110: ...102 ThinkCentre M53 Hardware Maintenance Manual ...
Page 158: ...150 ThinkCentre M53 Hardware Maintenance Manual ...
Page 166: ...158 ThinkCentre M53 Hardware Maintenance Manual ...
Page 170: ...162 ThinkCentre M53 Hardware Maintenance Manual ...
Page 173: ...Appendix D China Energy Label Copyright Lenovo 2014 165 ...
Page 174: ...166 ThinkCentre M53 Hardware Maintenance Manual ...
Page 176: ...168 ThinkCentre M53 Hardware Maintenance Manual ...
Page 182: ...174 ThinkCentre M53 Hardware Maintenance Manual ...
Page 183: ......
Page 184: ......


