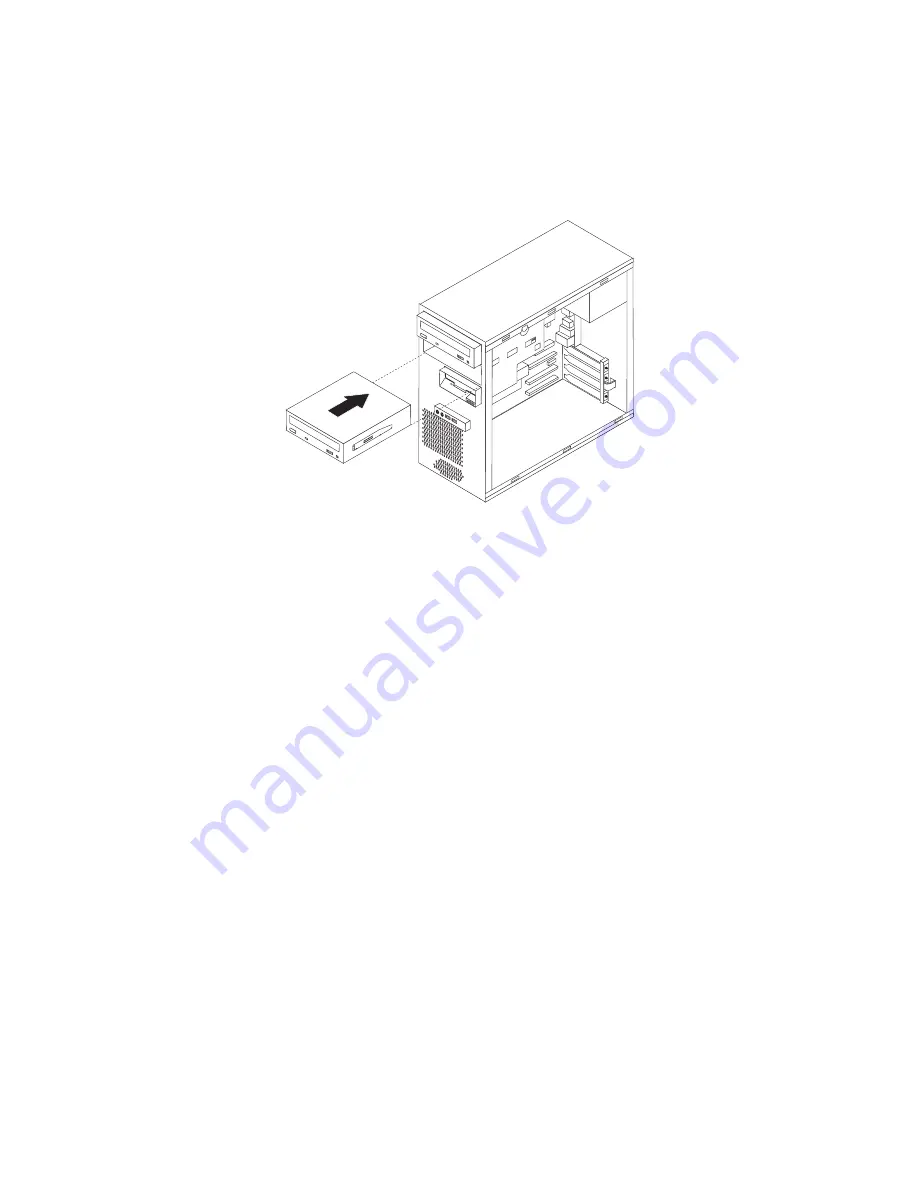
6.
For
a
3.5-inch
drive,
install
the
drive
into
the
Universal
Adapter
Bracket,
5.25
to
3.5-inch.
7.
Install
the
drive
into
the
bay
until
it
snaps
into
position.
Note:
For
the
adapter
bracket,
install
the
screws
that
secure
the
bracket
in
the
bay.
8.
Install
the
front
bezel
by
aligning
the
plastic
tabs
on
the
bottom
of
the
bezel
with
the
corresponding
holes
in
chassis;
then
snap
it
into
position.
9.
To
connect
the
drive,
go
to
“Connecting
serial
ATA
drives”
on
page
30.
Chapter
3.
Installing
options
29
Summary of Contents for 88116CU
Page 1: ...User Guide Types 8012 8794 8798 8802 Types 8806 8811 8816 ...
Page 2: ......
Page 3: ...User Guide Types 8012 8794 8798 8802 Types 8806 8811 8816 ...
Page 16: ...xiv User Guide ...
Page 26: ...10 User Guide ...
Page 52: ...36 User Guide ...
Page 60: ...44 User Guide ...
Page 64: ...48 User Guide ...
Page 66: ...50 User Guide ...
Page 84: ...68 User Guide ...
Page 89: ......
Page 90: ...Part Number 41X6170 Printed in USA 1P P N 41X6170 ...


