


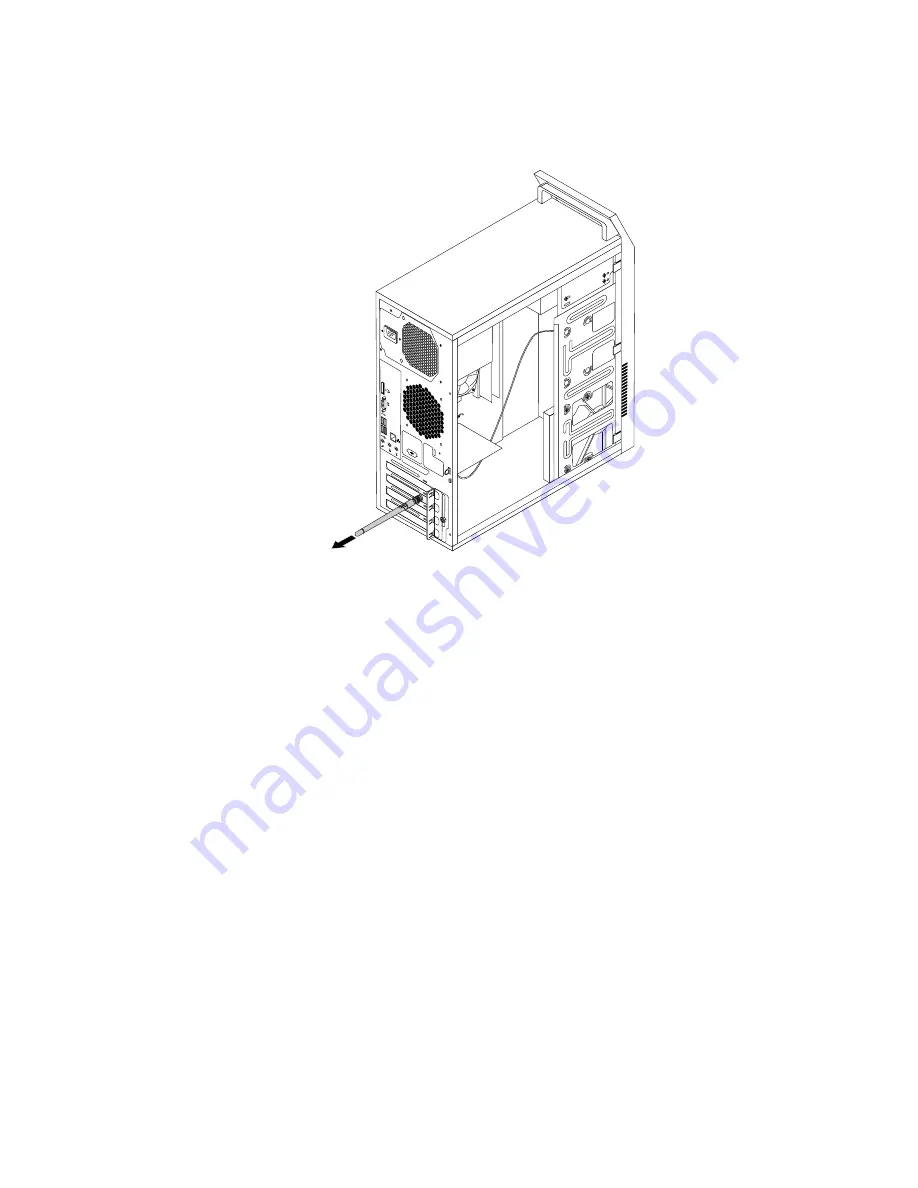
3. Hold the thicker end of the rear WiFi antenna and unscrew the WiFi antenna from the rear of the
computer.
3
4
5
6
Figure 42. Removing the rear WiFi antenna
What to do next:
• To work with another piece of hardware, go to the appropriate section.
• To complete the installation or replacement, go to “Completing the parts replacement” on page 66.
Installing or removing the front WiFi antenna
Attention:
Do not open your computer or attempt any repair before reading and understanding the
“Important safety information” on page v.
This section provides instructions on how to install or remove the front WiFi antenna.
Installing the front WiFi antenna
To install the front WiFi antenna, do the following:
1. Turn off the computer and disconnect all power cords from electrical outlets.
2. Remove the computer cover. See “Removing the computer cover” on page 35.
3. Remove the front bezel. See “Removing and reinstalling the front bezel” on page 36.
4. Peel off the paper that protects the stickers on the front antenna.
Installing or replacing hardware
63
Summary of Contents for 10AS
Page 1: ...ThinkCentre E73 User Guide Machine Types 10AS 10AV 10DR and 10DS ...
Page 6: ...iv ThinkCentre E73 User Guide ...
Page 12: ...x ThinkCentre E73 User Guide ...
Page 28: ...16 ThinkCentre E73 User Guide ...
Page 80: ...68 ThinkCentre E73 User Guide ...
Page 94: ...82 ThinkCentre E73 User Guide ...
Page 102: ...90 ThinkCentre E73 User Guide ...
Page 126: ...114 ThinkCentre E73 User Guide ...
Page 136: ...124 ThinkCentre E73 User Guide ...
Page 139: ...Appendix E China Energy Label Copyright Lenovo 2013 2014 127 ...
Page 140: ...128 ThinkCentre E73 User Guide ...
Page 142: ...130 ThinkCentre E73 User Guide ...
Page 146: ...134 ThinkCentre E73 User Guide ...
Page 147: ......
Page 148: ......