16
Applications
Rugby 200-3.2.1en
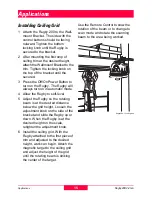
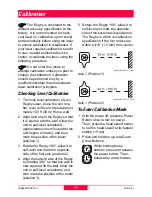
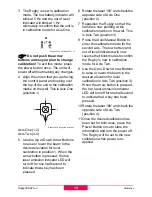
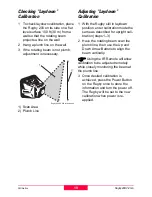
Using the Rugby in the
Laydown Position
1 Place the Rugby in the laydown
position on a flat, level surface.
2 Press the Off/On Power Button to
turn on the Rugby. The Rugby will
always turn on in automatic mode
and begin to level.
3 Press the Plumb Down Button and
the beam will rotate down to be
used to align the laser. Move the
Rugby until the spot is directly over
a control point.
4 Start the head rotation and rough
align the rotating beam to a second
control point.
5 Using the buttons on the laser or on
the remote, fine adjust the beam
until it is rotating over the second
control point.
6 Once aligned, the split beam out
the top of the laser can be used to
identify 90° angles for layout.
Rugby200-14 10813.eps
General Construction
)
The rotating beam creates a
level plane of laser light over the entire
jobsite that is used as a reference.
Used together with a Rod Eye
handheld receiver or a machine
mounted 360° receiver, the Rugby 200
is an extremely versatile tool.
1 Place the Rugby on a flat level
surface or on a tripod with a 5/8”-11
adapter. Put the Rugby 200 in a
location where the rotating beam
will be at a convenient height and
will not be obstructed.
2 Press the Off/On Power Button to
turn on the Rugby. The Rugby will
always turn on in automatic mode
and begin to level.
3 Press the Rotation Speed Button to
select the highest head speed.
4 Use the plane of laser light as a
reference to take elevation
readings.
5 Attach the Rod Eye to a grade rod
or stick. Turn it on and adjust the
height to center on the beam over a
control point. The receiver’s
bandwidth and audio volume can
be adjusted using the buttons on
the receiver.
Rugby200-15 10814.eps


