32
Instruction manual V 1.4 – 02/2007
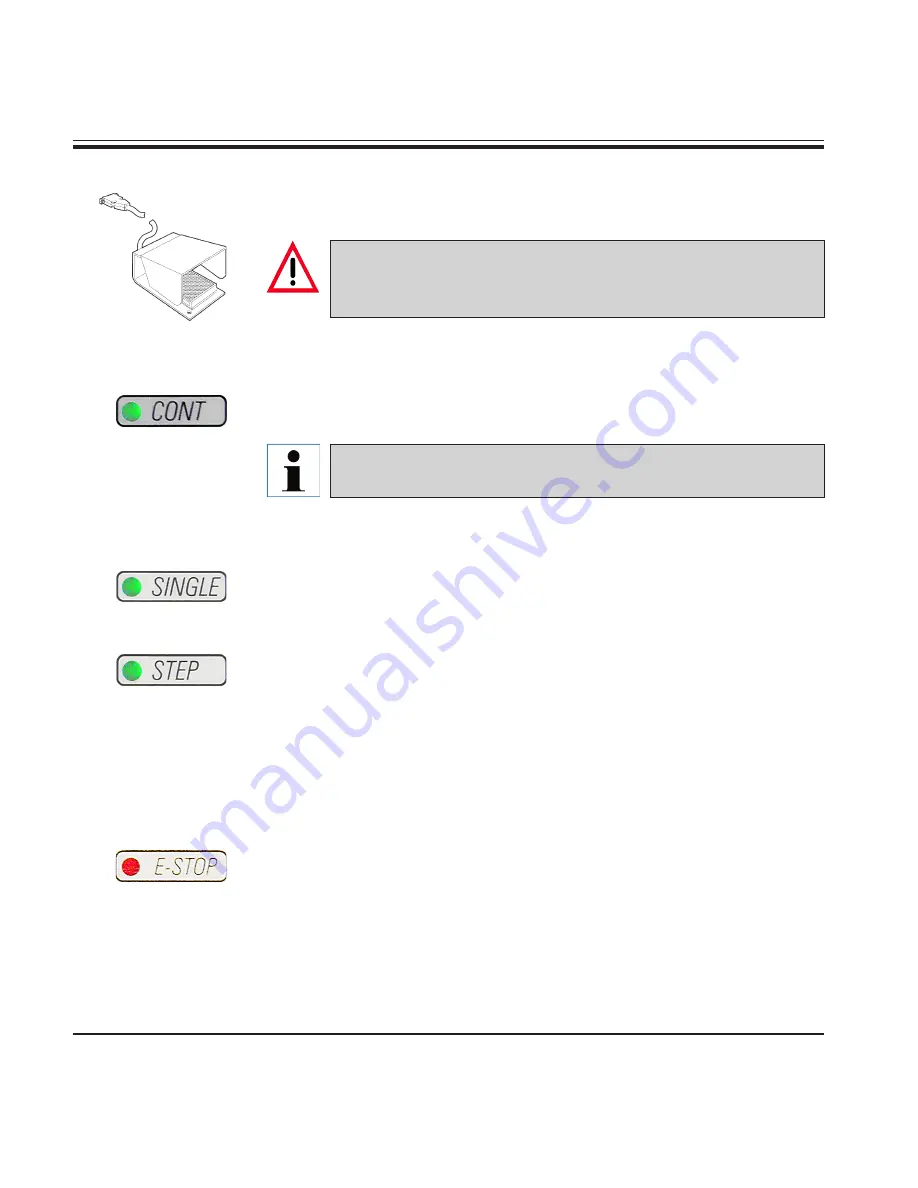
Foot switch (optional accessory)
The foot switch can be used to control the motorized sectioning process.
It also has a function that is similar to the emergency stop function.
Caution!
In addition to the foot switch, all control panel functions and all
buttons on the instrument continue to be active.
•
Using the
CUT MODE
button, select the desired operating mode,
CONT
,
SINGLE
or
STEP
, on the control panel (Fig. 18).
CONT (continuous stroke) operating mode
•
Press the foot switch once briefly to start motorized sectioning.
If the foot switch remains pressed for longer than half a second,
the specimen stops in the next upper end position.
•
Press the foot switch again to stop it.
The specimen stops in the next upper end position.
SINGLE (single stroke) operating mode
•
Press the foot switch once briefly to start motorized sectioning. After
every step, the specimen stops automatically in the upper end position.
STEP (step stroke) operating mode
•
Press down the foot switch to start the sectioning process. The speci-
men is now moved for as long as the foot switch is depressed.
•
If the foot switch is released, the specimen remains stationary in the
position that it has reached.
How to activate the emergency stop function
•
Press the foot switch strongly to activate the emergency stop function.
Sectioning stops immediately.
The red LED in the
E-STOP
field on the instrument (Fig. 14) is lit up as
long as the foot switch remains depressed.
•
To continue, restart the sectioning process using the foot switch. The
operating mode remains unchanged.
5.
Operation


