Left Column
Setup tutorials include animations to instruct the user:
•
Cart setup
-
Release inner cam levers
-
Unfold upper handle legs until the visual markers are aligned
-
Lock inner cam levers
-
Release outer cam levers
-
Raise entire handle assembly until the visual markers are aligned
-
(optional) Loosen the knobs and extend the upper handles, then
tighten them
-
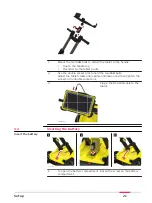
Mounted the cradles and attach the tablet
-
Connect the LAN cable to the tablet
-
Turn on the DSX radar
•
GNSS setup
-
Mount the bottom bracket to the top chassis
-
Mount the upper bracket to the handle
-
Make sure the visual markers on the handles are all aligned
-
Check the direction of the upper clamp and put it through the pole
-
Put on the bottom clamp
-
Attach the bottom clamp to the bracket and then the upper one
-
Tighten the screw
•
Grid marking
-
Extend the folding square until the hard stop
-
Place the folding square at the corner of your survey area and draw a
right angle
-
Mark every 50 centimeters until the full grid is marked on the surface
•
Wheel encoder calibration
-
Measure a 10
‑
meter linear distance precisely
-
Tap start and push your DSX radar cart until reaching the exact
10
‑
meter end
-
Make sure the red markers on the side are aligned with the end point,
then tap
-
Distance is processed
-
Tap again the and pull the DSX radar cart until reaching the original
starting point
-
Tap and check the calibration errors
Centre Column
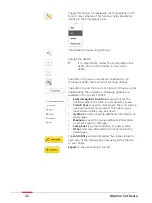
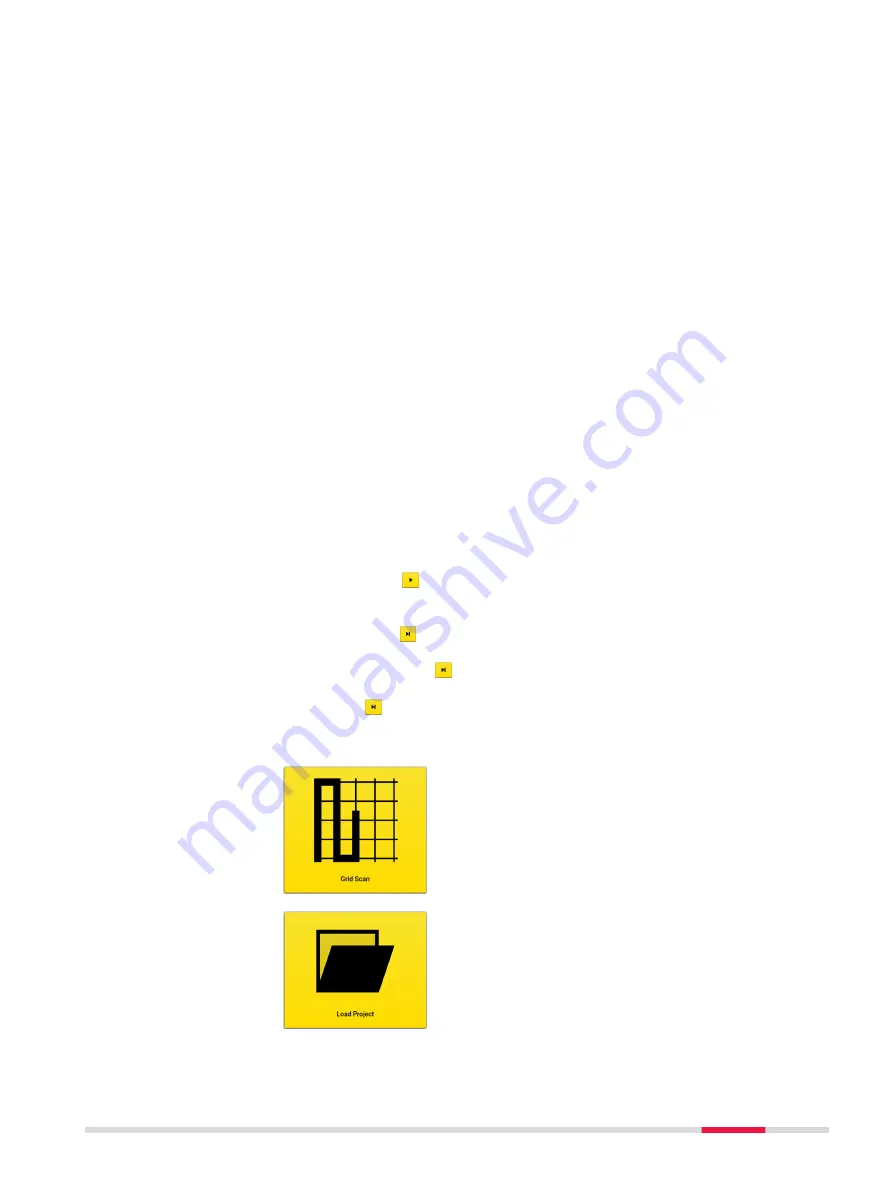
Grid Scan
button:
Tap to perform a scanning task using the DSX. This
button leads to the main workflow wizard until a
tomography is generated.
Utilities can be exported in DXF format. Tomography
in PNG, JPG, TIFF, BMP and GIF formats. Report is
exported in PDF format.
Load Project
button:
Tap to open an existing project or draft that were
previously processed or set up..
Columns
DXplore Software
25

