LAUNCH KES-200 Multimeter
C-9
Printout of Oscilloscope
KES-200 can print the viewed oscilloscope waveform
through any common printer that supports PCL
language. The user can print the current waveforms
displayed on the oscilloscope or recalled from the
storage address.
Current Waveform Printing
To print a sheet of oscilloscope waveform, the unit
must be on the [0.HOLD] mode. KES-200 can record
up to 50 pages of the waveform data automatically.
The user may print the current page by pressing
[PRINT] key, or print other pages in the storage by
selecting [7.CURRENT PAGE], pressing [
▲
] [
▼
]
keys to choose the page No., and then pressing
[PRINT] key.
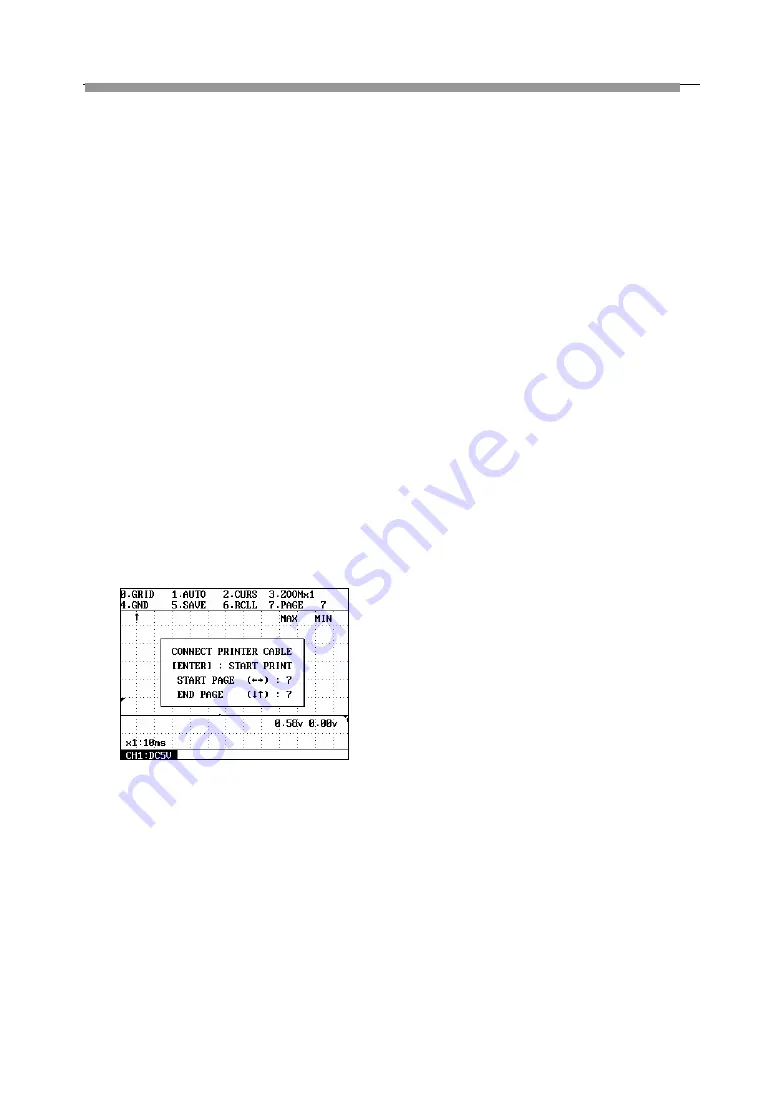
When [PRINT] is pressed, a dialogue box for printing
will appear, as shown in Fig.2-18.
Fig.2-18
Use [
◄
] [
►
] keys to change the starting page,
from which the printing is started. Press [
▲
] [
▼
] keys
to determine the end page, to which the printer may
stop printing. After setting up, press [ENTER] key to
begin the printing.
Printing Saved Waveforms
KES-200 can print the saved waveforms. The user
may recall the saved waveform by using [6.RCLL]
according to above-mentioned method, and then
press [PRINT] key. But it just prints only one page. For
more pages, the user should use [6.RCLL] function
again.
When [ENTER] key is pressed, the printing function
will begin. At this time, the tips about printing will
appear on the screen. If everything is ready, the
printing will begin. If it fails, a message ”Printer
initializing error, check printer if it is OK?” will appear.
Press [ESC] key to exit the printing operation.
PC Link Function of Oscilloscope
With the PC link function, the user may transmit the
saved waveforms and data to PC through RS232 port
to make further analyzing of the tested waveform.
Here is the operation procedure:
Select [6.PC COMMUNICATION] on the oscilloscope
main menu, and click the icon of oscilloscope on the
screen of PC in which the PC LINK SOFTWARE is
installed, and then enter the oscilloscope test system
by following the tips on the menu.
Refer to the
PC Link
section for detailed information.


