PLMNL0243 REV. A, Effective Date: 03/24/16
15
FiberMINI ™ 2.0 Operation Manual
4.2 Centering the Beam in the Tip
Orifice Manually
If desired, this procedure can also be
performed using the centering tool
(PLFXT0236). In that case, see
To center the beam in the tip orifice
manually:
1. Verify that the high power beam is
disabled.
2. Put a piece of translucent tape on the
end of the gas jet tip.
3.
Turn on the laser’s internal red
pointing beam and observe the
position of the beam on the tape.
Do not look directly into the
red beam.
If the beam is not centered in the tip
orifice:
Using a third party
collimator, proceed to step 4.
Using a Laser Mechanisms
collimator, proceed to step 7.
For a third party collimator:
inside the tip orifice using the
following:
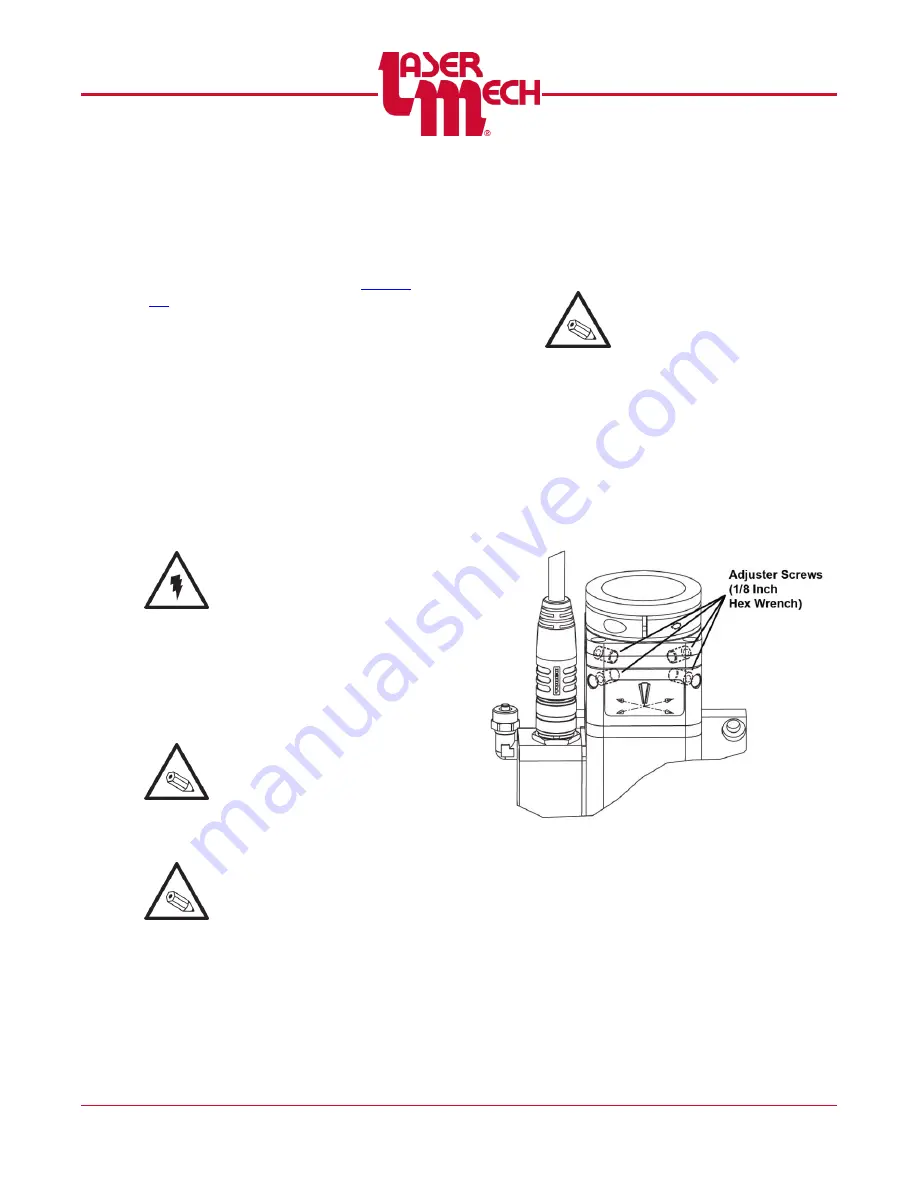
Do not remove the adjuster
screws.
a. Use a 1/8 inch hex wrench to
loosen the adjuster screw that is
opposite the direction you want
the beam to move.
b. Tighten the adjusting screw that is
opposite of the screw in step 4a.
DO NOT OVERTIGHTEN.
Figure 21
5. Use the (4) adjusting screws
according to steps 4a and 4b until the
beam is centered in the tip orifice.
6. Once the beam is centered, verify that
all (4) adjusting screws are snug again
to finger tight (1 Nm max).


