19
NOTE:
Drawing pencil marks across the width of the top of the
calibrating board in several locations can make it easier
to determine when the entire surface has been planned.
7. Measure the thickness of the calibrating board with a caliper.
8. Loosen the two screws of the Thickness Scale pointer and adjust the
pointer (Fig. 7) until it corresponds to the measured thickness and
tighten the screws.
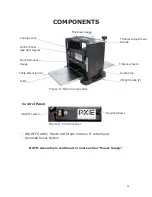
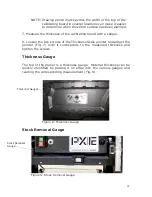
Thickness Gauge
The top of the planer is a thickness gauge. Material thickness can be
quickly identified by placing it on edge into the various gauges and
reading the corresponding measurement (Fig. 8).
Figure 8: Thickness Gauge
Stock Removal Gauge
Figure 9: Stock Removal Gauge
Thickness Gauges
Stock Removal
Gauge
Summary of Contents for PX12
Page 1: ...OWNERS S MANUAL PX12 Planer Quadtec I Cutterhead Lagunatools com...
Page 29: ...29 EXPLODED VIEWS Cutterhead Drivetrain...
Page 30: ...30 Table Lift...
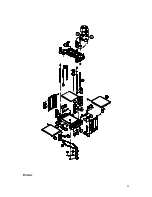
Page 31: ...31 Motor...
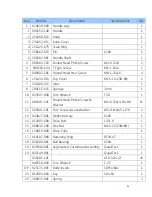
Page 32: ...32 Wiring Diagram PX12 PARTS LIST...
Page 38: ...38 021121...

