8
12/24-HOUR FORMAT SETTING:
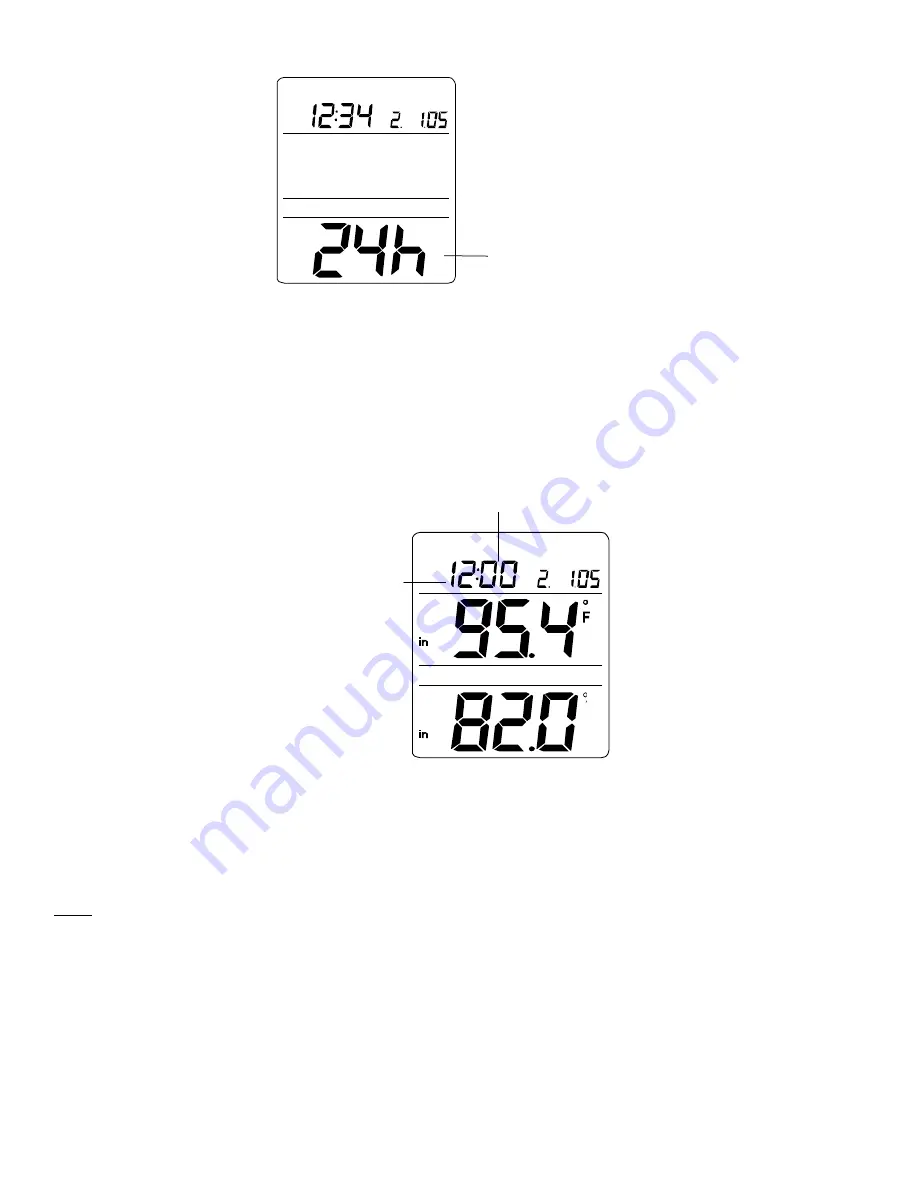
The time display can be selected to show hours in 12-hour or 24-hour settings. (Default 12-Hour)
1.
Press and hold the SET key until the digits “Lcd” starts flashing.
2.
Press and release the SET key four times to enter the time format setting. The digit “12h” will be flashing.
3.
Use the Plus and Minus key to set the time shown in 12-hour or 24-hour format.
4.
Press the Mode or Alarm key to confirm and go back to the normal display mode.
MANUAL TIME SETTING:
In case the weather station cannot detect the WWVB-signal (for example due to disturbances, transmitting distance, etc.),
the time can be manually set. The clock will then work as a normal Quartz clock.
1.
Press and hold the SET key until the digits “Lcd” starts flashing.
2.
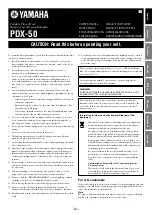
Press and release the SET key five times to enter the hour setting. The hour digit in the time LCD will be flashing.
3.
Use the Plus and Minus key to set the hour.
4.
Press the SET key one more time to confirm the hour and advance to the minute setting. The minute digit will be
flashing.
5.
Use the Plus and Minus key to set the minute
6.
Press the Mode or Alarm key to confirm and go back to the normal display mode.
Note:
The unit will still try and receive the signal every day despite it being manually set. When it does receive the
signal, it will change the manually set time into the received time. During reception attempts the WWVB tower icon will
flash. If reception has been unsuccessful, then the WWVB tower icon will not appear but reception will still be attempted
the following hour.
Digits flashing
Hour flashing
Minutes flashing


