background image

USER’S MANUAL OF LK-320E


LABEL & MARK INDUSTRIES COMPANY 


20

Chapter III Basic Operation 

Note: 

In order to have a correct print out, please configure material options and 
specifications correctly and ensure that the tube printer configuration is 
compatible with your material and its specifications. 

3.1 Power-on 

Upon powered on, the machine will produce the following power-on display. At 
this time, the cutter dynamo will run and initialize. 


3.1 Selection of Printing Material 

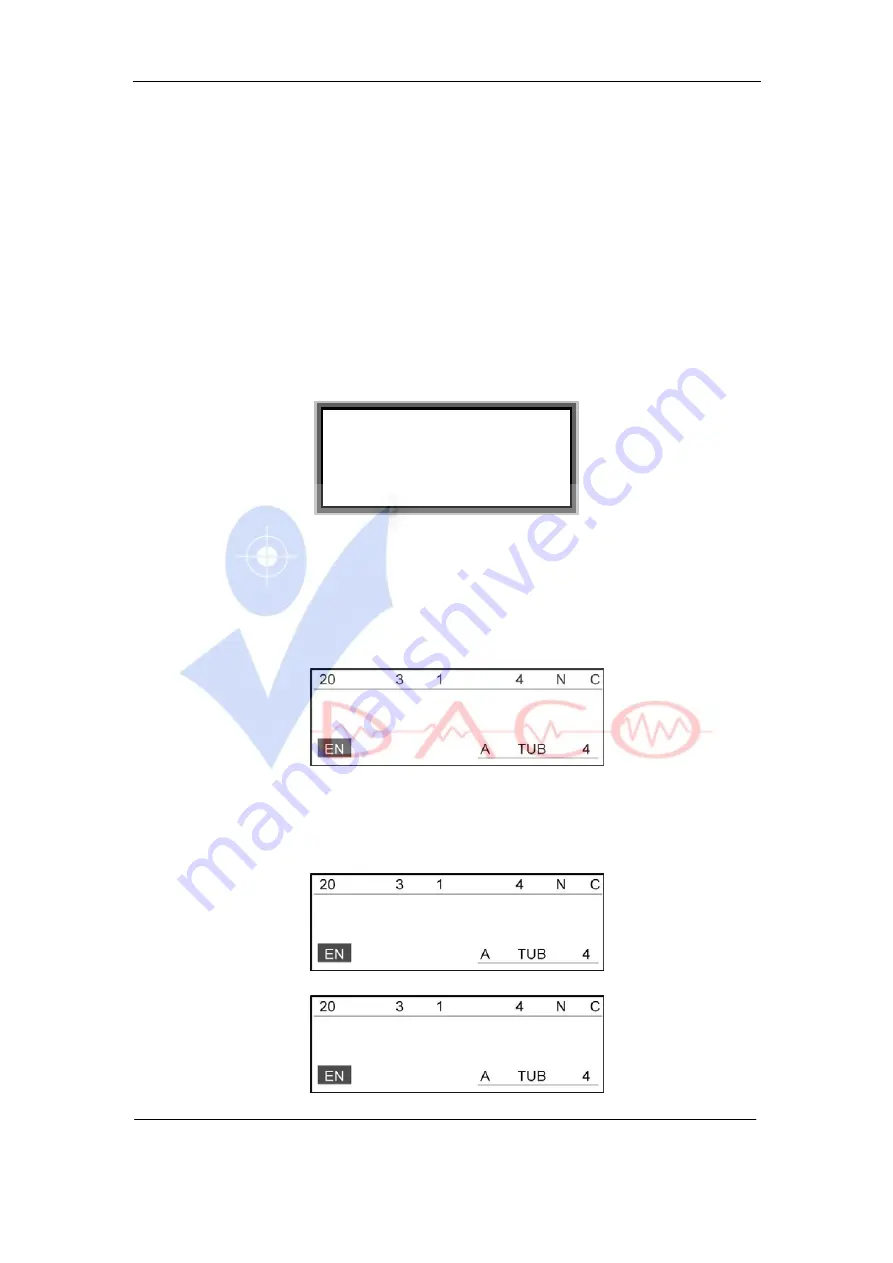
After power-on display, the machine will produce material selection window 
and the screen will display as follows: 


PVC Tube


Use [

] or [

] keys to select the desired printing material, the screen will 

display as follows: 


Shrink Tube


Label


L-MARK


DACO Company Limited

www.dacovn.com

Hotline: 0904 82 235

Summary of Contents for LK-320E

Page 1: ...1 User s Manual LK 320E Tubing and Label Printer LABEL MARK INDUSTRIES COMPANY DACO Company Limited www dacovn com Hotline 0904 82 235...

Page 2: ...Power on 20 3 1 Selection of Printing Material 20 3 2 Selection of Printing Material Specifications 21 3 2 1 Selection of sleeve tube specifications 21 3 2 2 Selection of label specifications 21 3 2 3...

Page 3: ...2 9 8 File 40 4 2 9 9 Machine Set 42 Version 42 Ribbon 43 Gear 43 ResetEEPa 43 Site1 43 Site2 43 4 2 10 Backspace 43 4 2 11 Print 43 4 2 12 ESC 44 Chapter V Specifications Description 45 Chapter VI Ot...

Page 4: ...ware and hardware For more information about the products please contact L MARK or the sale agents 3 Without the prior written approval by L MARK no contents of this manual shall be copied or transmit...

Page 5: ...s power adaptor to a suitable earthed power socket Avoid sharing a same power socket with other large dynamos or other equipment that may give rise to voltage fluctuation 6 If the printer is expected...

Page 6: ...nd other volatile solvents keep it away from fire to avoid explosion or burning 15 Clean the printer with a wrung wet cotton cloth Use of organic and flammable solvent is prohibited 16 In case of stra...

Page 7: ...o not pull out the print out by force Remove the print out until it is cut off otherwise the printing quality may be compromised or your machine may be damaged 6 Consumables or machine shall be kept i...

Page 8: ...nd quick operation International standard 64 key computer keyboard Beautiful L MARK font type offering a clearer and more lasting print out With a unique function of printing selected pages enabling y...

Page 9: ...als The function of each key is also described 2 1 Configuration of the Main Unit 2 1 1 Basic configuration 1 LK 320E label and mark printer 1 piece 2 Warranty card 1 sheet 3 Packing list 1 sheet 4 Po...

Page 10: ...5pcs 8m 5 box Labels Label cassette tape Silver 12mm LM412SL 5pcs 8m 5 box Ribbon cassette black LM33B 5pcs 80m 5 box Ribbon cassette white LM33W 5pcs 80m 5 box Ink ribbons Ribbon cassette red LM33R 5...

Page 11: ...USER S MANUAL OF LK 320E LABEL MARK INDUSTRIES COMPANY 10 Ribbon Label cassette Heat shrink tube cassette DACO Company Limited www dacovn com Hotline 0904 82 235...

Page 12: ...USER S MANUAL OF LK 320E LABEL MARK INDUSTRIES COMPANY 11 2 2 Nomenclature and Functions 2 2 1 Main unit DACO Company Limited www dacovn com Hotline 0904 82 235...

Page 13: ...i cutting no demarcating 4 Frame Effects setting of the page in which the cursor exists N Nil F with frame L underlined 5 Repeat Repeated printing times of the page in which the cursor exists 6 Densit...

Page 14: ...s used to set seril number input Repeat Repeat Printing page 28 This key is used to set the repeated printing times of certain pages Length page 29 This key is used to change the length of the page Fr...

Page 15: ...haracter Caps Lock This key is used to switch between upper case input mode and lower case input mode 2 3 Installation 2 3 1 Installation and removal of Ribbon Installation of Ribbon 1 Open the protec...

Page 16: ...ibbon prior to installation 4 Close the protective cover Removal of Ribbon 1 Open the protective cover Make sure the print head is not pressed on the print rubber roll in other words make sure the pri...

Page 17: ...ng material cassette 1 Open the protective cover Be sure that the printer is already installed with an Ribbon 2 Pull out 5 7mm long printing material from the cassette Label cassette 3 Put the tongue...

Page 18: ...press Enter key to roll back the printing material cf 4 2 27 Reverse 2 Open the protective cover 3 Press the left cassette tongue and at the same time raise the printing material cassette 4 Pull out t...

Page 19: ...nitialize Then the machine will display the text edit window Automatic power off To save power and to extend its service life if the machine has been idle for 10 minutes while powered on without any o...

Page 20: ...r to be replaced and install a new cutter Note Be careful not to cut your finger when replacing cutter and anvil If a new cutter does not produce the desired performance please replace the anvil by ap...

Page 21: ...specifications 3 1 Power on Upon powered on the machine will produce the following power on display At this time the cutter dynamo will run and initialize 3 1 Selection of Printing Material After powe...

Page 22: ...o select the desired specification and then press Enter key 3 2 2 Selection of label specifications Select label on the material selection window and press Enter key then the following window will be...

Page 23: ...or 6mm label and 3 0 sleeve tube you may choose font sizes 1 2 3 4 For 9mm label and 4 0 and 5 0 sleeve tube you may choose font sizes 1 2 3 4 and 5 For 12mm label and 6 0 sleeve tube you may choose f...

Page 24: ...omatically and the screen will display as follows 2 Enter A A and 1 and the screen will display as follows 2 AA1 Press Enter key and a new page is created automatically and the screen will display as...

Page 25: ...behind which you want the new page to be inserted Then press Enter and an empty page will be created And then input the contents you want 3 5 Change of Contents If you want to make changes to the text...

Page 26: ...nction keys you will see the text editing window 7 A new page shares the same attributes with the preceding page 8 The five settings namely length font size repeat effects and direction are all relate...

Page 27: ...will be as follows PVC Tube Press or to choose Label or Shrink tube and press Enter Then a window will be displayed to select the specific material specifications Press or to select the desired speci...

Page 28: ...font size and character spacing so as to ensure valid entries and ensure a same material length when no page length has been specified Note After you have chosen automatic page length function automa...

Page 29: ...Numeric DEC and press Enter then the screen will display as follows Numeric 0 999 Press or to choose Numeric 0 999 or Numeric 000 999 and press Enter Serial number format 0 999 indicates natural seri...

Page 30: ...Select Alphabetical and press Enter then the screen will display as follows Alpha A Z Press or to choose Alpha A Z or Alpha a z and press Enter Then the screen will display as follows Start Enter the...

Page 31: ...rsor exists and all the pages behind it will have the same repeated printing times Press Repeat then the screen will display as follows Repeat 1 100 Enter the number integer you want to repeat and pre...

Page 32: ...The page in which the cursor exists and all the pages behind it will assume this specified length Then the screen will show the text editing window automatically For example Enter 18 the page length...

Page 33: ...lows None None Select None and press Enter then the page in which the cursor exists and all the pages behind it will have no effects To add effects Press or to select Frame or Underline and press Ente...

Page 34: ...n the page in which the cursor exists and all the pages behind it will be printed in horizontal or vertical orientation as appropriate Select Orientation the screen will display Vertical Press or to s...

Page 35: ...is invalid The spacing is 1 20 in an ascending order 4 2 9 3 Density This function is provided to set the printing density This setting is valid for all the contents to be printed Press Density key an...

Page 36: ...Select Left alignment and press Enter then the contents will be printed in a left alignment manner The screen will return to the text editing window automatically 3 To select Fine adjustment just sele...

Page 37: ...print contents rightward by 2 7mm you can input 2 7 then press Enter and the screen will return to the text editing window 4 2 9 5 Cutting set This setting is valid for all the contents to be printed...

Page 38: ...pth and press Enter then the screen will display as follows half cut depth Then 3 2 1 0 1 2 3 Use or to make your selection and press Enter to finish sleeve tube semi cutting depth Cutting depth ascen...

Page 39: ...assembly Adjust full cut depth Select Full cut depth and press Enter to finish your full cutting depth setting The cutting depth ascends from 3 to 3 4 2 9 7 Correct This function is provided to corre...

Page 40: ...label is loaded properly and press Enter to start printing When completing printing the machine will display as follows Actual length Then you may inspect the printing effect of your tube printer For...

Page 41: ...Then sent 100 0 100 0 can to adjust the position of cutter The unitage 1 0 0847mm For example If input 10 the cutter line position will move 0 847mm to left 4 2 9 8 File Use this function you can sav...

Page 42: ...You may overwrite the existing file or save as another file B If the name you input does not exist the file will be saved straightaway and the screen will return to the text editing window Note The ma...

Page 43: ...ollows No file exists If there is are file s please select the file you want to delete then the screen will display as follows Delete Yes No Select Yes and press Enter then this file is deleted Then t...

Page 44: ...the cursor Move the cursor behind the character you want to delete and press Backspace and then the character before the cursor will be deleted Pressing Backspace continuously will delete all the cha...

Page 45: ...not be printed During printing the screen will display Printing 4 2 12 ESC To ESC the setting or operation in progress or to cancel incorrect statement to return to the menu of immediately superior le...

Page 46: ...color background displaying up to 3 lines Characters Chinese English number symble Entry method standard 64 key Memory About 100 files Material cutting method Automatic half cutting Power supply DC 12...

Page 47: ...B 5pcs 80m 5 box Ribbon cassette white LM33W 5pcs 80m 5 box Ink ribbons Ribbon cassette red LM33R 5pcs 80m 5 box 2 1 heat shrink tube cassette White 3 0mm LM SS30W 5pcs 2 5m 5 box 2 1 heat shrink tube...

Page 48: ...sed Printing not clear Ambient temperature to low or too high Please adjust the print color strength or change the ambient temperature Font size too large Use a smaller font size Material specificatio...

Page 49: ...ess or other human errors 6 Malfunctions or damages as a result of force majeure war earthquake and flood etc 7 All consumables like ink ribbon and label paper etc are not covered under this warranty...

Page 50: ...information S N Model Product S N Client information Name Address Contact Tel Fax Postal code E mail Service record Date Cause and reparation of faults Repaired by Sale agent Manufacturer LABEL MARK...

Page 51: ...USER S MANUAL OF LK 320E LABEL MARK INDUSTRIES COMPANY 50 Manufacturer LABEL MARK INDUSTRIES COMPANY http www lmark net Printed in china DACO Company Limited www dacovn com Hotline 0904 82 235...

Reviews: