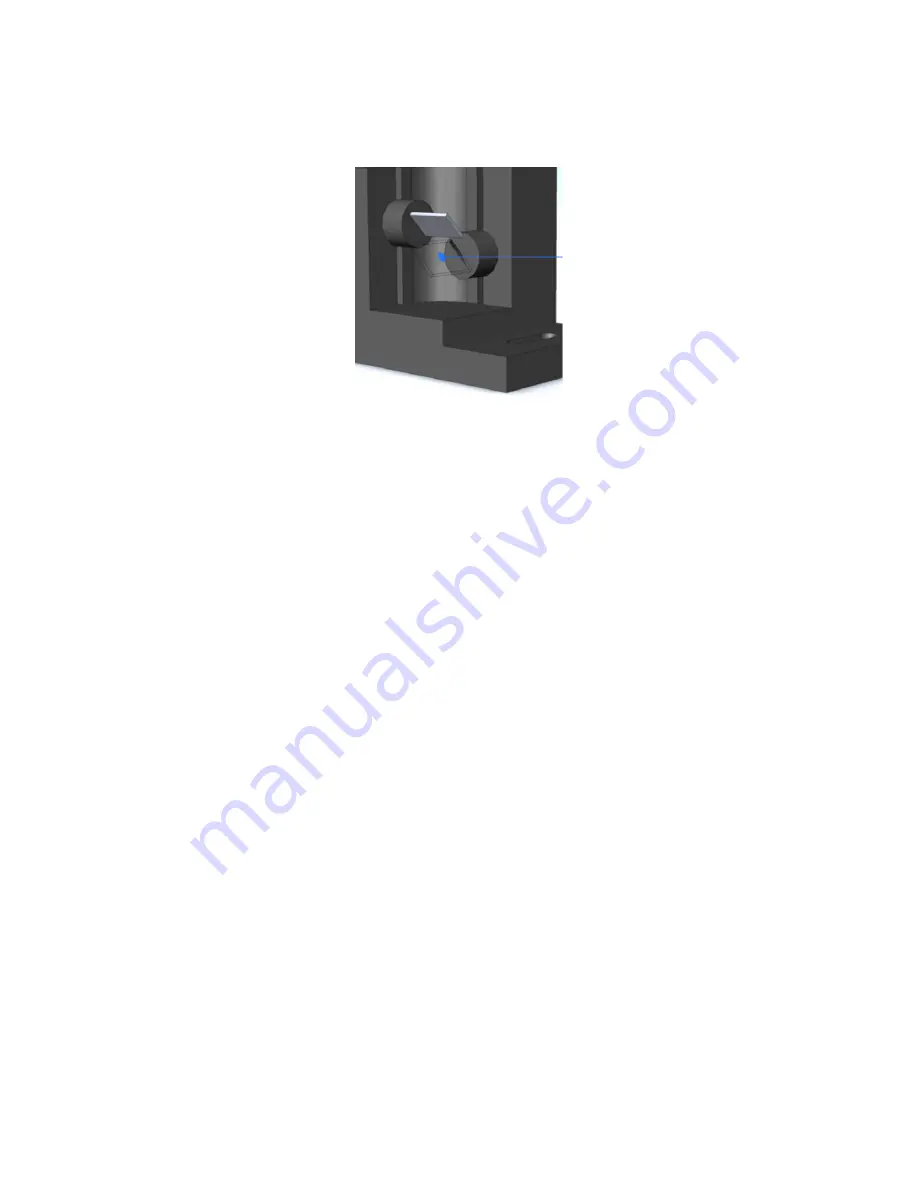
6. Create a blue beam effect (point) and check visually whether the blue beam hits the exact centre
of the bottom scanning mirror.
If not, use dichroic mounts DF2 to adjust the beam path accordingly (diagram below). To adjust the
dichroic mount use the two adjustment knobs – each works for one axis.
7. Create a cyan beam effect (point) and check visually whether the green beam hits the exact centre
of the blue beam at the dichroic filter DF4.
If not, use dichroic mounts DF3 to adjust the beam path accordingly. To adjust the dichroic mount
use the two adjustment knobs – each works for one axis.
8. Create a full size cyan circle (static tunnel effect) and check whether the green circle overlays the
blue circle in all points around the shape.
If not, use dichroic mount DF4 to adjust the beam path accordingly. To adjust the dichroic mount
use the two adjustment knobs – each works for one axis.
9. Create a full size magenta circle (static tunnel effect) and check whether the red circle overlays
the blue circle in all points around the shape.
If not, use dichroic mount DF1 to adjust the beam path accordingly. To adjust the dichroic mount
use the two adjustment knobs – each works for one axis.
Kvant spol. s.r.o.
Spectrum series - v16816
Page 30 of 38


