5
1. Unpacking
Open the box carefully and remove top covers.
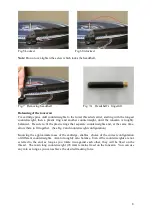
The tube with vertical bearing points is packed separately (tube assembly) on the top of the
box. Please do handle with care and when put aside, ensure that nothing is touching the
bearing points. Bear in mind how you will handle the termination box and output cable.
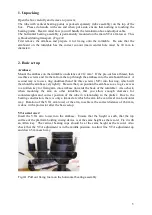
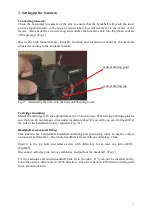
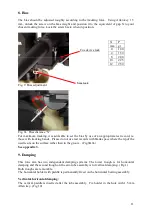
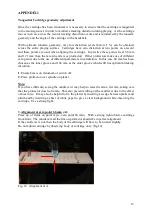
The horizontal bearing assembly is permanently mounted on the main VTA arm tower. This
is blocked during transport. (Fig.2A)
First remove the armbase and prepare it for fixing onto the turntable. Be sure that the
armboard on the turntable has the correct cut-out (main central hole must be 40 mm in
diameter).
2. Basic set up
Armbase:
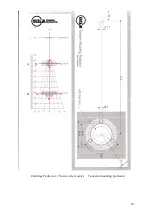
Mount the armbase on the turntable on distance of 212 mm! If the pre-cut has a thread, then
use three screws and fix them from the top through the armbase into the armboard thread. A
second way is to use a ring underneath and fix three screws ( M5) into this ring, which will
then hold the armbase very tightly. Be sure that you position the armbase so as to give access
to an Allen key for fixing arm into armbase (towards the back of the turntable). Also check,
when mounting the arm on other turntables, that you allow enough clearance for
counterweights and correct position of the tube in relationship to the platter. Due to the
bearing construction, there is only a limited arc which the arm tube can travel in a horizontal
way. Rotation of the VTA arm tower of the arm, to achieve the correct distance of 264 mm,
is done with a protractor after the basic setup.
VTA arm tower:
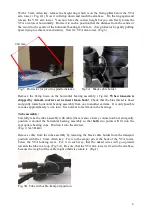
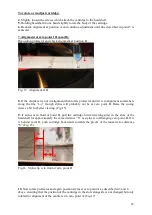
Insert the VTA arm tower into the armbase. Ensure that the height is such, that the top
surface of the platform holding cueing device is at the same height as the record. Fix it with
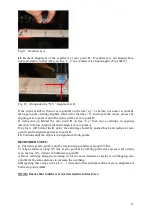
an Allen key. The vertical bearing cups should be at the same height as the record. Also
check that the VTA adjustment is in the middle position, to allow fine VTA adjustment up
and down 5 mm each way.
Fig.2A. Pull out fixing foam on the horizontal bearing assembly

