EN
Bona Edge UX
Bona Edge UX
14
15
Machine Adjustment Procedures (Cont.)
Machine Adjustment Procedures
Abrasive assembly procedure
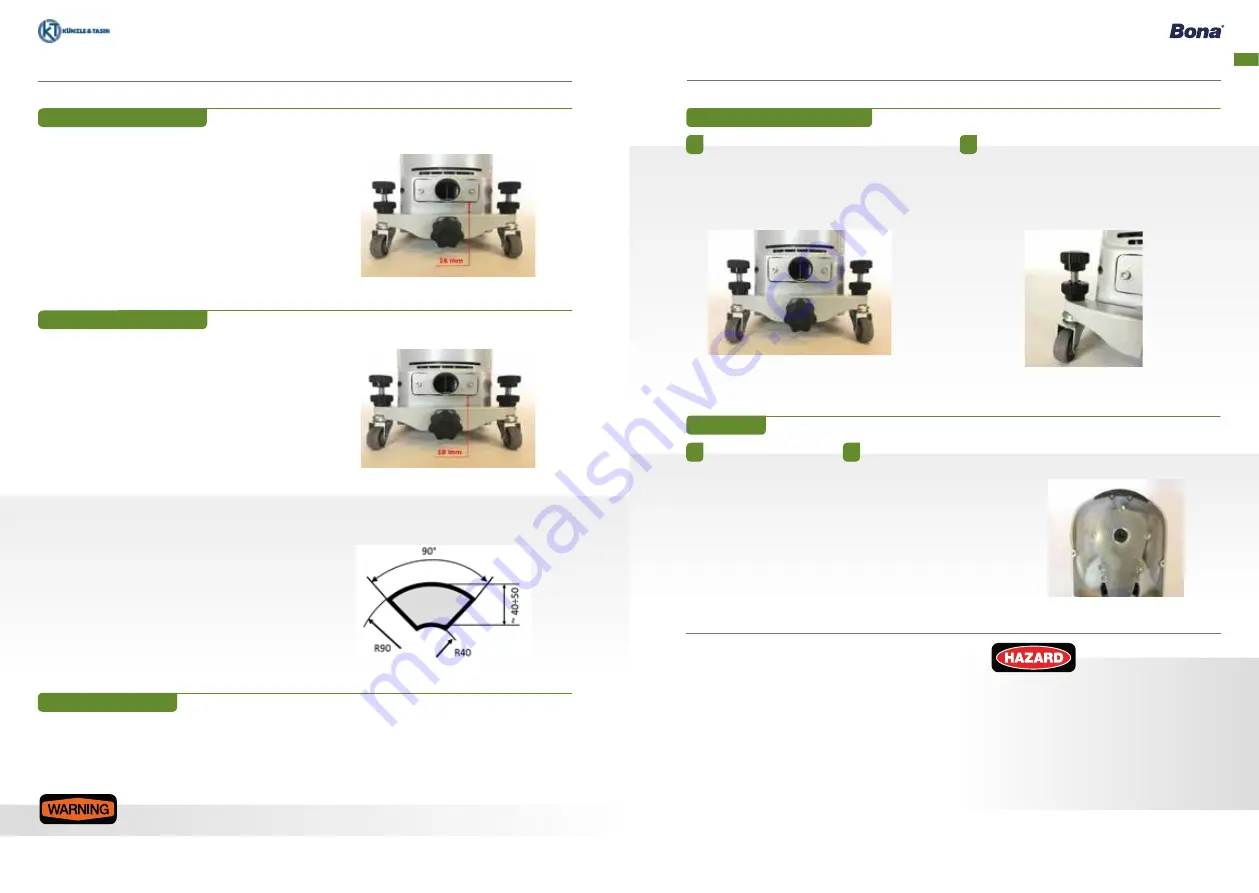
Wheel adjustment Bona Edge UX 130
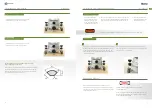
Wheel adjustment Bona Edge UX 220
1) The distance between the suction elbow and wheel
support should be approx. 16 mm.
1) The distance between the suction elbow and wheel
support should be approx. 18 mm.
Footprint should be as above to get the best result.
Note! If the whole disc is flat and in full contact with the floor it will
create excessive resistance in the motor, leave circular scratch
marks, and the machine will be hard to handle.
The tilt of working plate is determined by the position of the
wheels on their support. This support slides on a guide and can
be set at the needed position by a locking knob.
Follow the
‘Replacing
the cogged belt’
(pag.16) up to point 3.
1.
1.
For moving upward/downward the machine loosen the lower
knob. Turn clockwise/counter-clockwise the screw using the
upper knob. Screw again the lower knob to lock the wheel
position.
The wall protection is replaceable in easy
way by unscrewing the two fixing screws
from the two slots, that allow to adjust in
opportune way its distance from the wall.
2.
2.
Adjusting the working surface on the floor
Wall protection
1) Check that the machine is
turn off and unplugged from
power supply before remove
the old abrasive disc.
3) Attach the new abrasive disc
on the Velcro surface of the
metal plate disc.
2) Ensure the Velcro surface of the disc is clean and select an
abrasive disc (178mm diameter) with a suitable grain which
does not have a damaged surface.
Only use abrasive discs with a diameter of 178 mm.
To keep the machine in good working condition the following
items must be checked and serviced regularly (every 250
working hours or at least once a year).
All maintenance must be done on neutral machine!
Always disconnected the machine from power supply before
it is cleaned, tools are changed, maintenance is performed or
when worn parts are replaced.
Routine Maintenance


