Kudo3D Bean User Manual
Ver. 1.0
12 of 14
Raising the model above the vacuum force region improves the surface quality close to the
platform.
5. Slicer
You can use either the SLAcer or Kudo3D model preparation software.
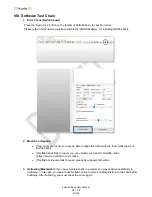
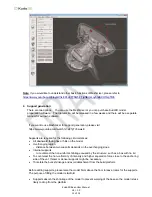
You can access SLAcer in Bean controlling software. Press the SLAcer button to open the SLAcer
window. Drop in a stl file. Press the Slice button. When the slicing is done, press the ZIP button
and the slices will be wrapped into a .zip file saved under your download folder.
6. Controlling
Bean controlling software is browser based. Once the printer is on your local area network, you can
access the software by typing the URL http://Kudo3D.local/ or the IP address of the printer. You
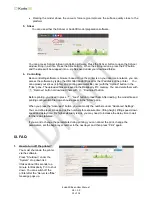
can upload your slices (.zip file) and printing parameter file (.csv) with the “Upload” button in the
“Files” pane. The uploaded files are saved in the Raspberry Pi 3 memory. You can delete them with
”Remove” button or download them with
“Download” button.
Before printing, you need to press
“Load” button to load them. After loading, the model file and
printing configuration file name should appear in the “State” pane.
When you press the “Advanced” button, you can modify the numbers under “Advanced Settings”.
You can define layer zones and define numbers for exposure time, lifting height, lifting speed, down
speed and delay time. For higher viscosity resins, you may need to increase the delay time to wait
for the resin stabilized.
If you want to change the parameters during printing, you can cancel the print, change the
parameters, set the begin layer number to the next layer and then press “Print” again.
IX. FAQ
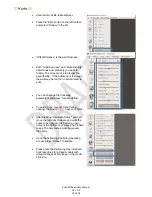
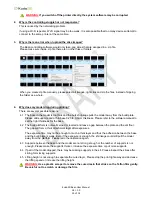
1. How to turn off the printer?
You must shut down the printer
via the software.
Press “Shutdown” under the
“System” drop down list.
It takes about 30 seconds to a
minute for Raspberry Pi 3 to shut
down. You can switch off the
printer after the “Server is offline”
message pops up.


