Your VS-4x4YCxl 4x4 s-Video Audio Matrix Switcher
5
Table 2: Rear Panel VS-4x4YCxl 4x4 s-Video Audio Matrix Switcher Features
#
Feature
Function
1
SYNC
BNC Connector
Connects to the external SYNC source
2
SYNC
Source
Selector
Button
Pushing in selects the (EXT) external sync
1
source; releasing
selects the (IN 1) internal sync
2
3
s-Video 4p INPUTS
Connects to the s-Video sources (from 1 to 4)
4
V
ID
E
O
s-Video 4p OUTPUTS
Connects to the s-Video acceptors (from 1 to 4)
5
INPUTS
Terminal Block
Connectors
Connect to the balanced stereo audio sources (from 1 to 4)
6
A
U
D
IO
OUTPUTS
Terminal
Block Connectors
Connect to the balanced stereo audio acceptors (from 1 to 4)
7 Dipswitches
Dipswitches for setup of the unit (1, 2, 3 and 4 are for setting the
Machine #; 8 is for RS 485 Termination)
8
RS-232
DB 9F Port
Connects to the PC or the Remote Controller
9
FLASH PROG
Button
Push in
3
for “Program” to upgrade to the latest Kramer firmware
(see section 8), or release for Normal (the factory default)
4
10
RS-485
Terminal Block Port
Pin G is for Ground connection; Pins B (-) and A (+) are for RS 485
11 Power Connector with Fuse
AC connector enabling power supply to the unit
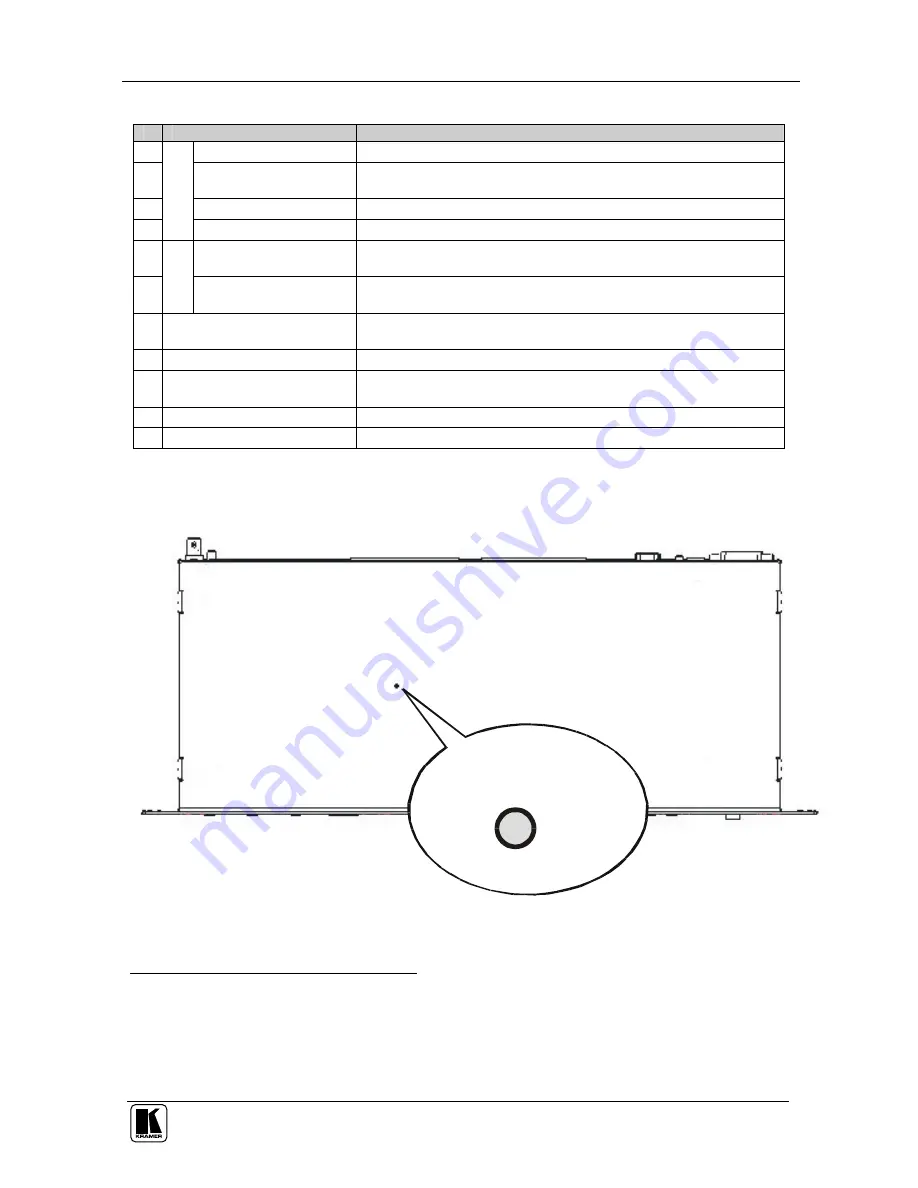
The
VS-4x4YCxl
underside is illustrated in Figure 2, showing the Flash
Program Reset button (see section 8.2).
ENLARGED VIEW
Figure 2: VS-4x4YCxl Underside View
1 On the SYNC connector
2 On the VIDEO IN 1 connector
3 Using a screwdriver if required
4 Note that the FLASH PROG “ Reset” button is located on the underside of the unit (Figure 2). Push in for “ Reset” , or release
for Normal (see section 8)


